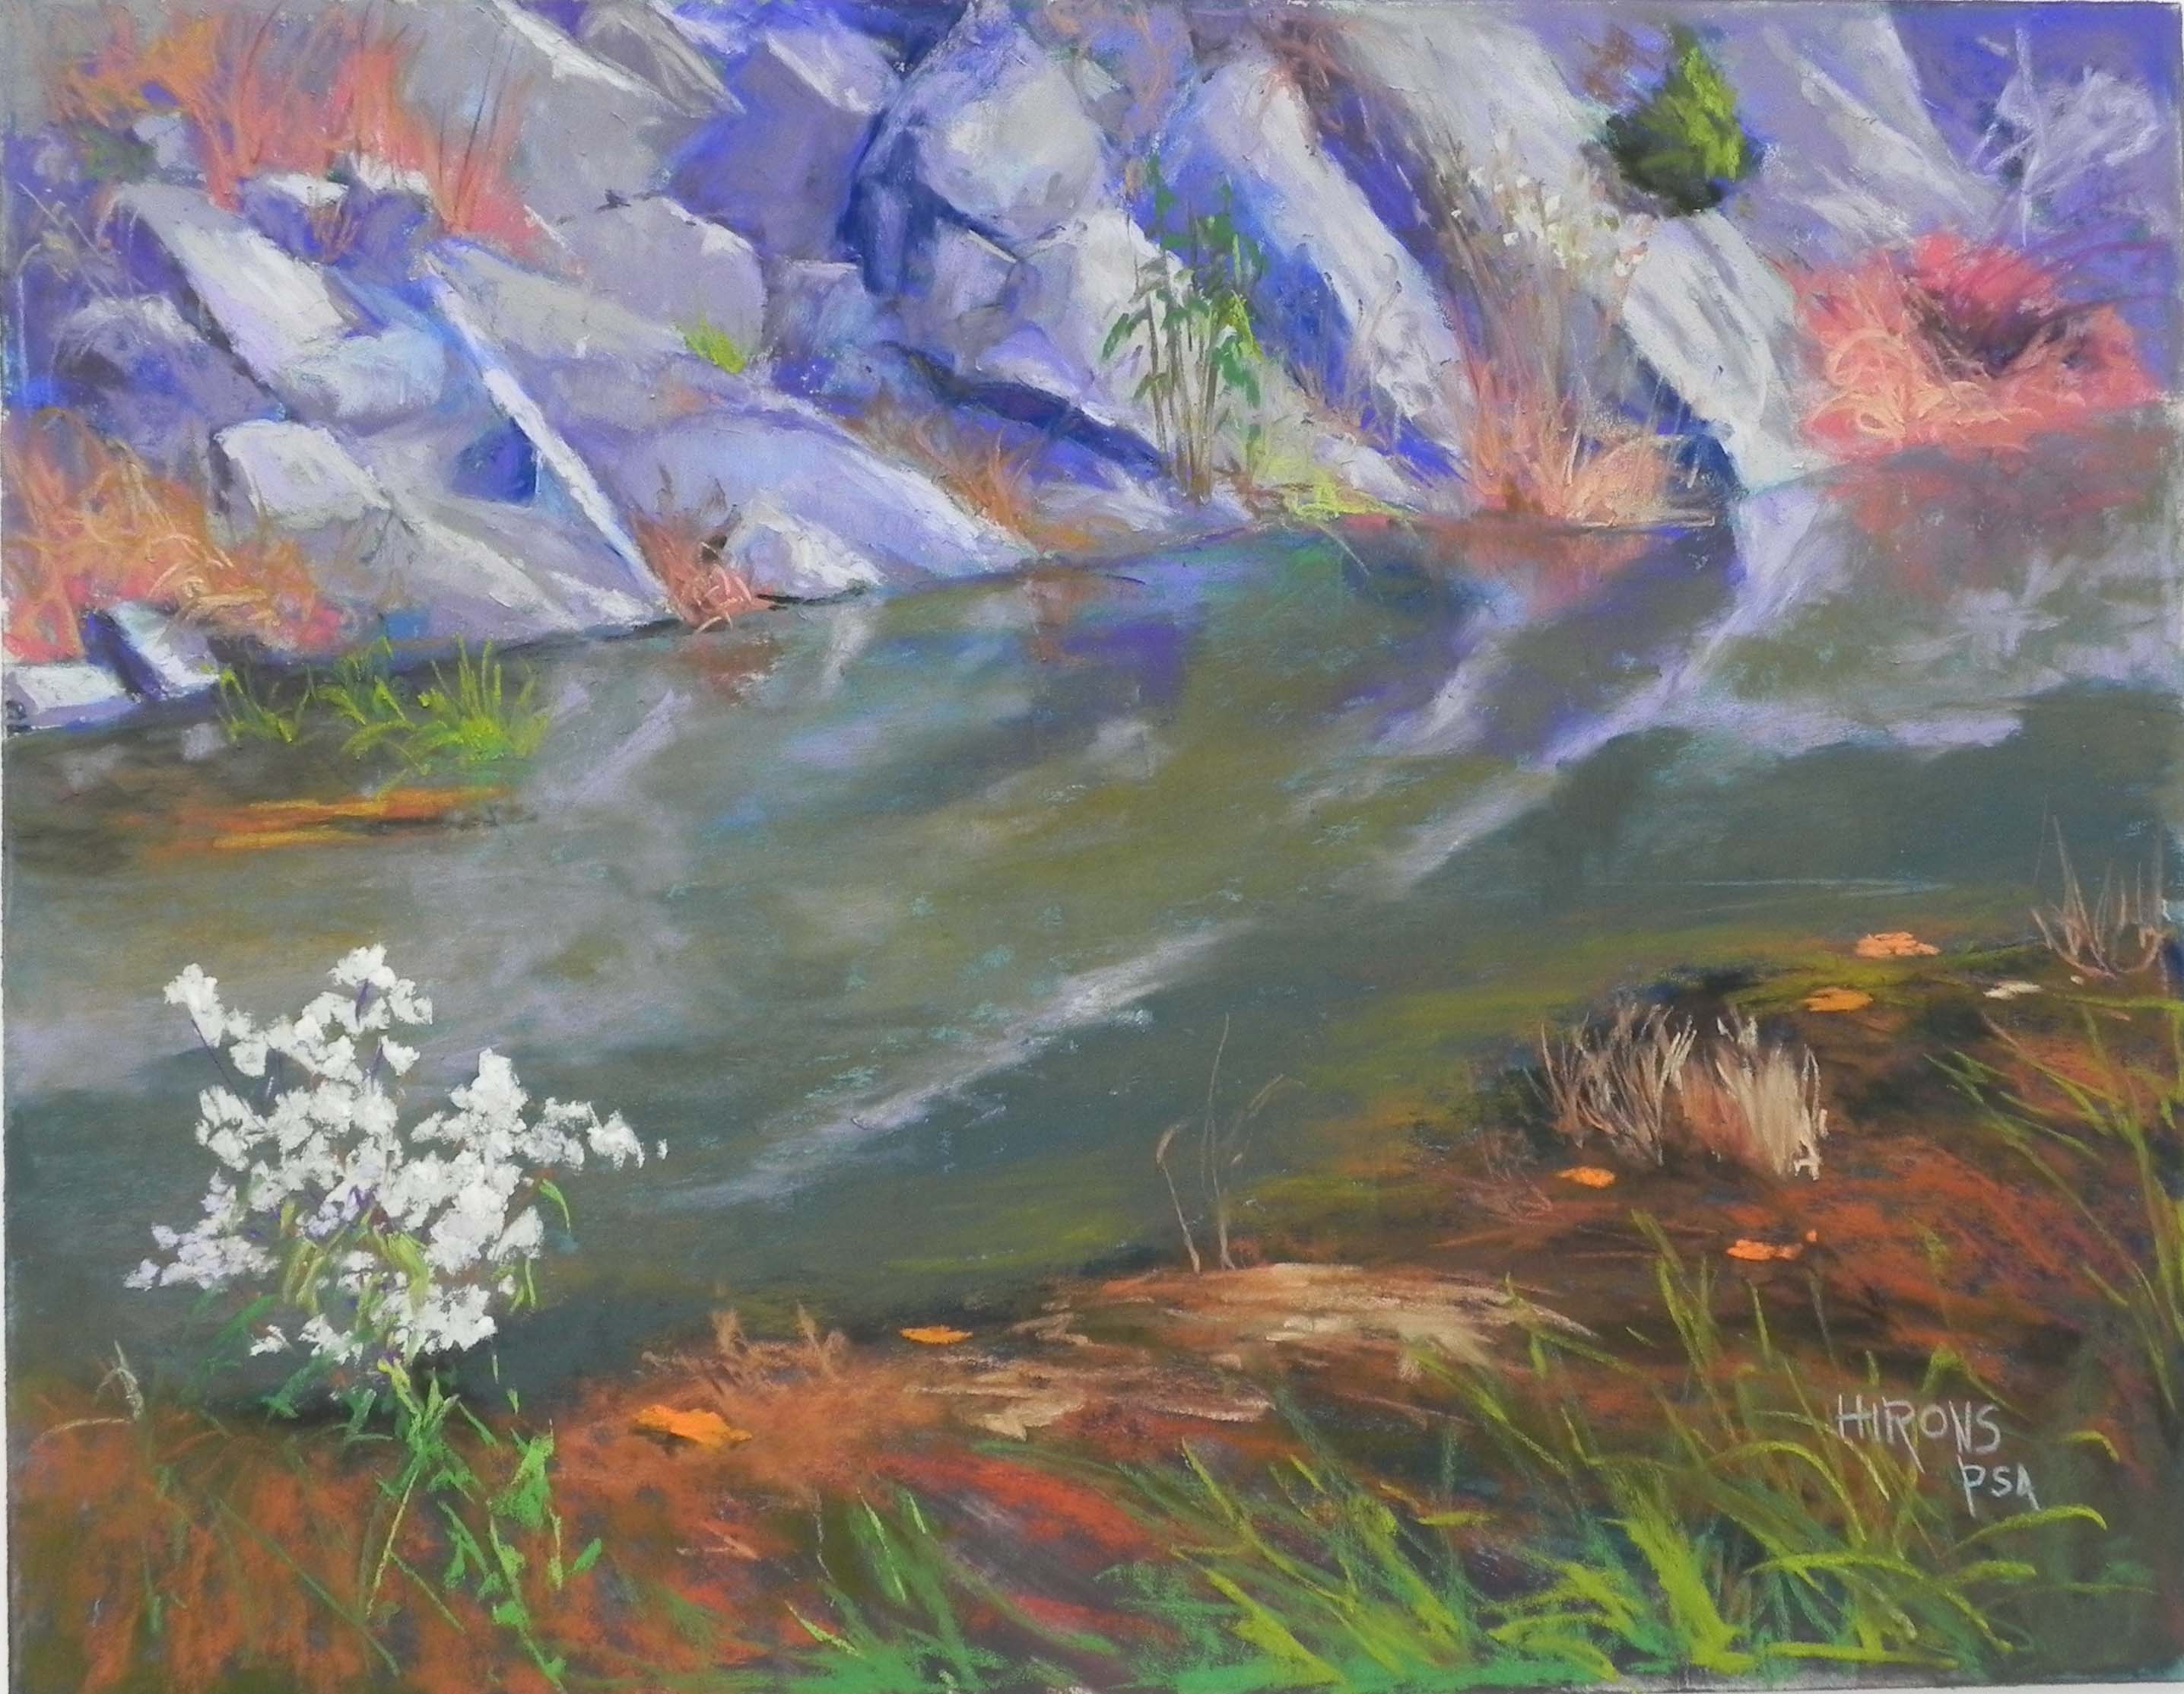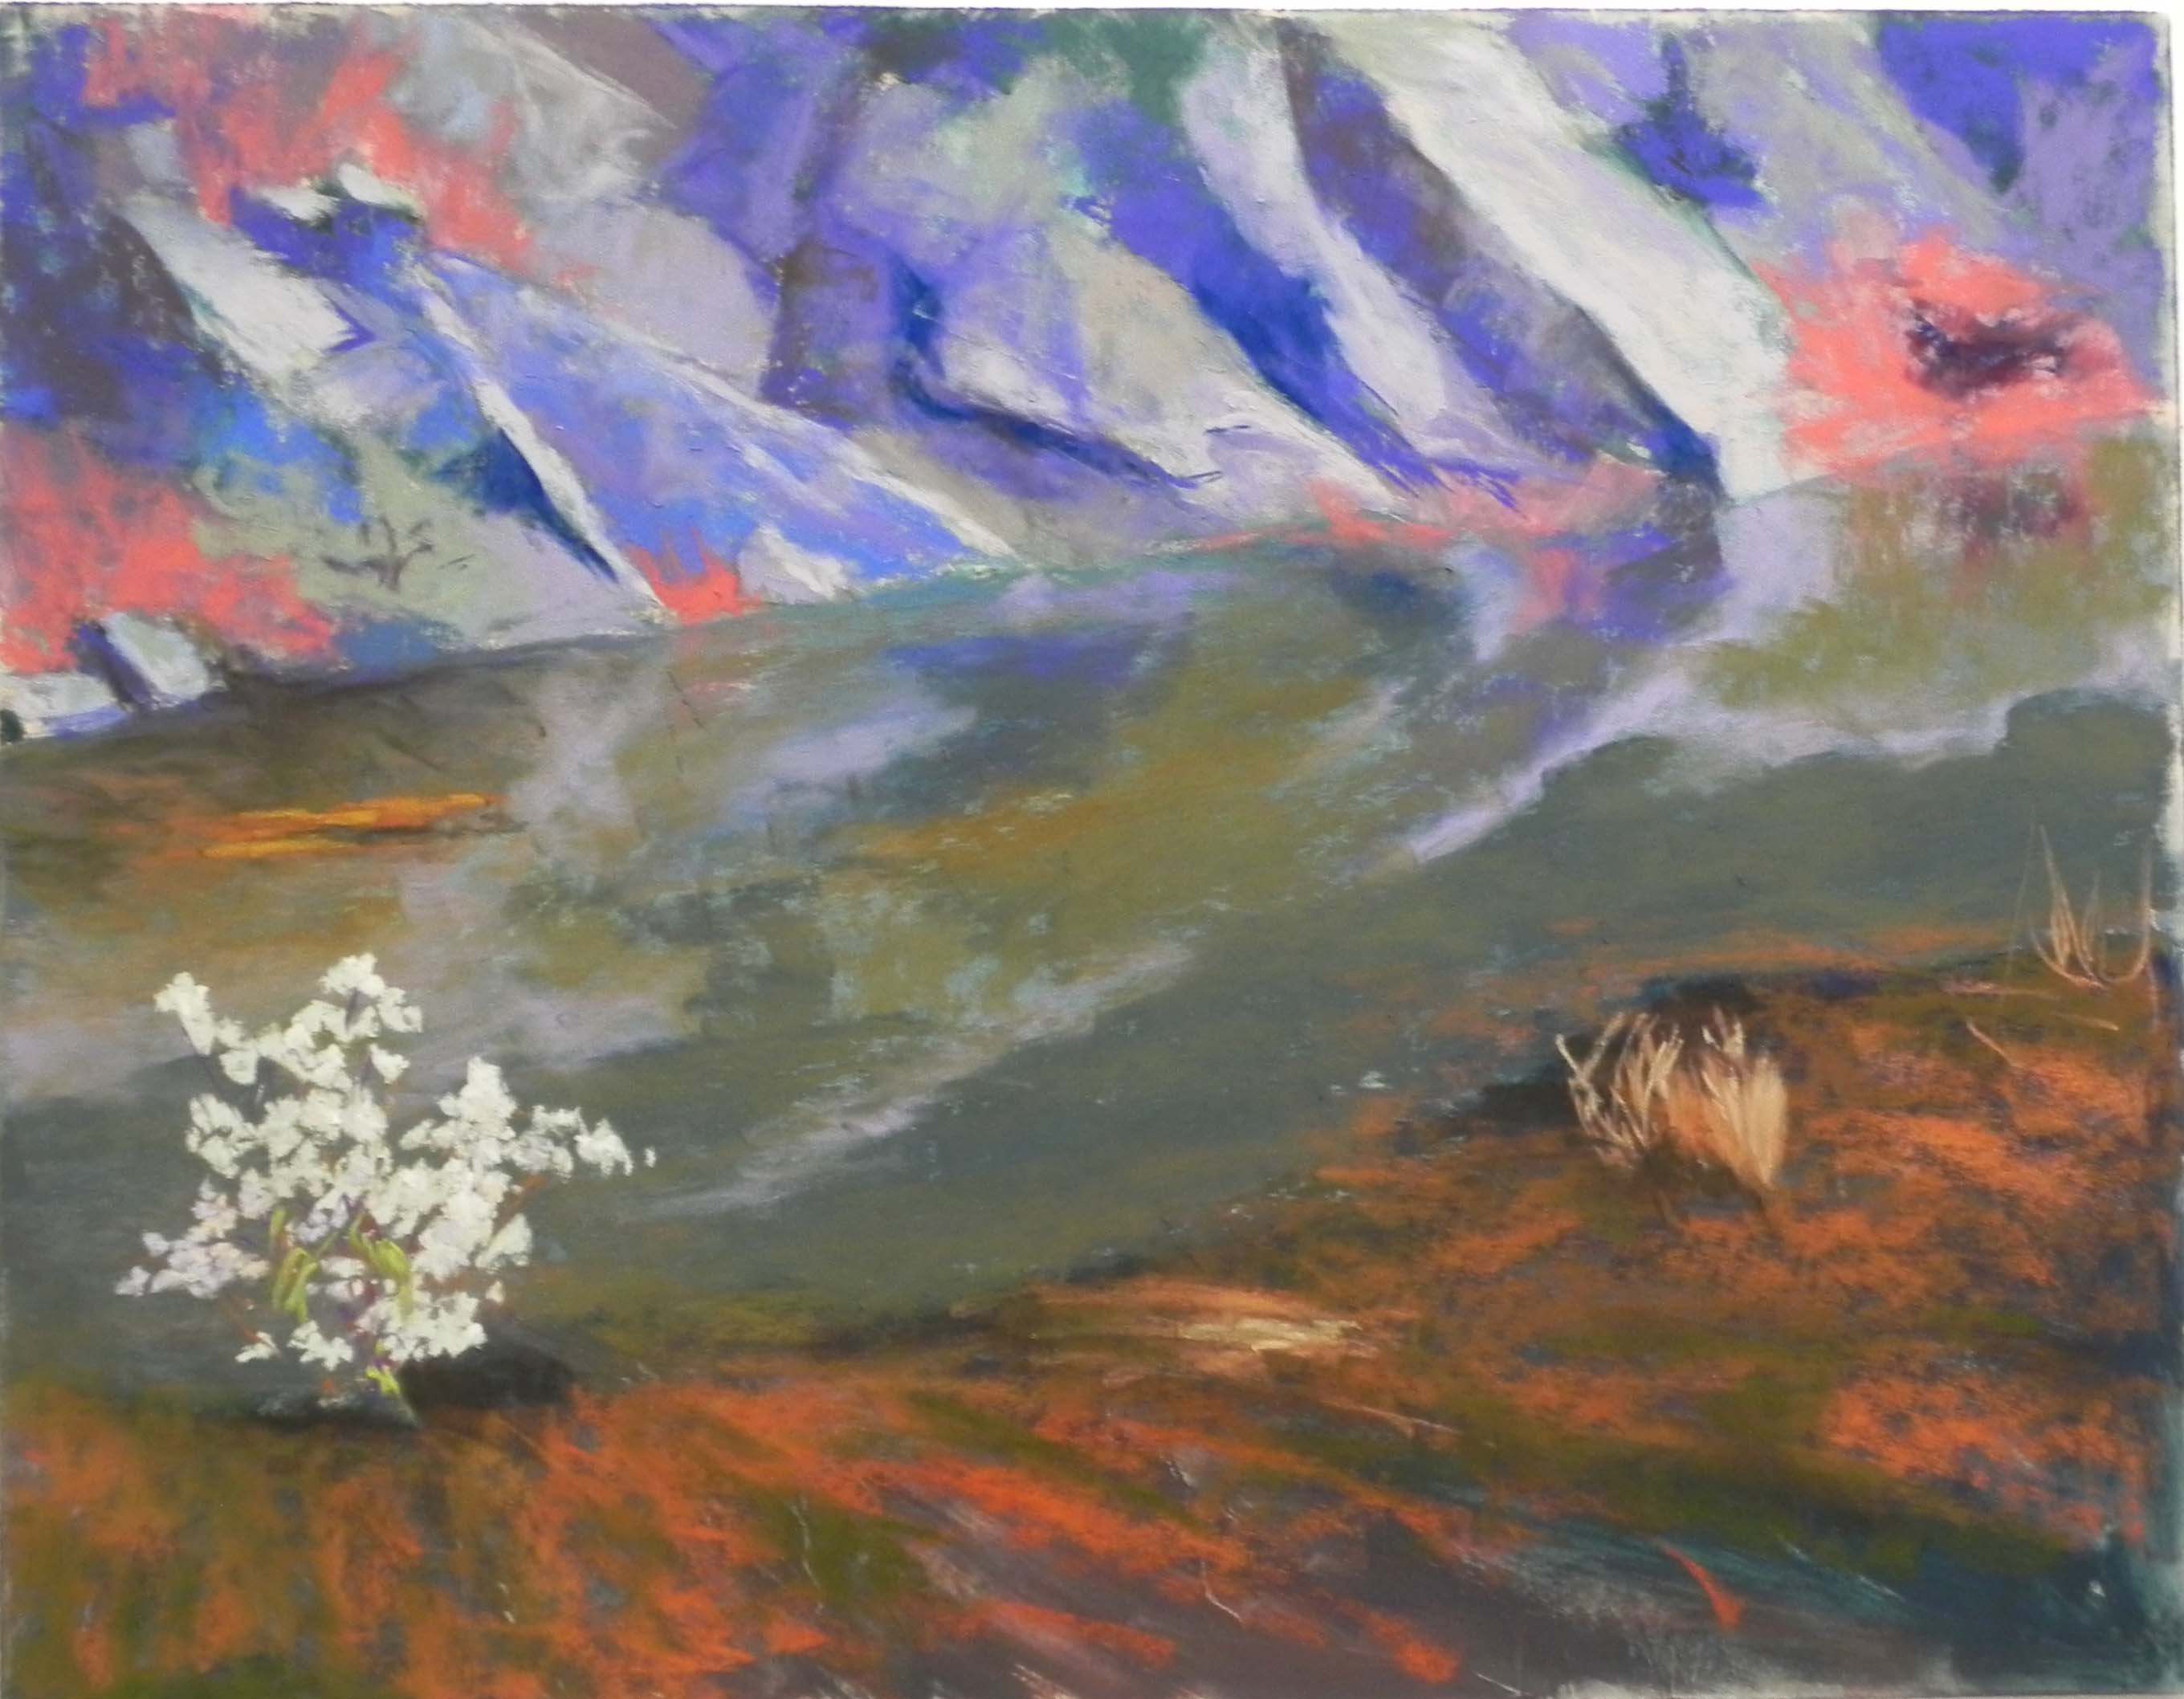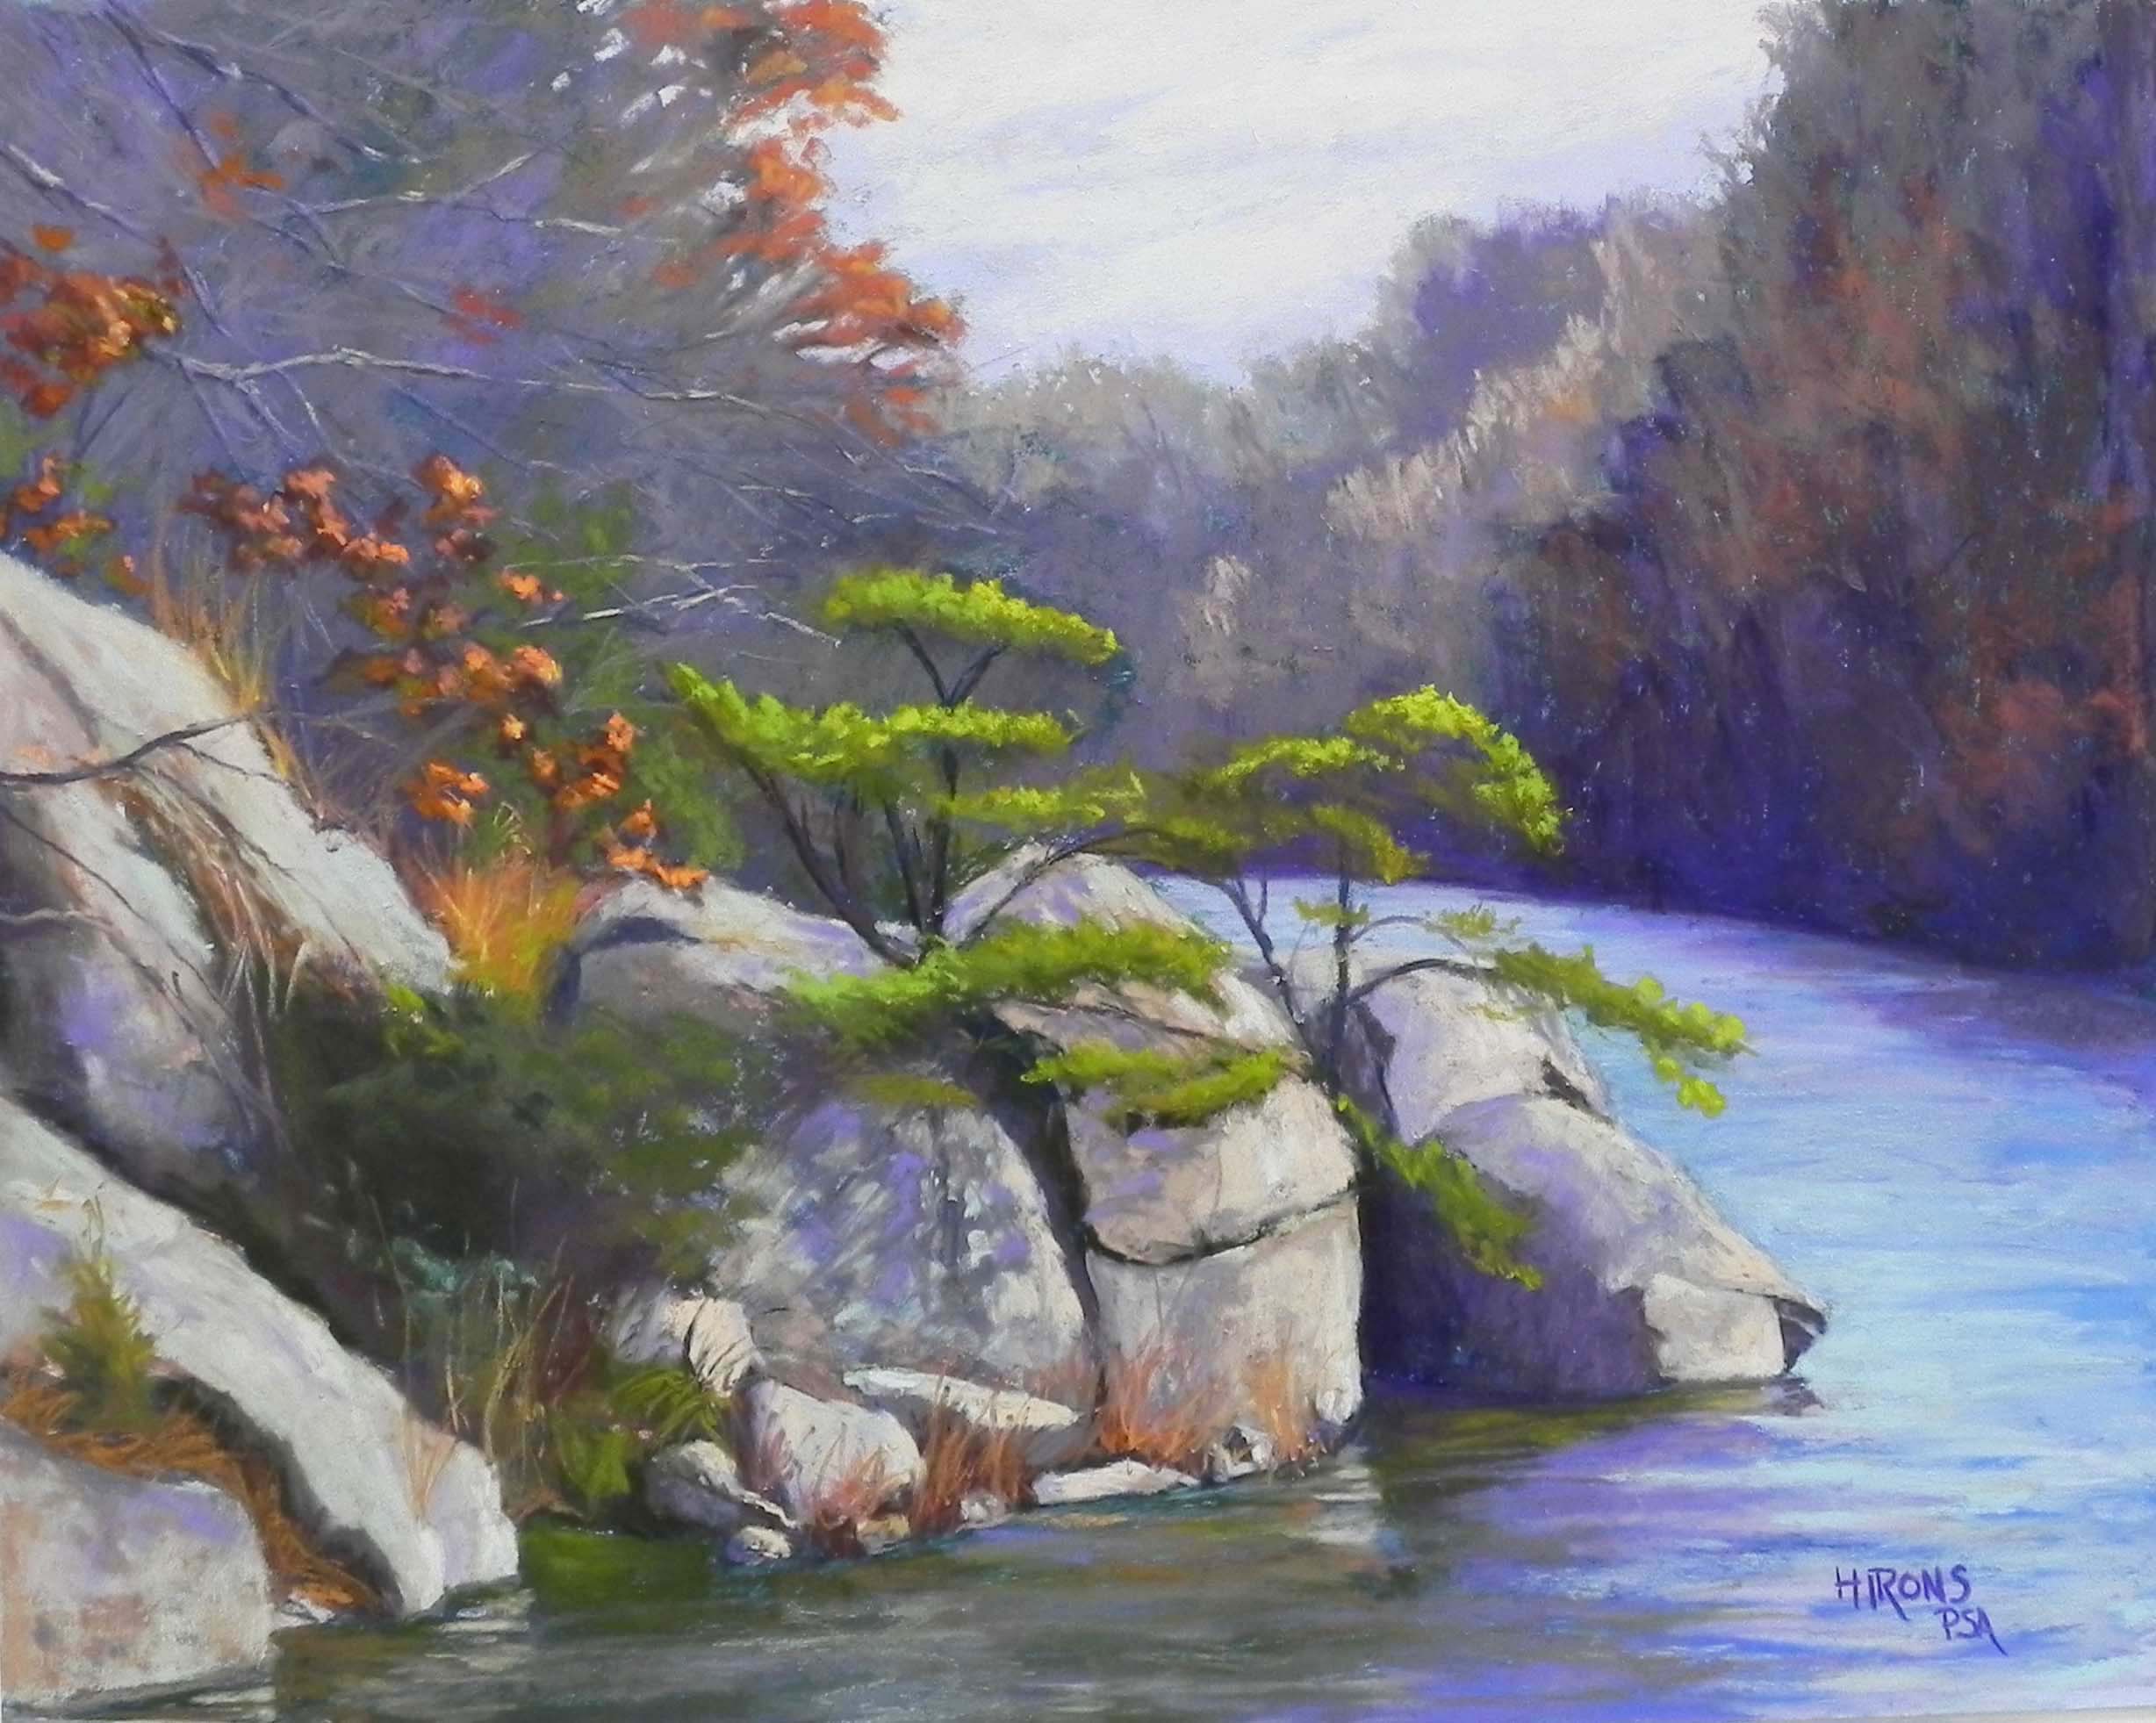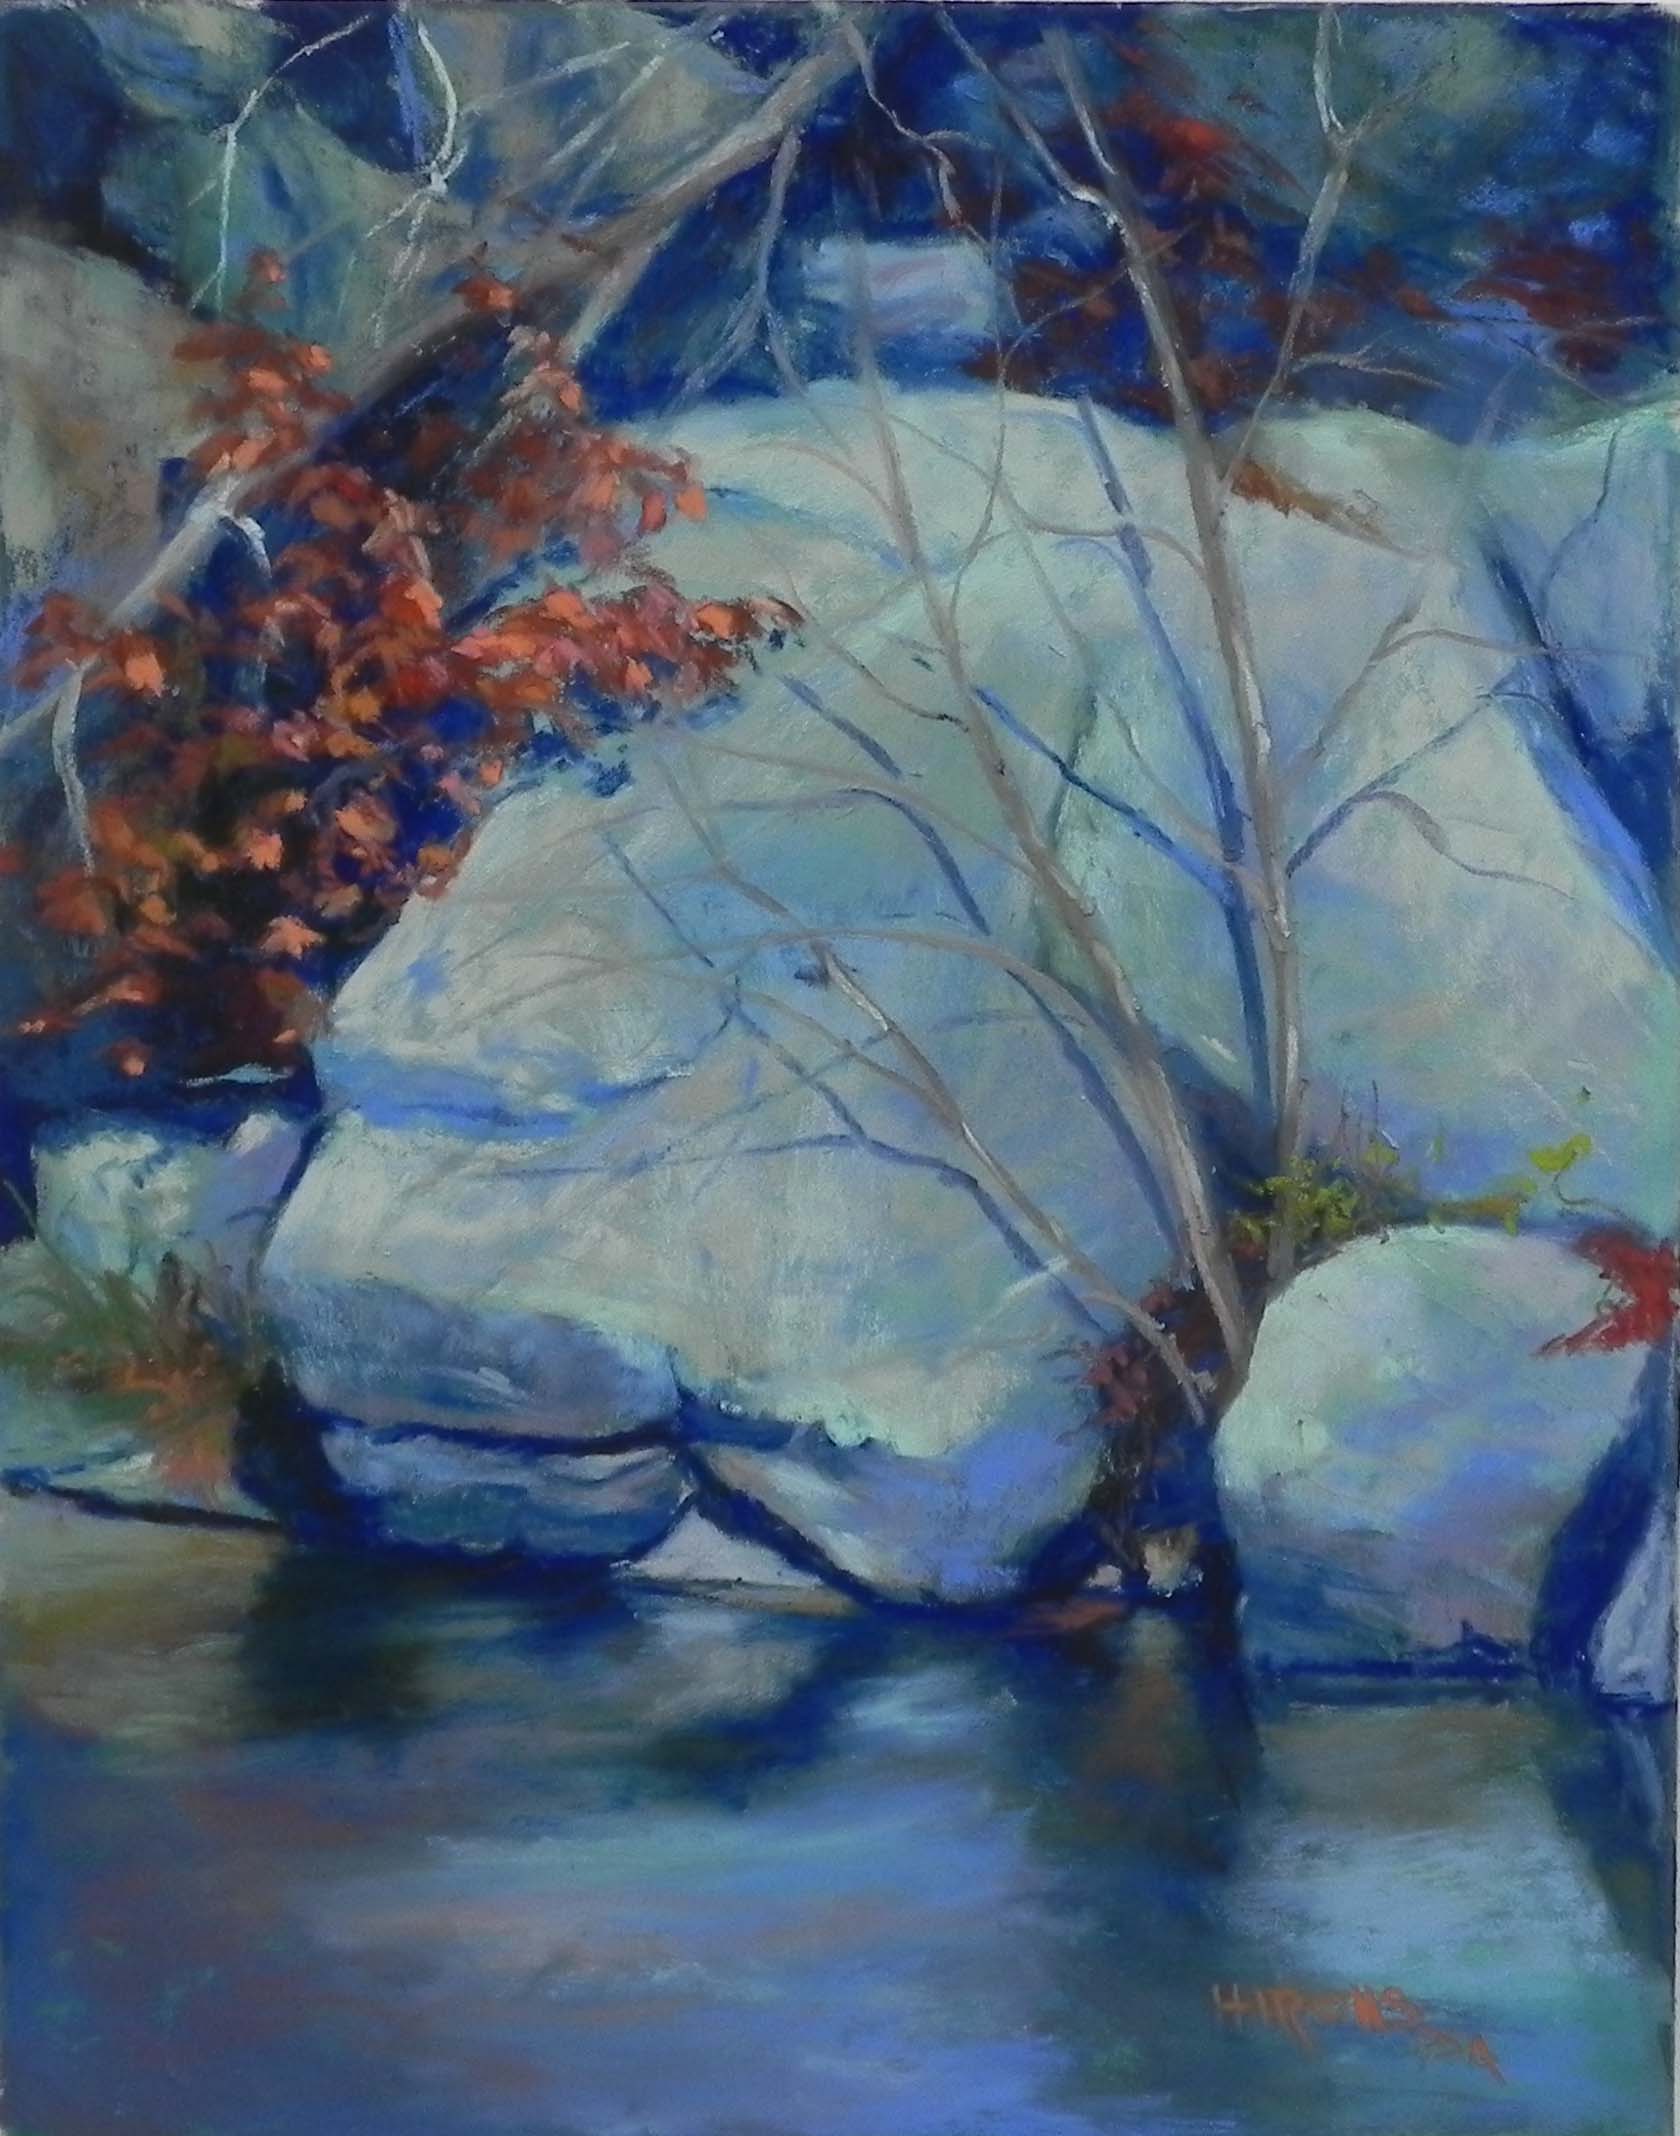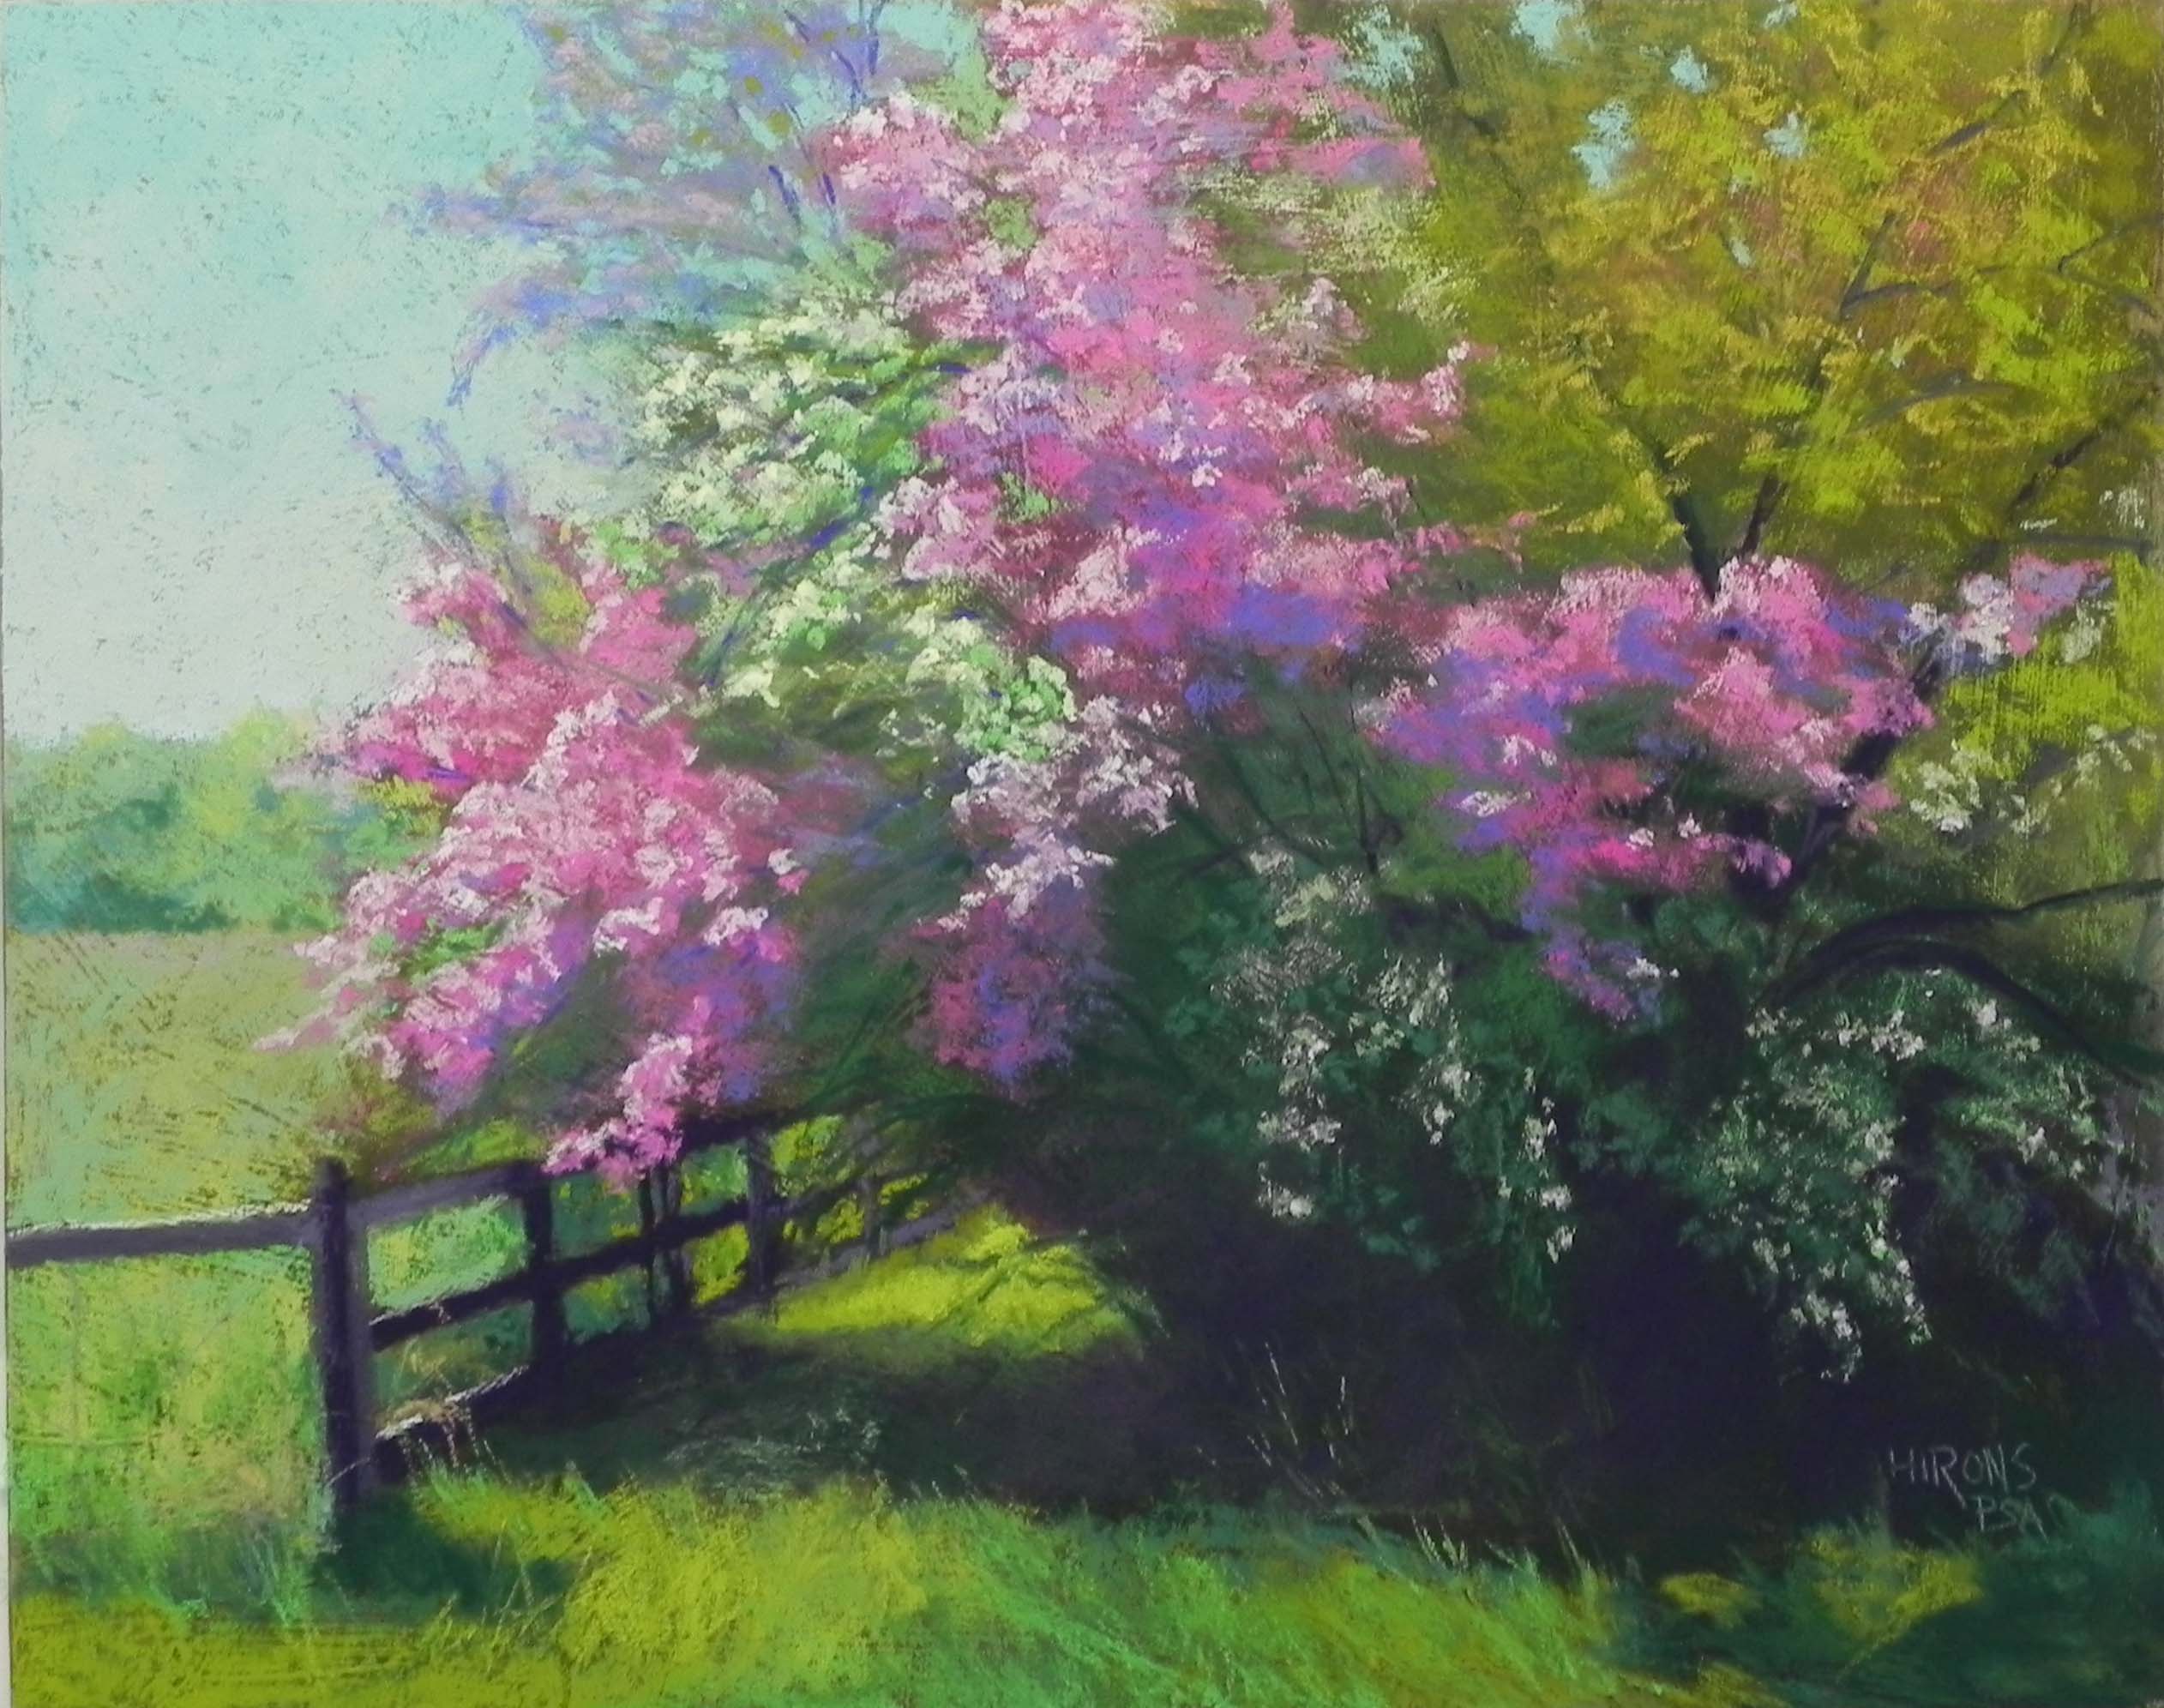
Spring Apples, No. 2, 16 x 20, pastelbord with AS liquid primer
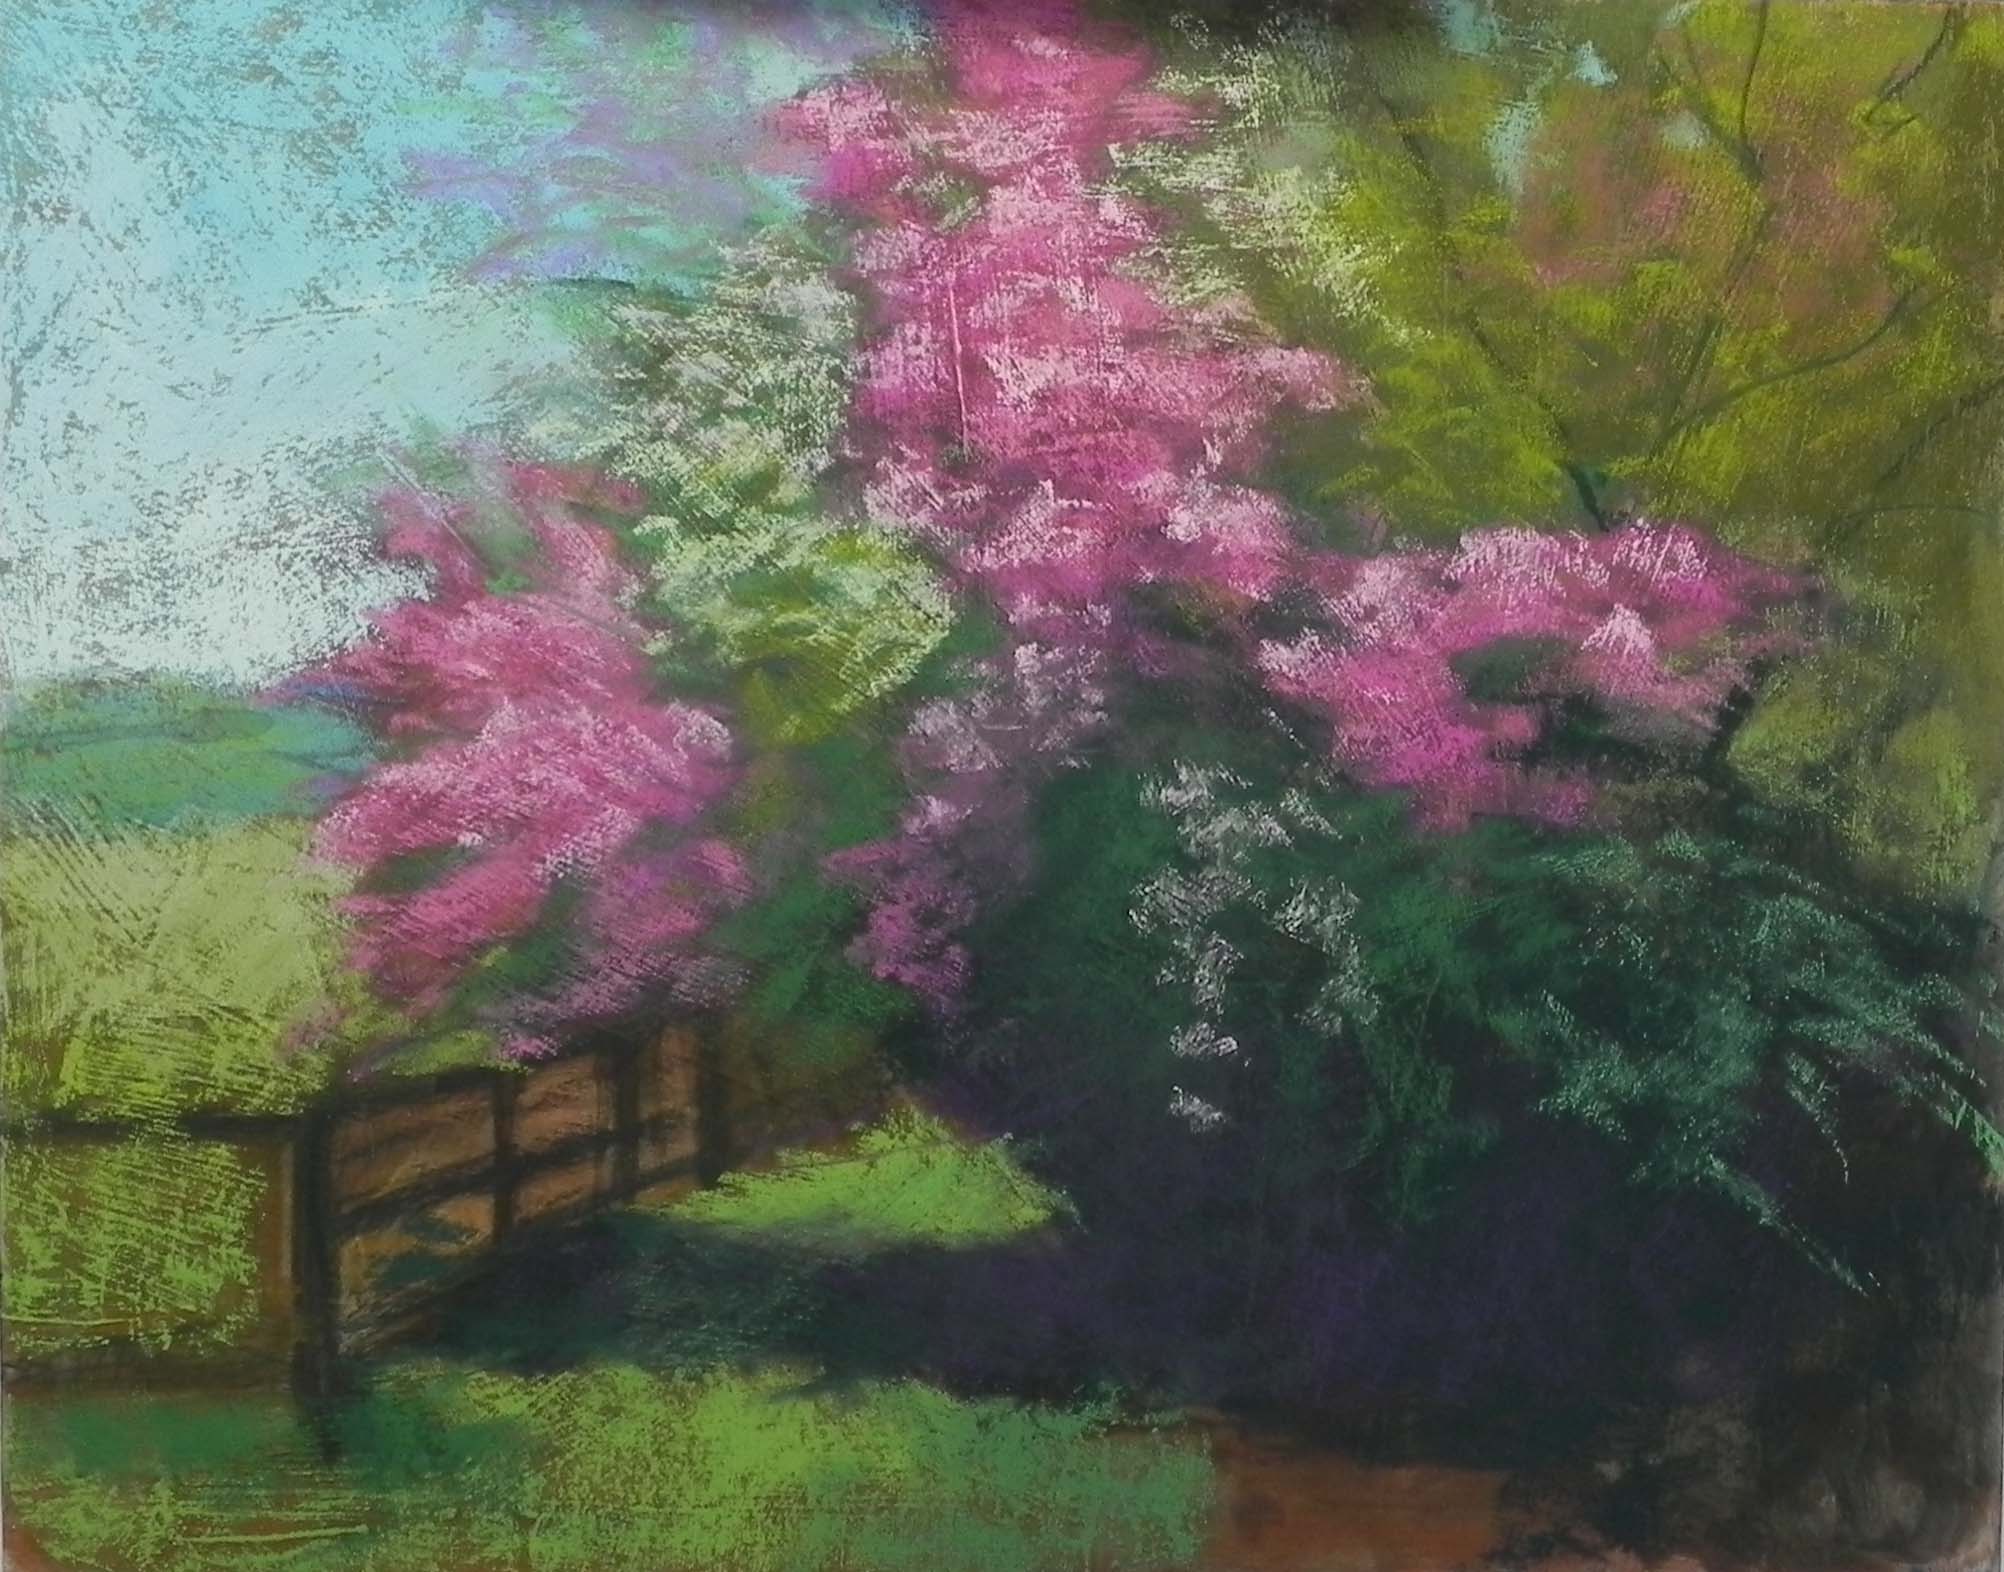
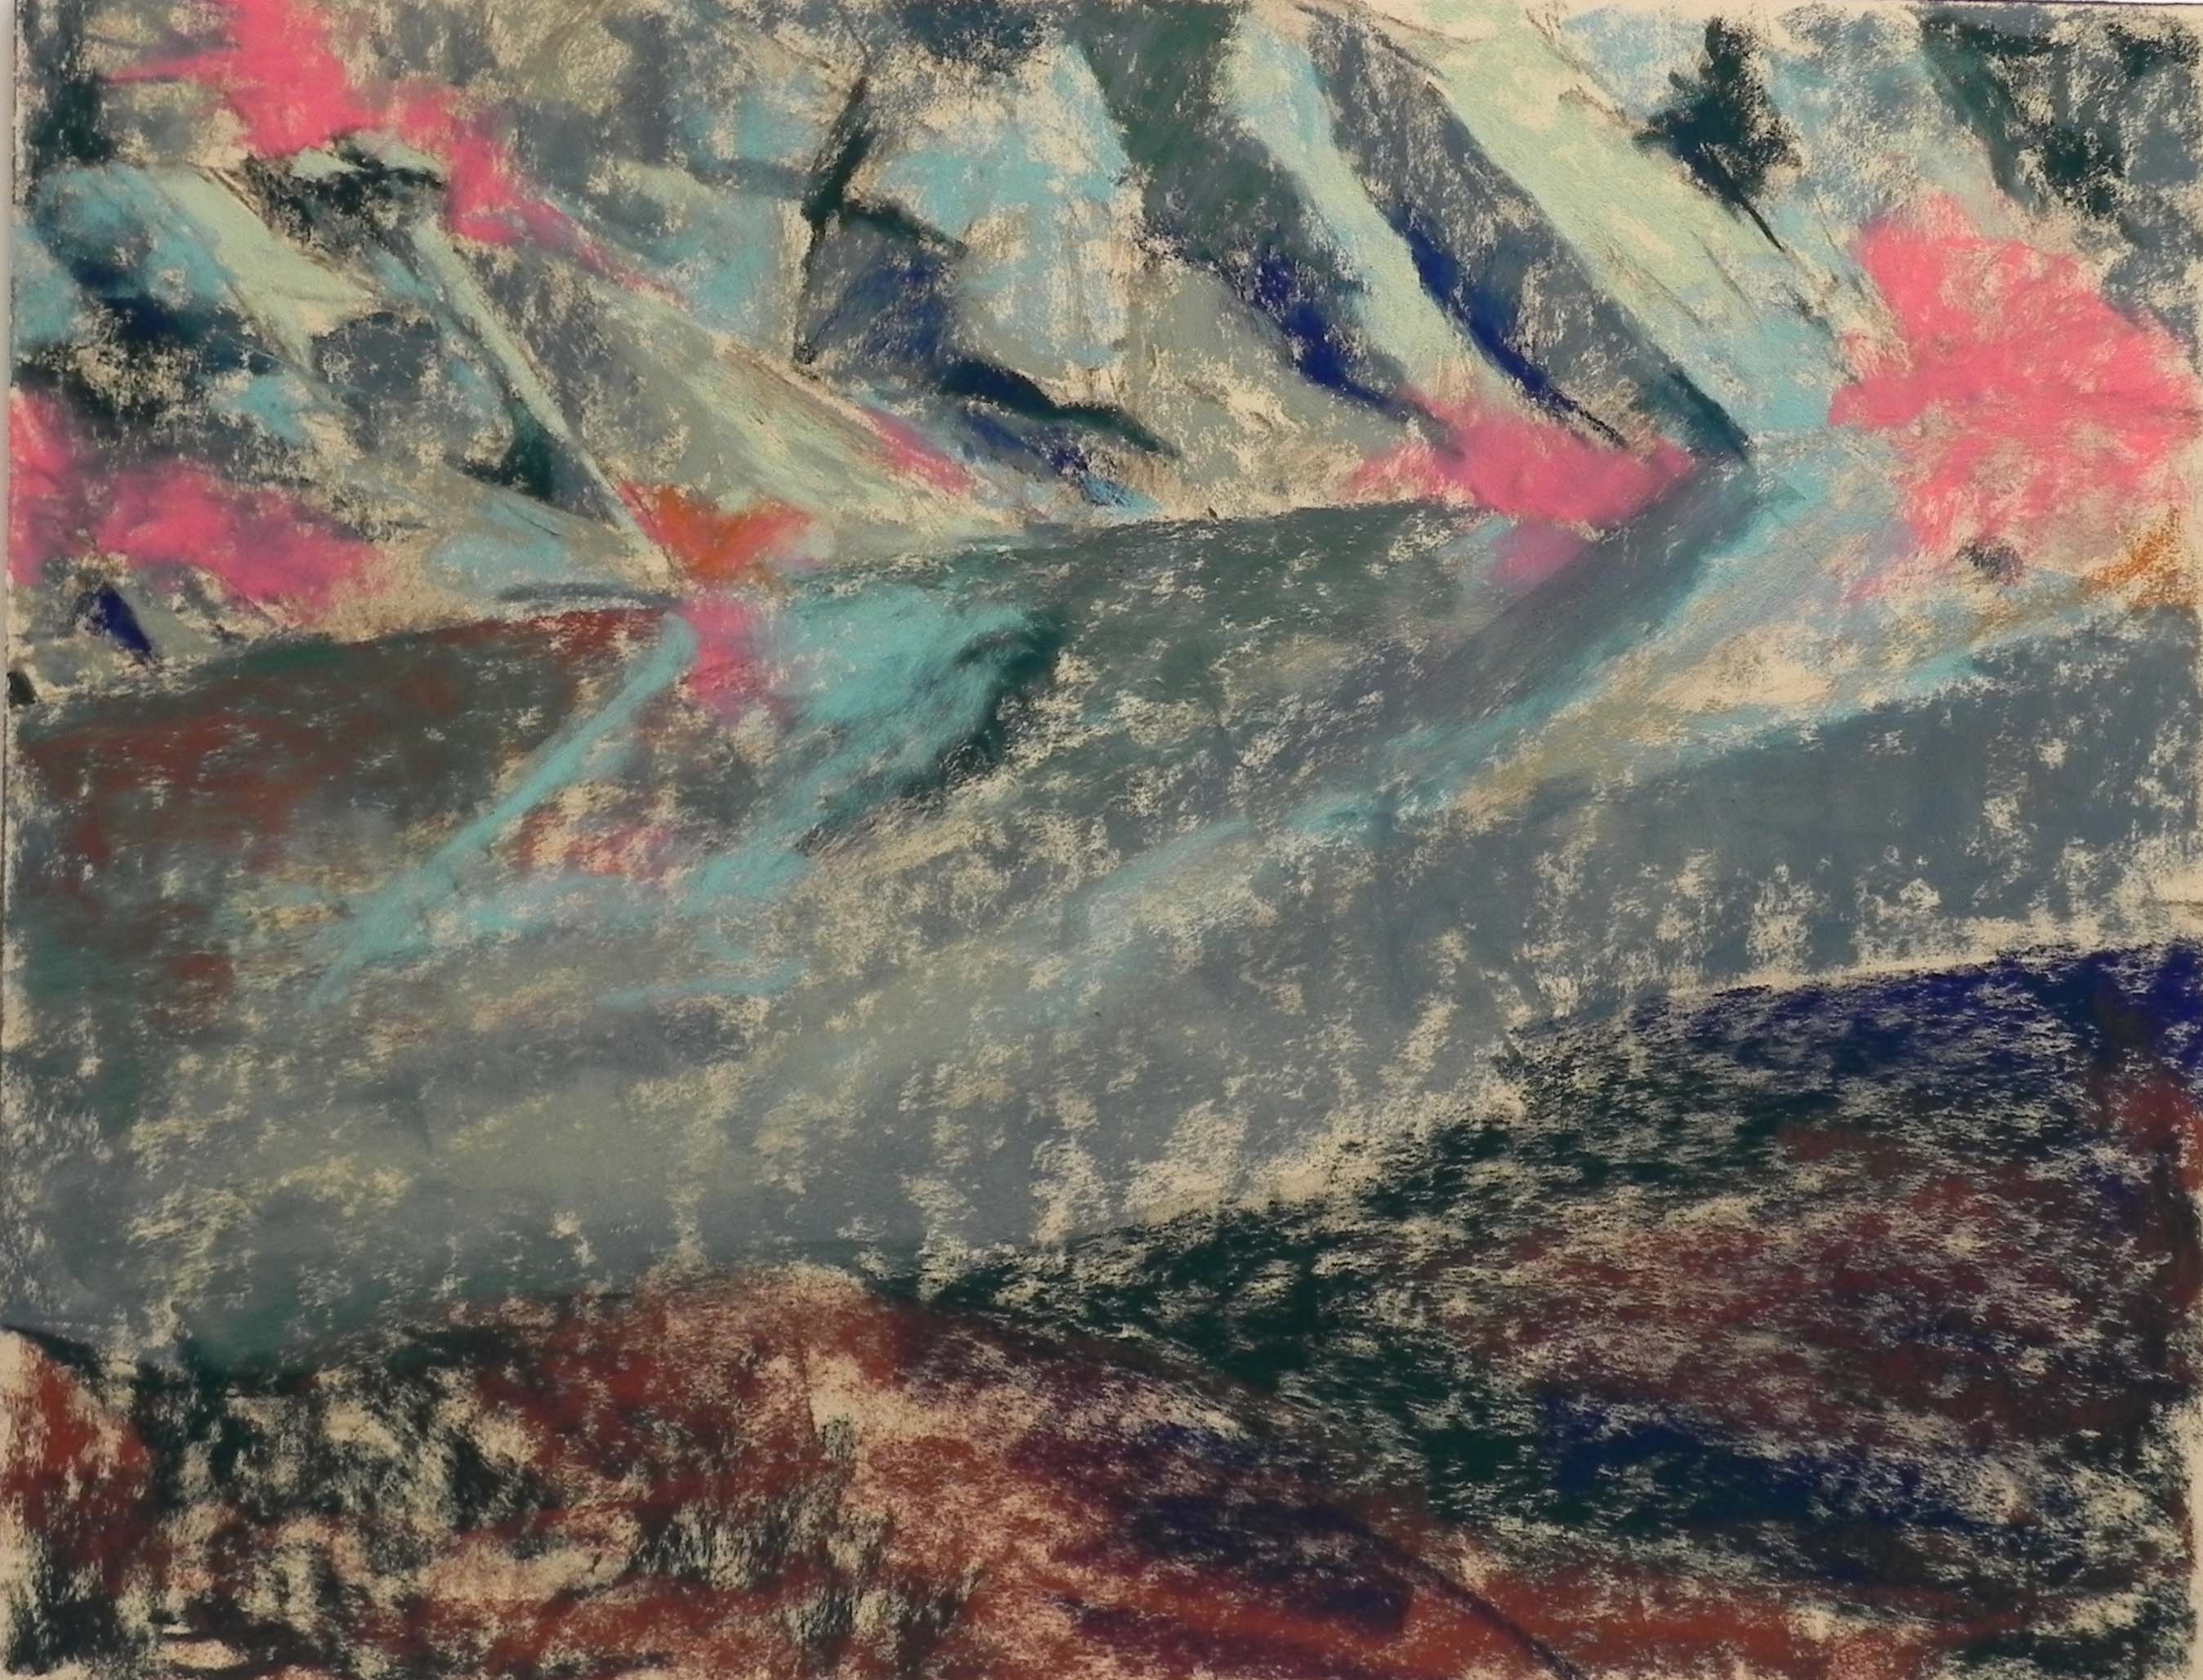
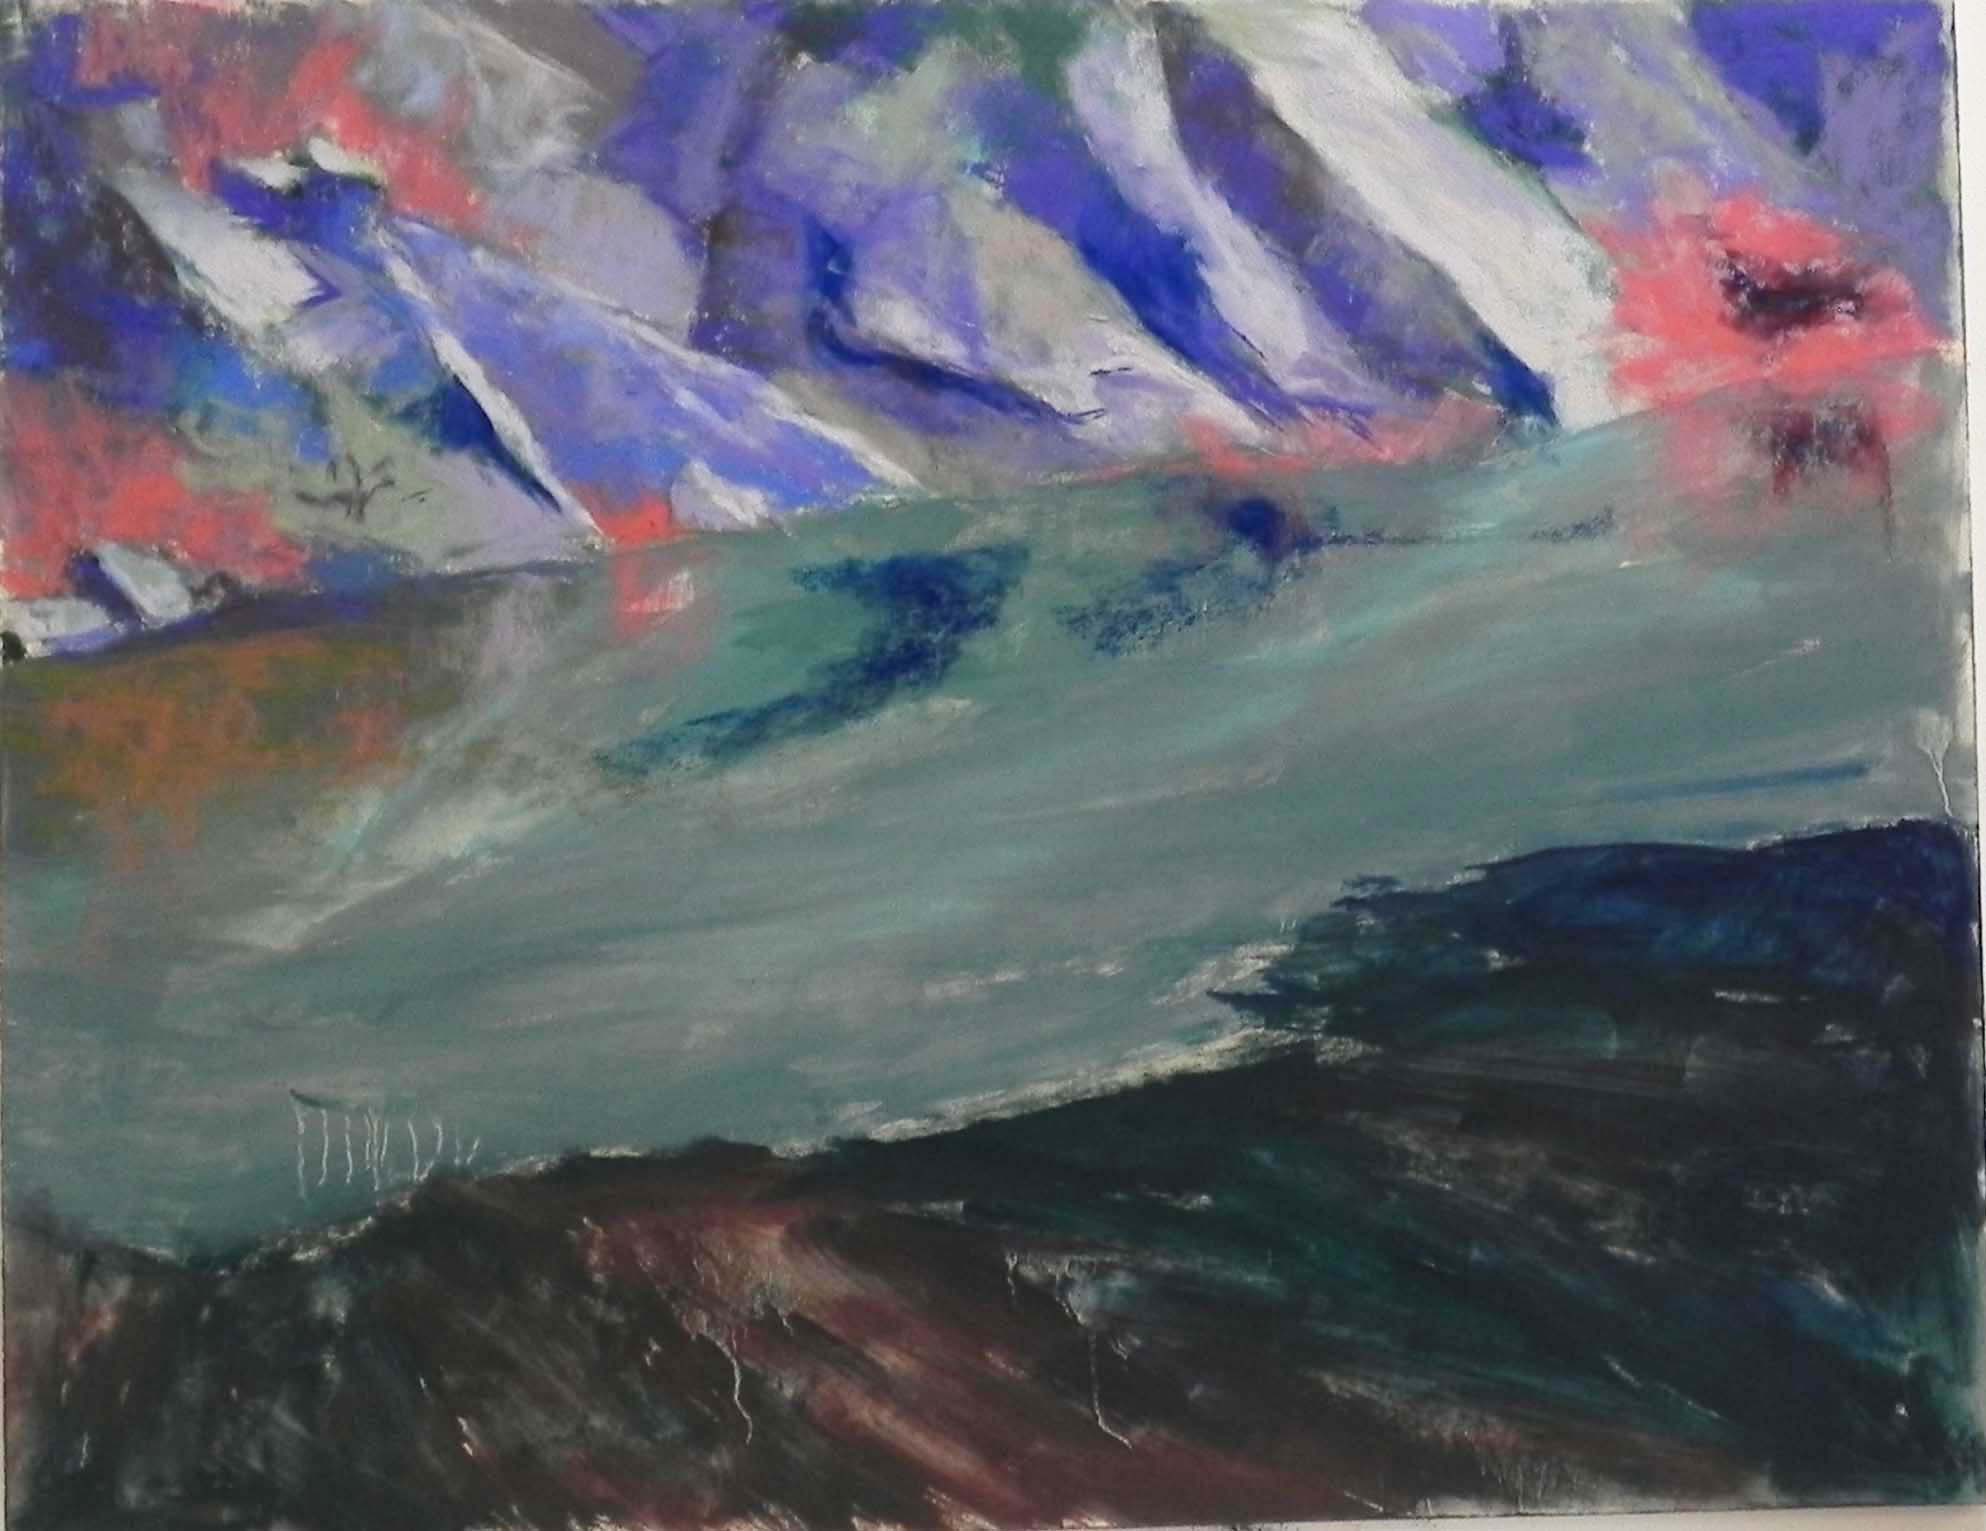
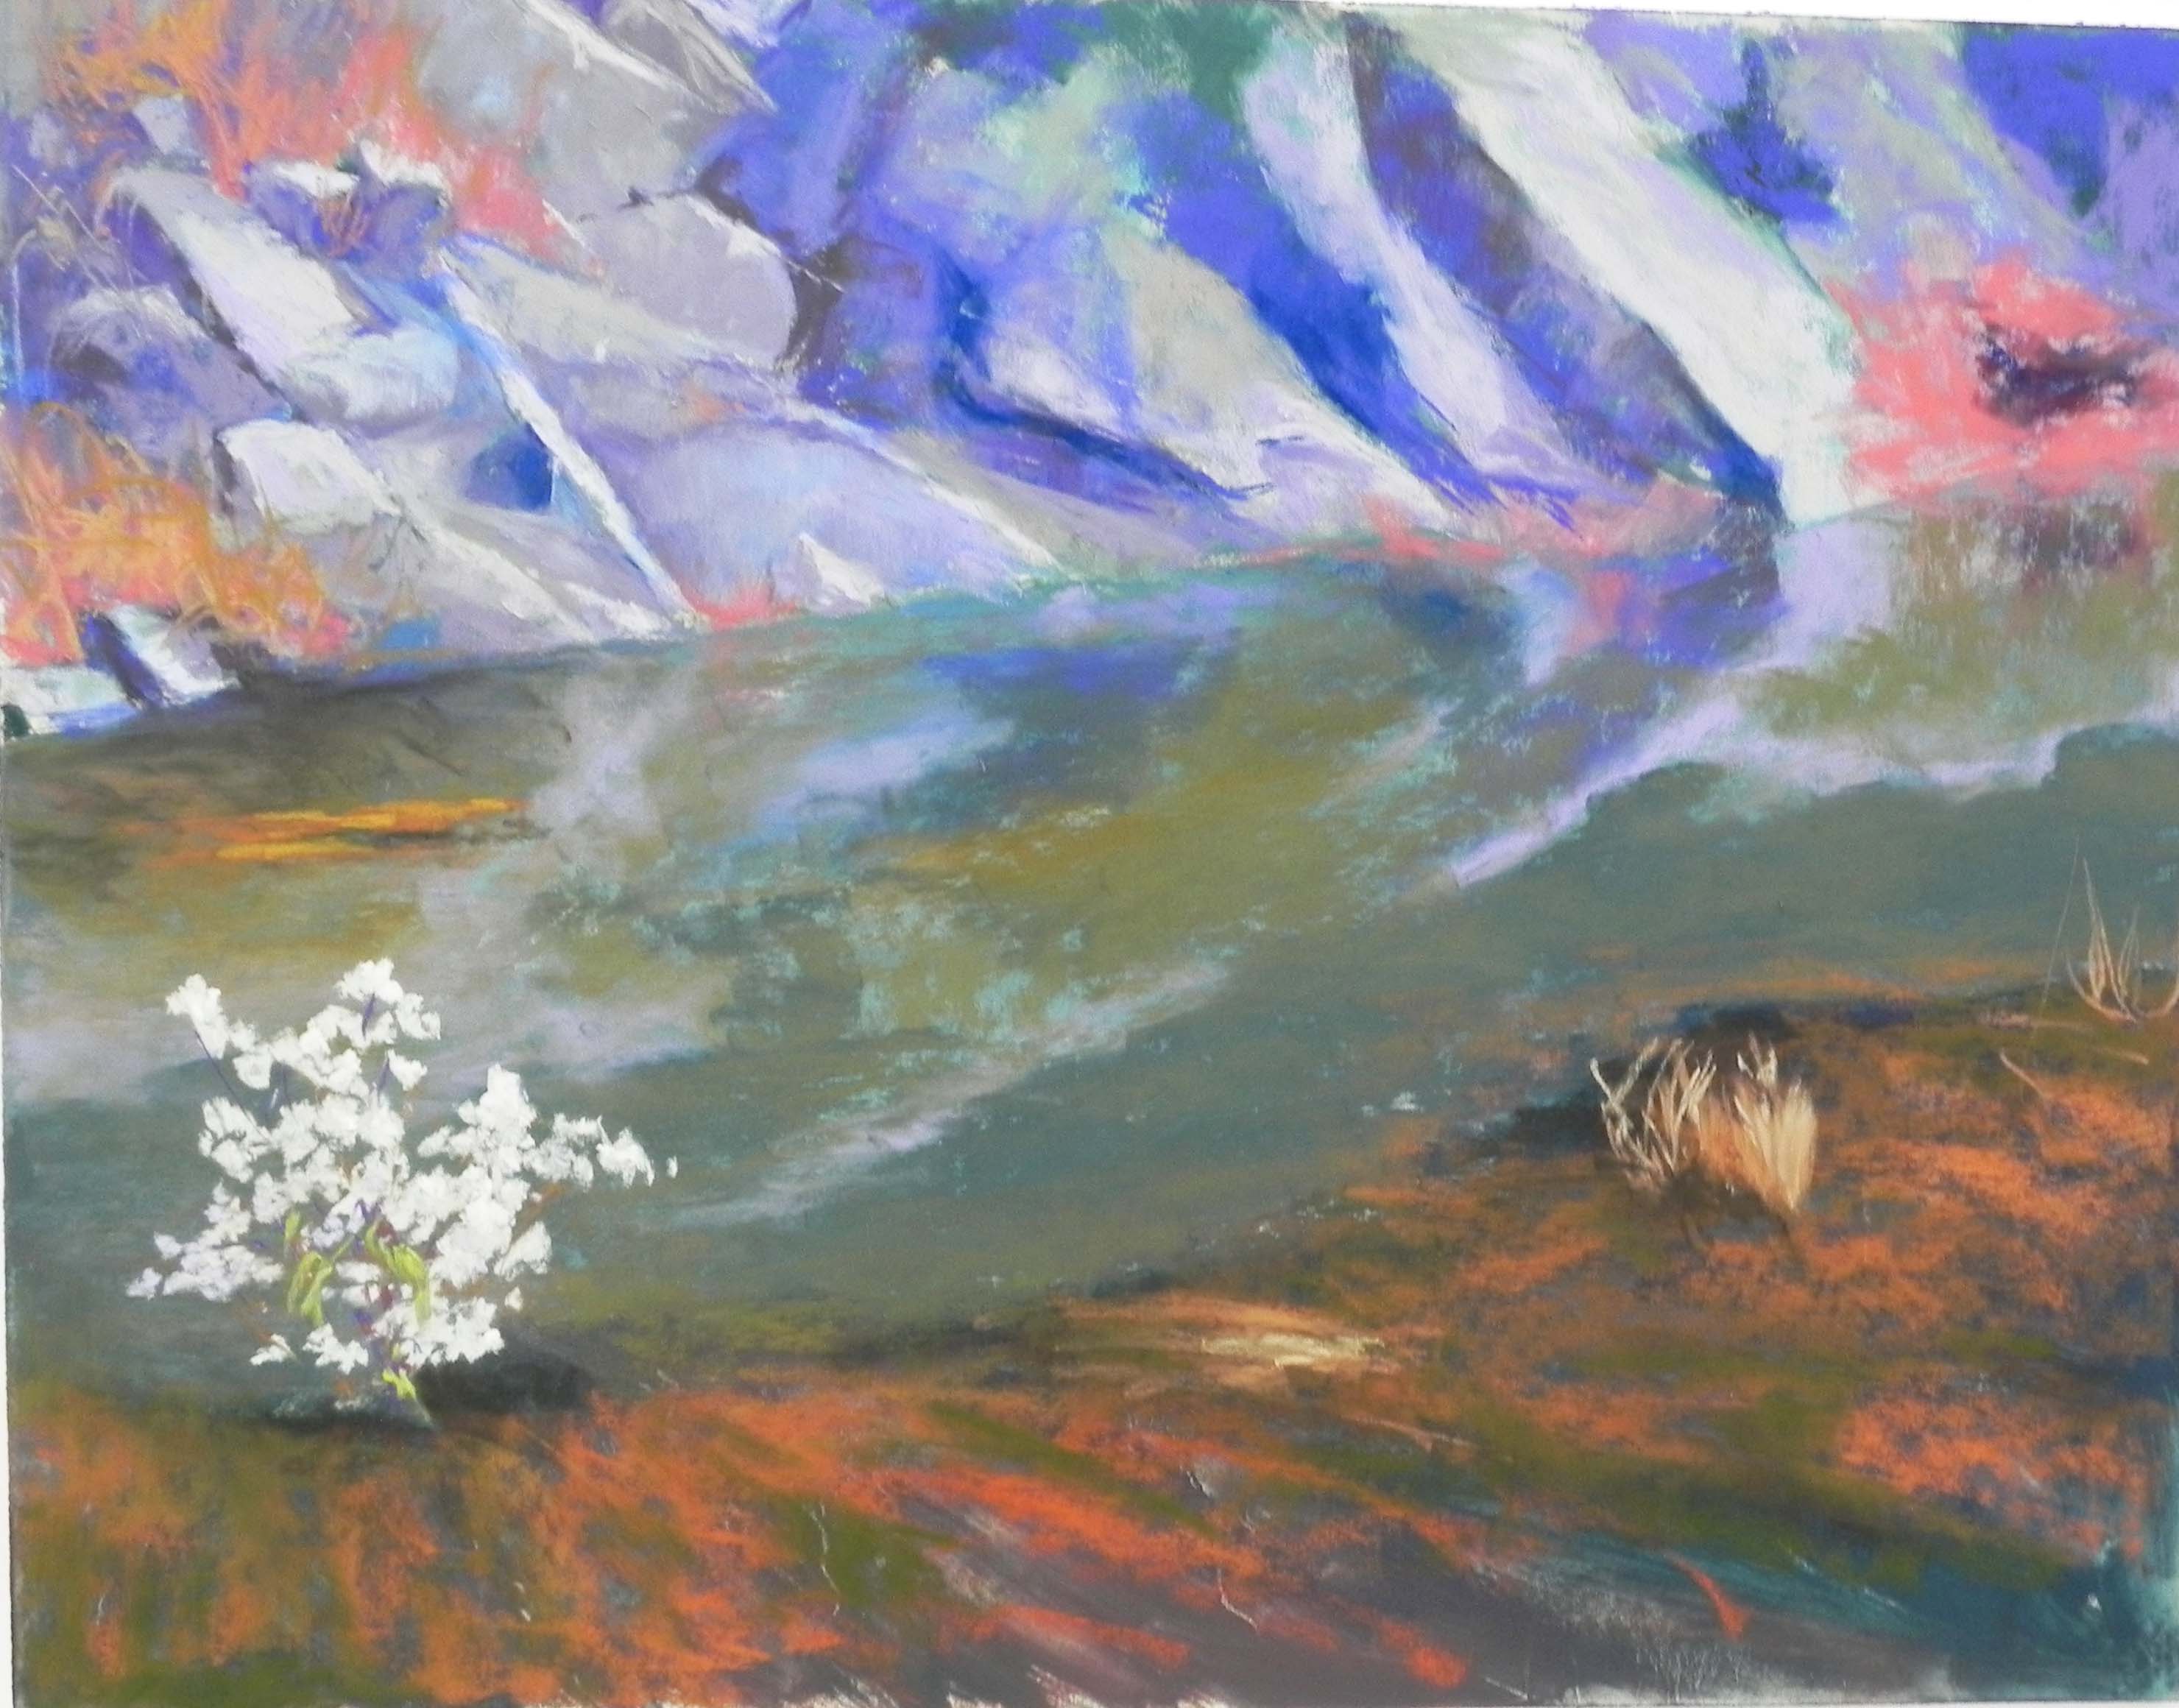
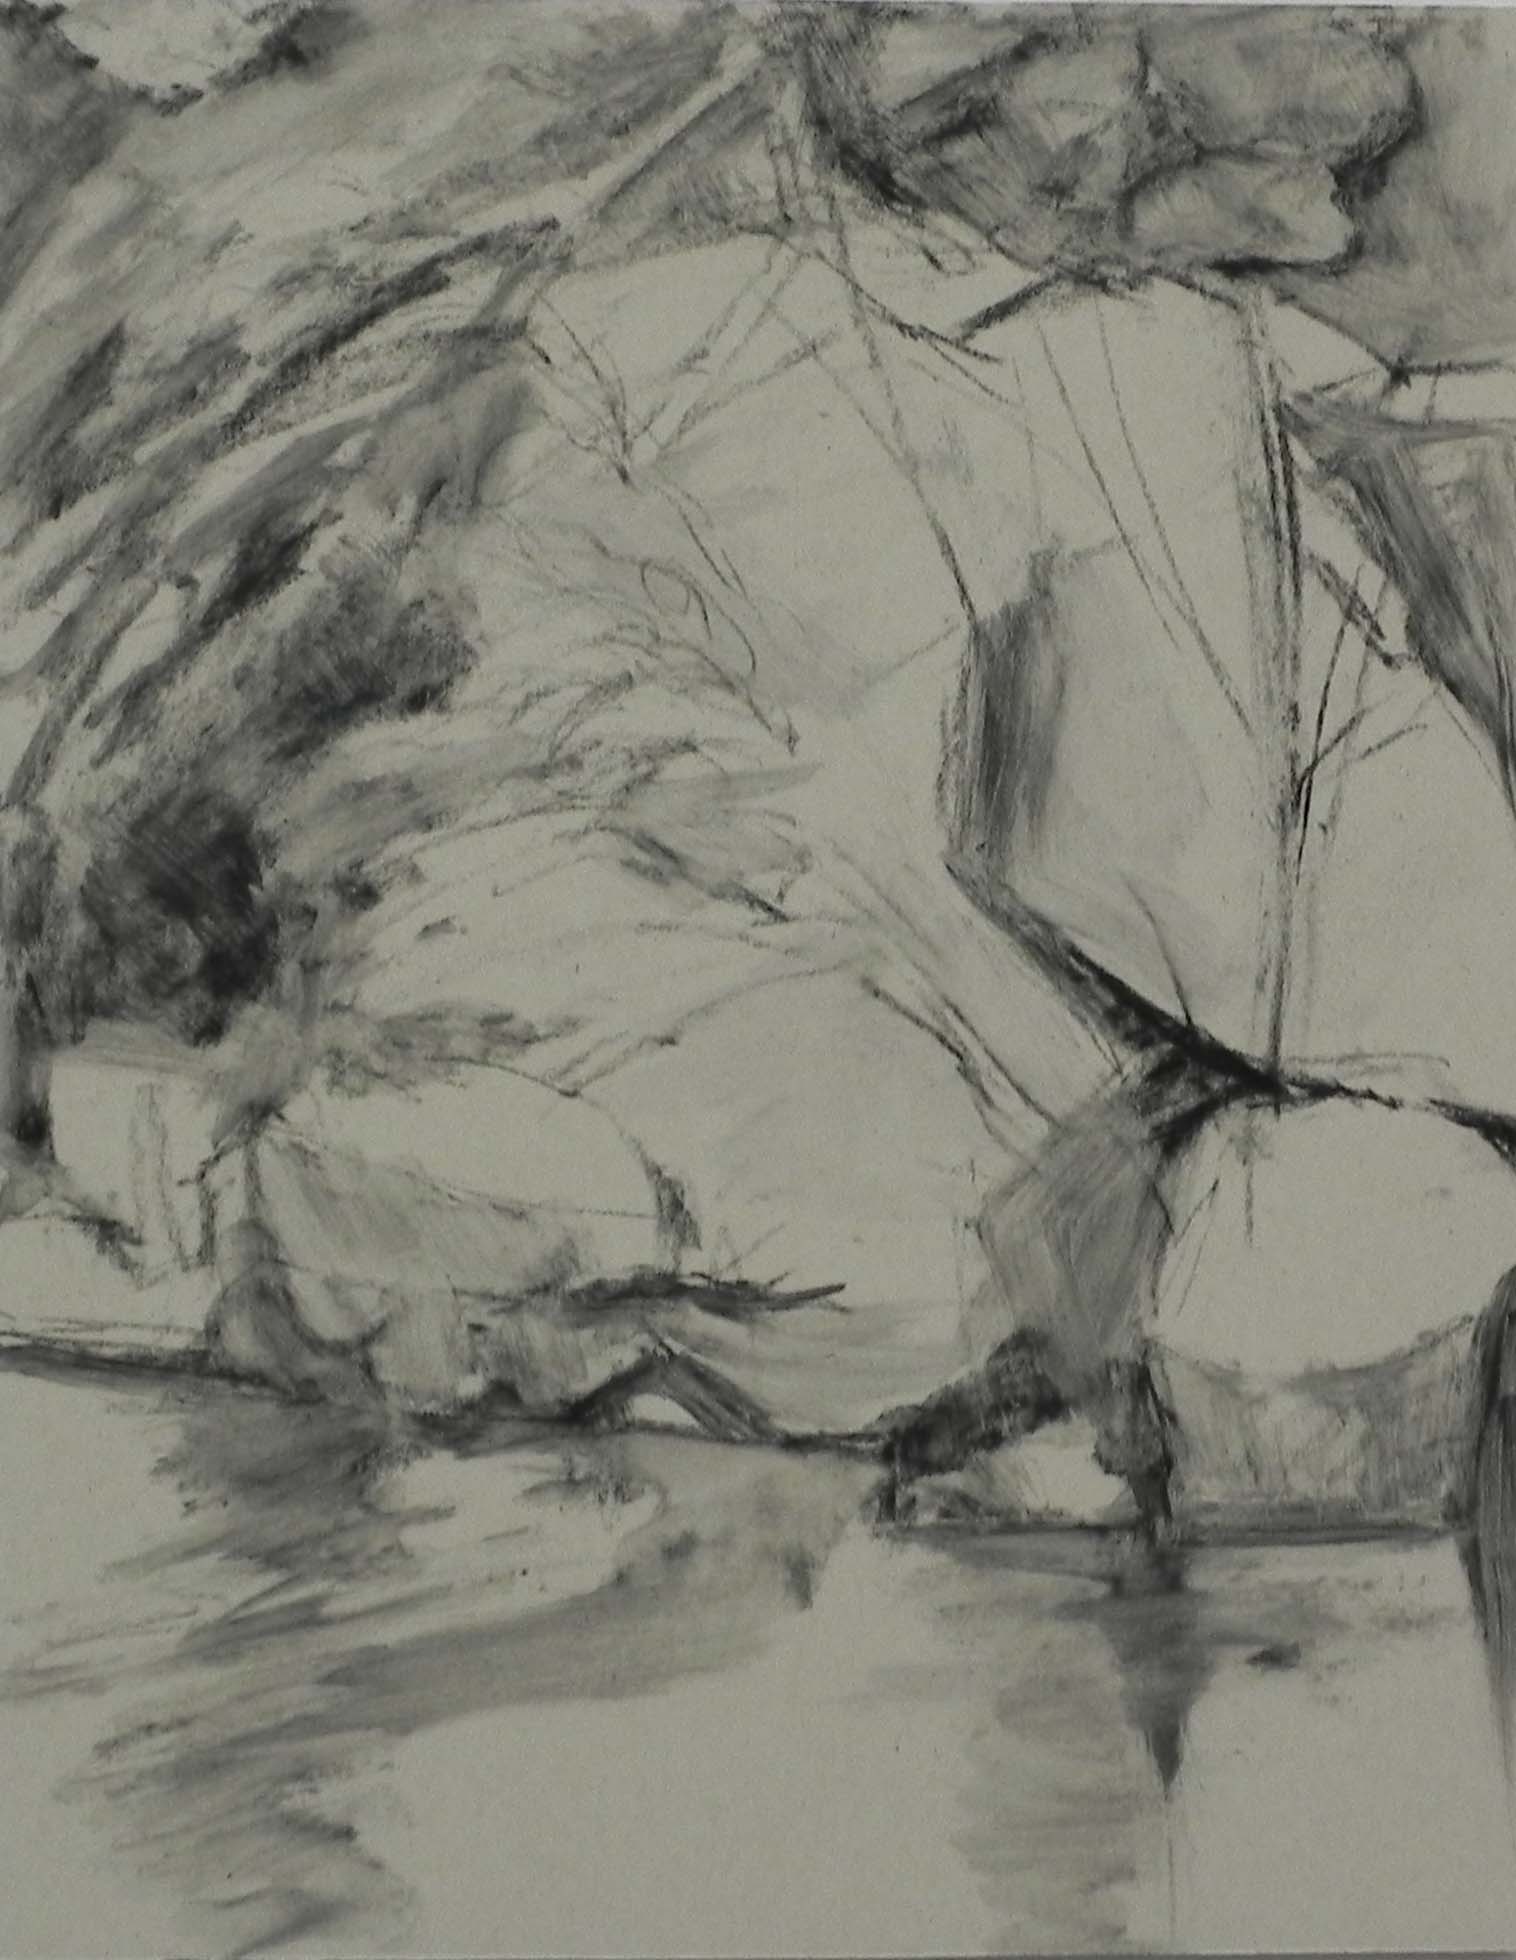
Stage 1. picture as completed at demo
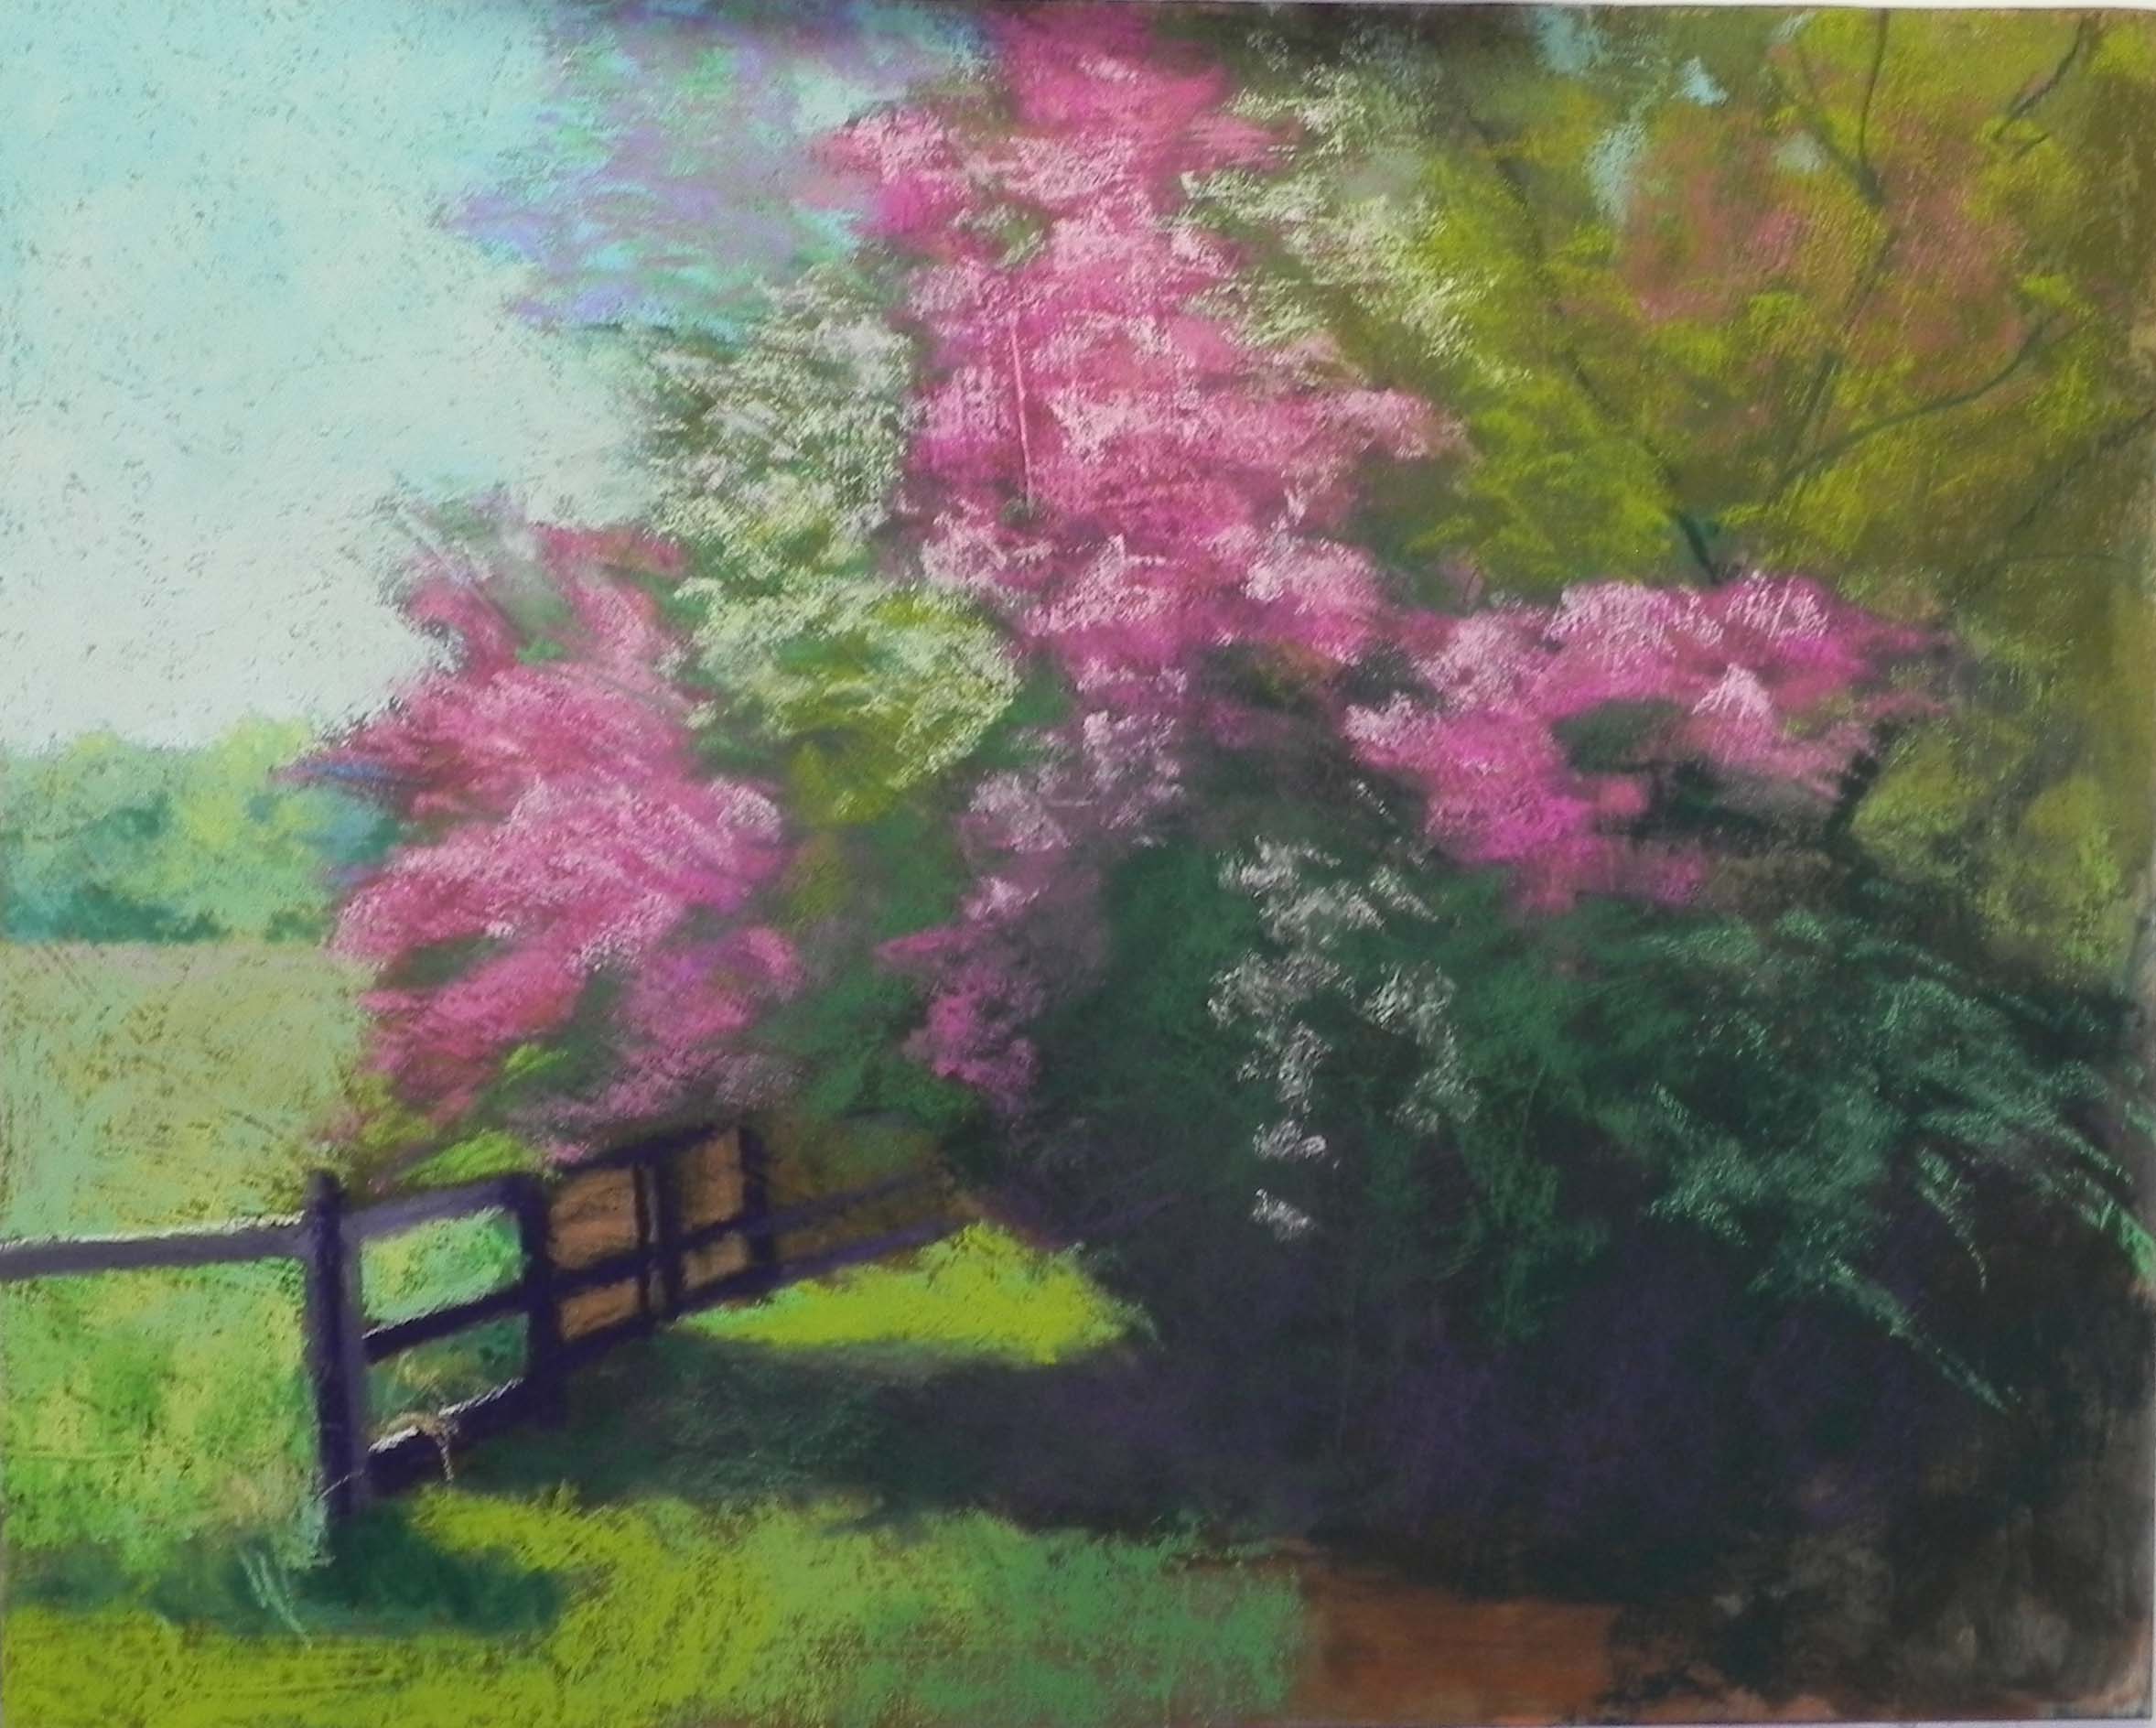
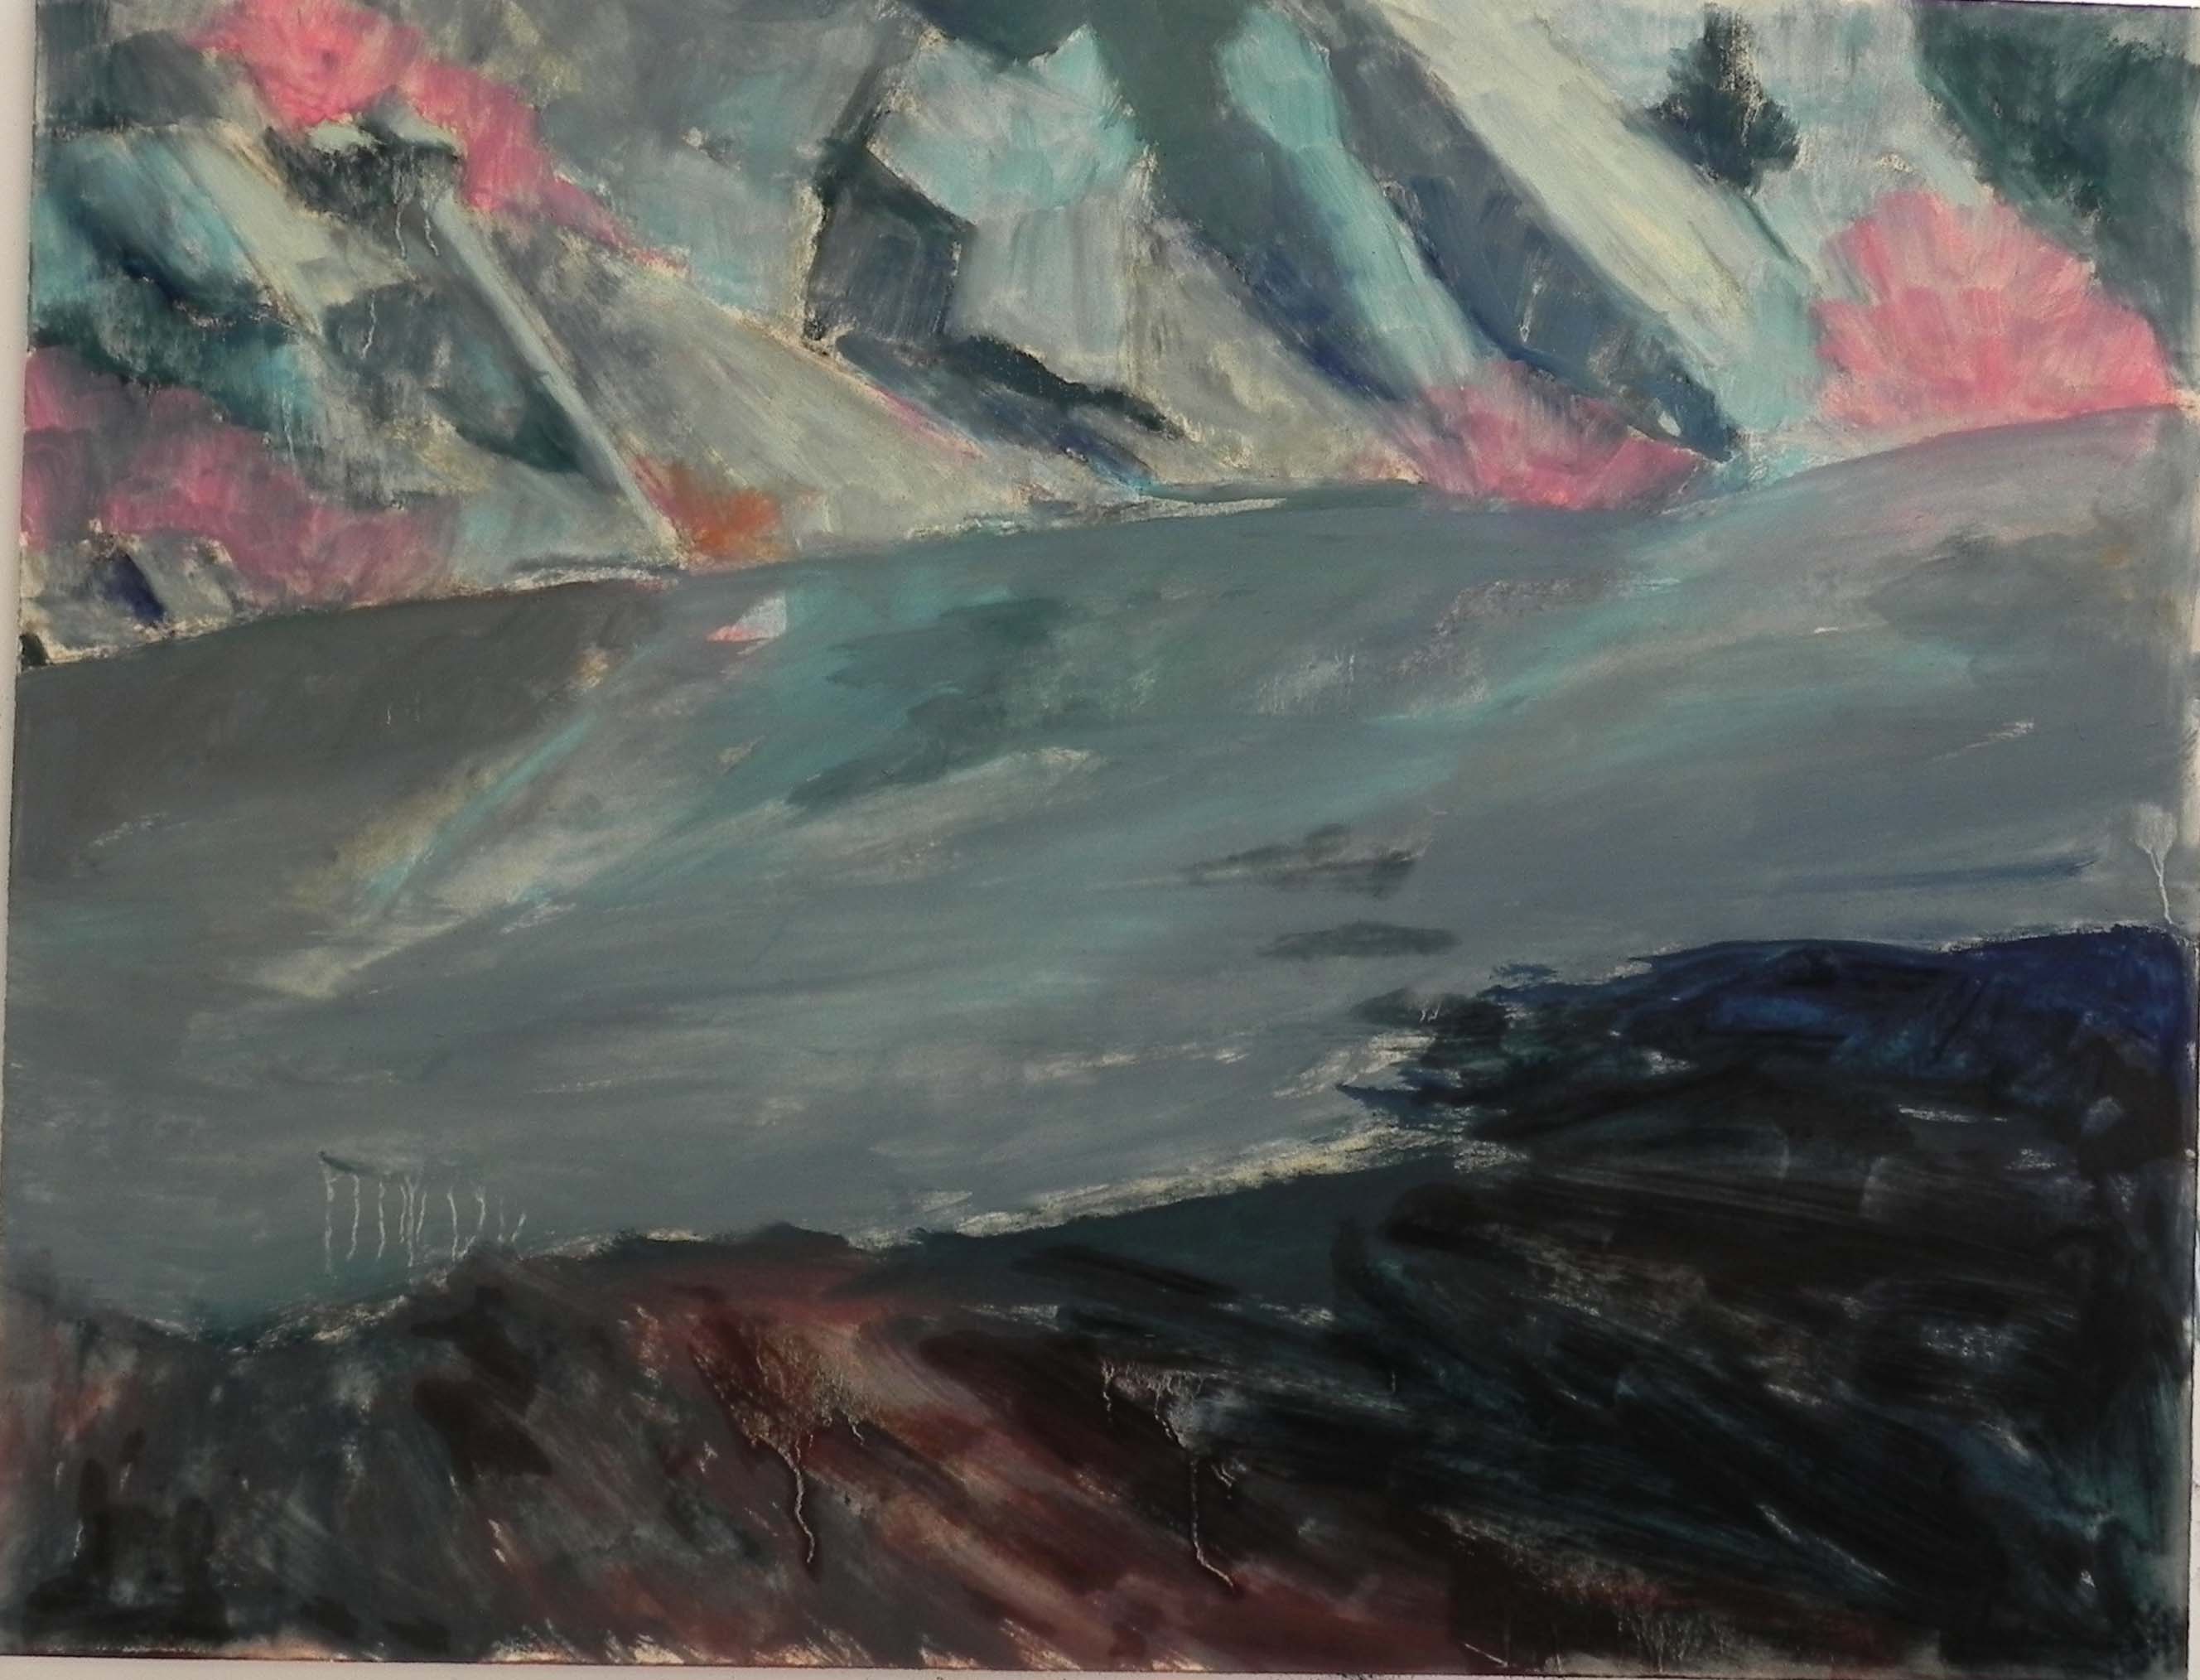
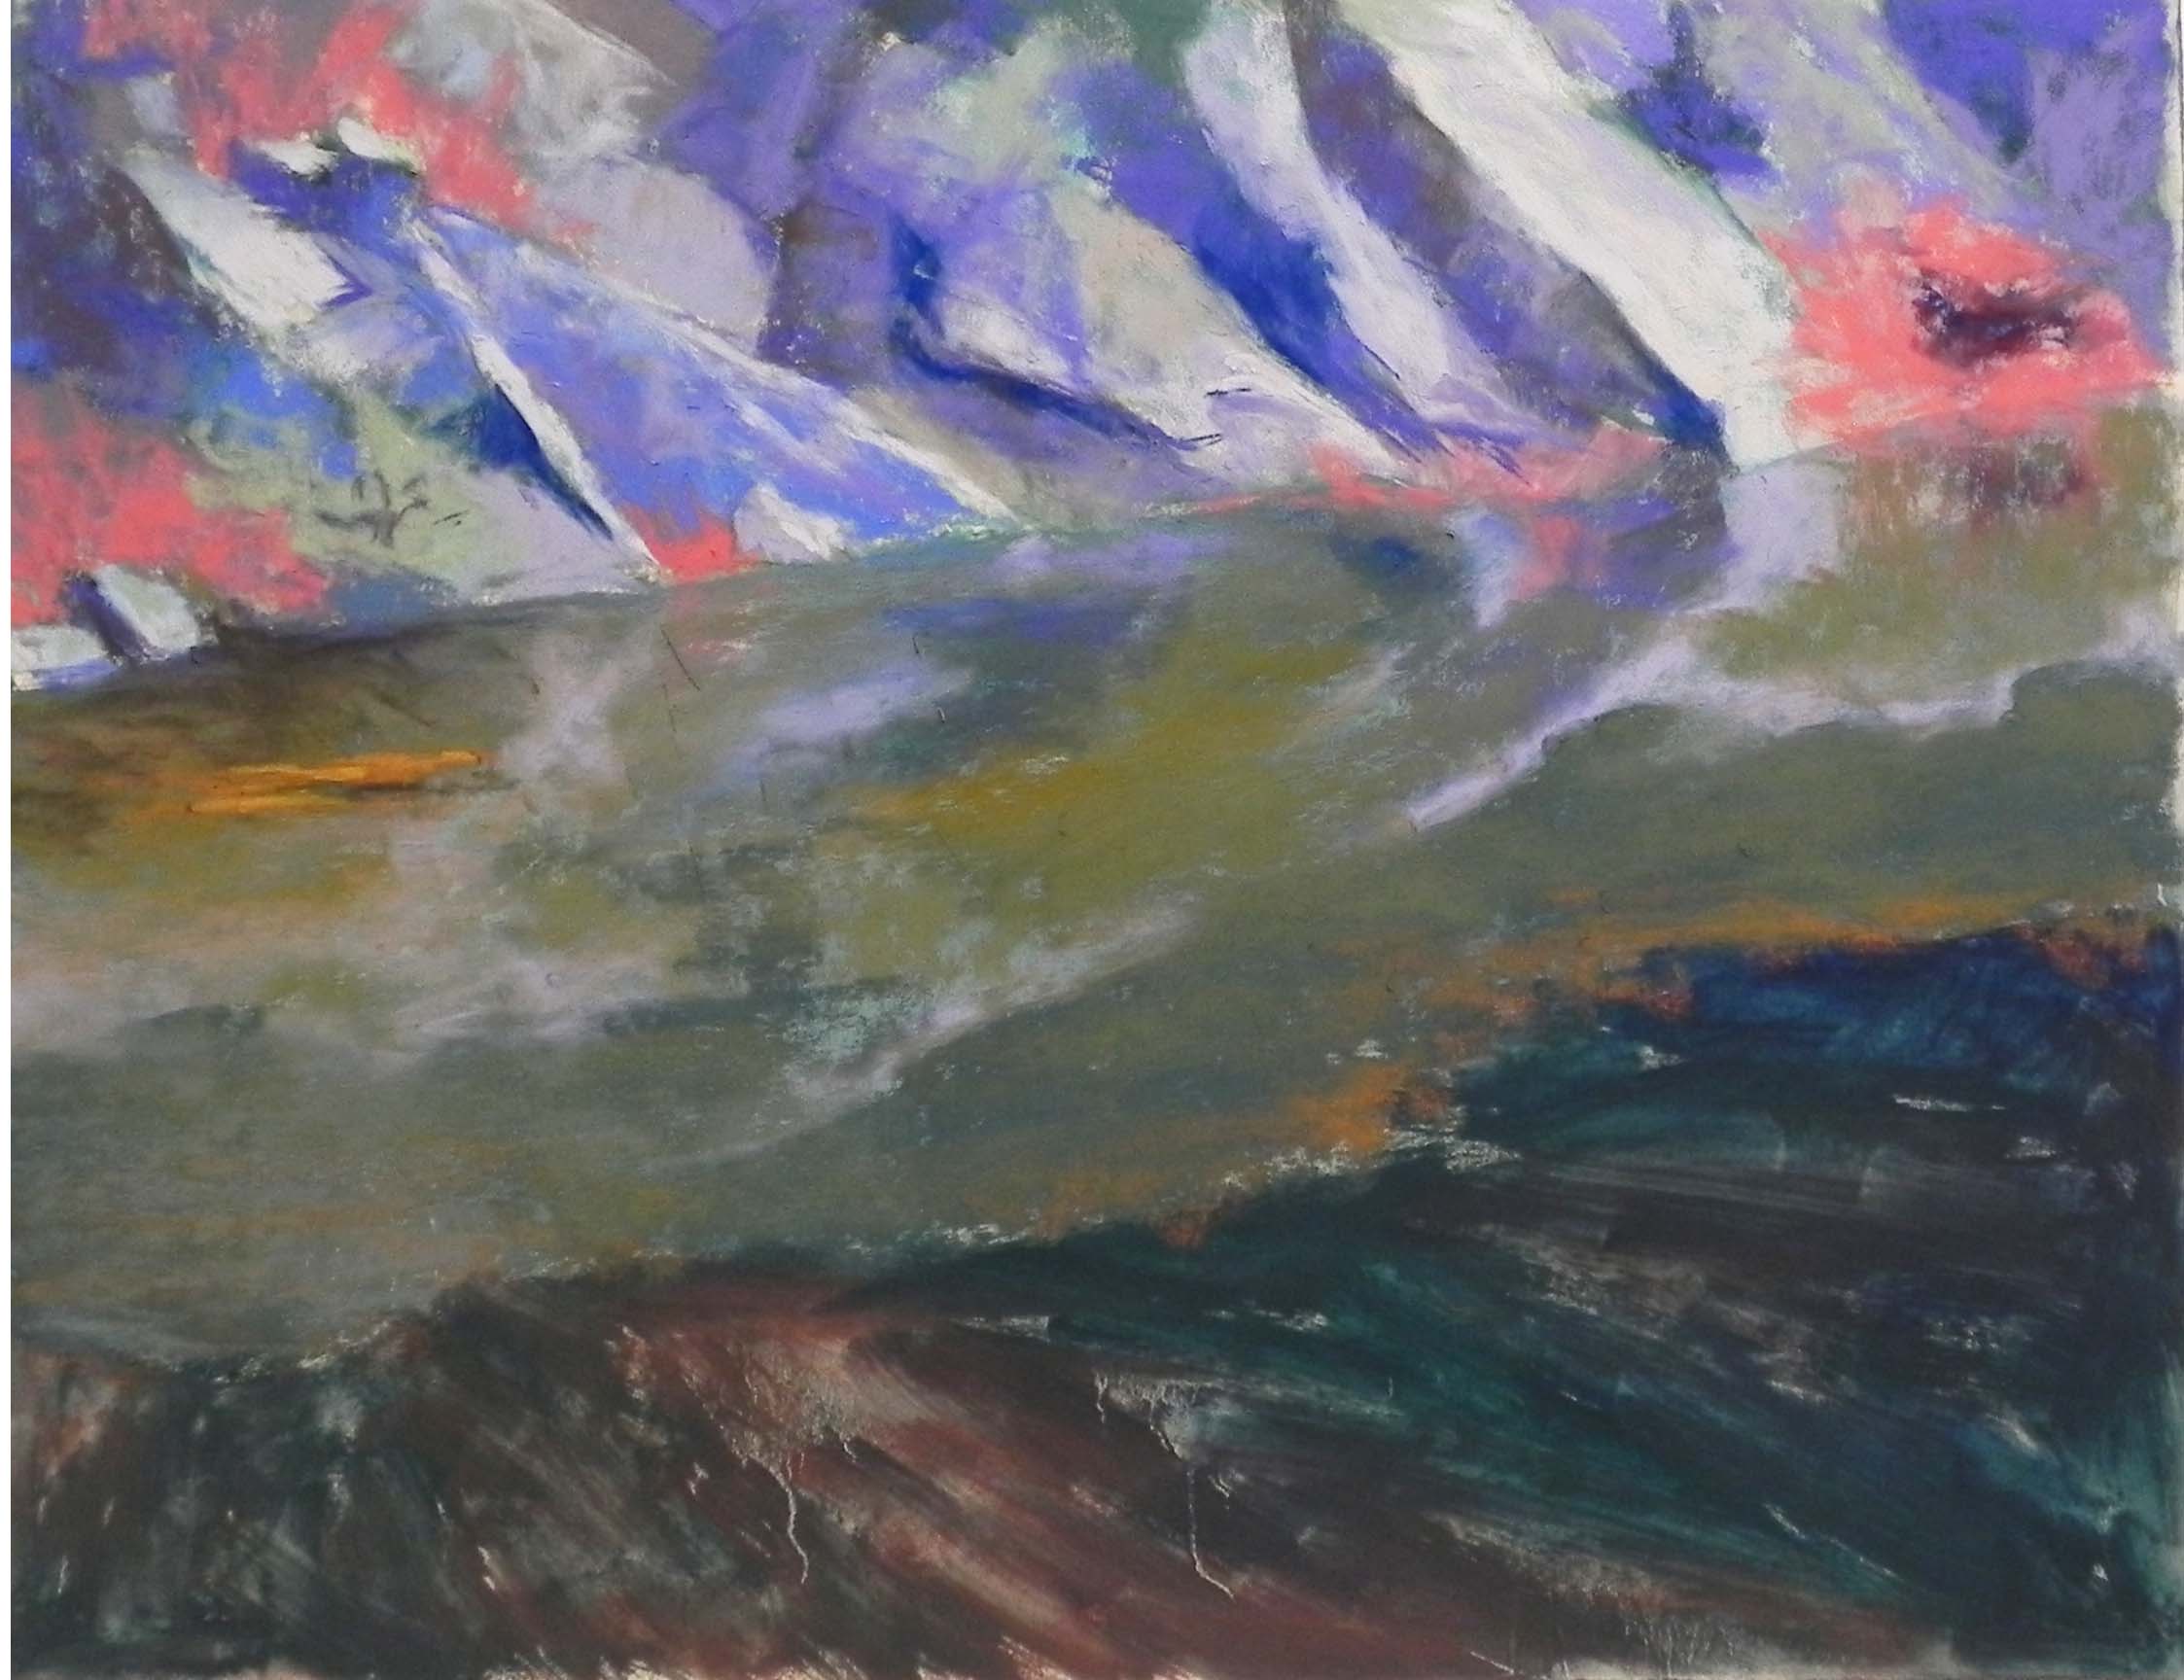
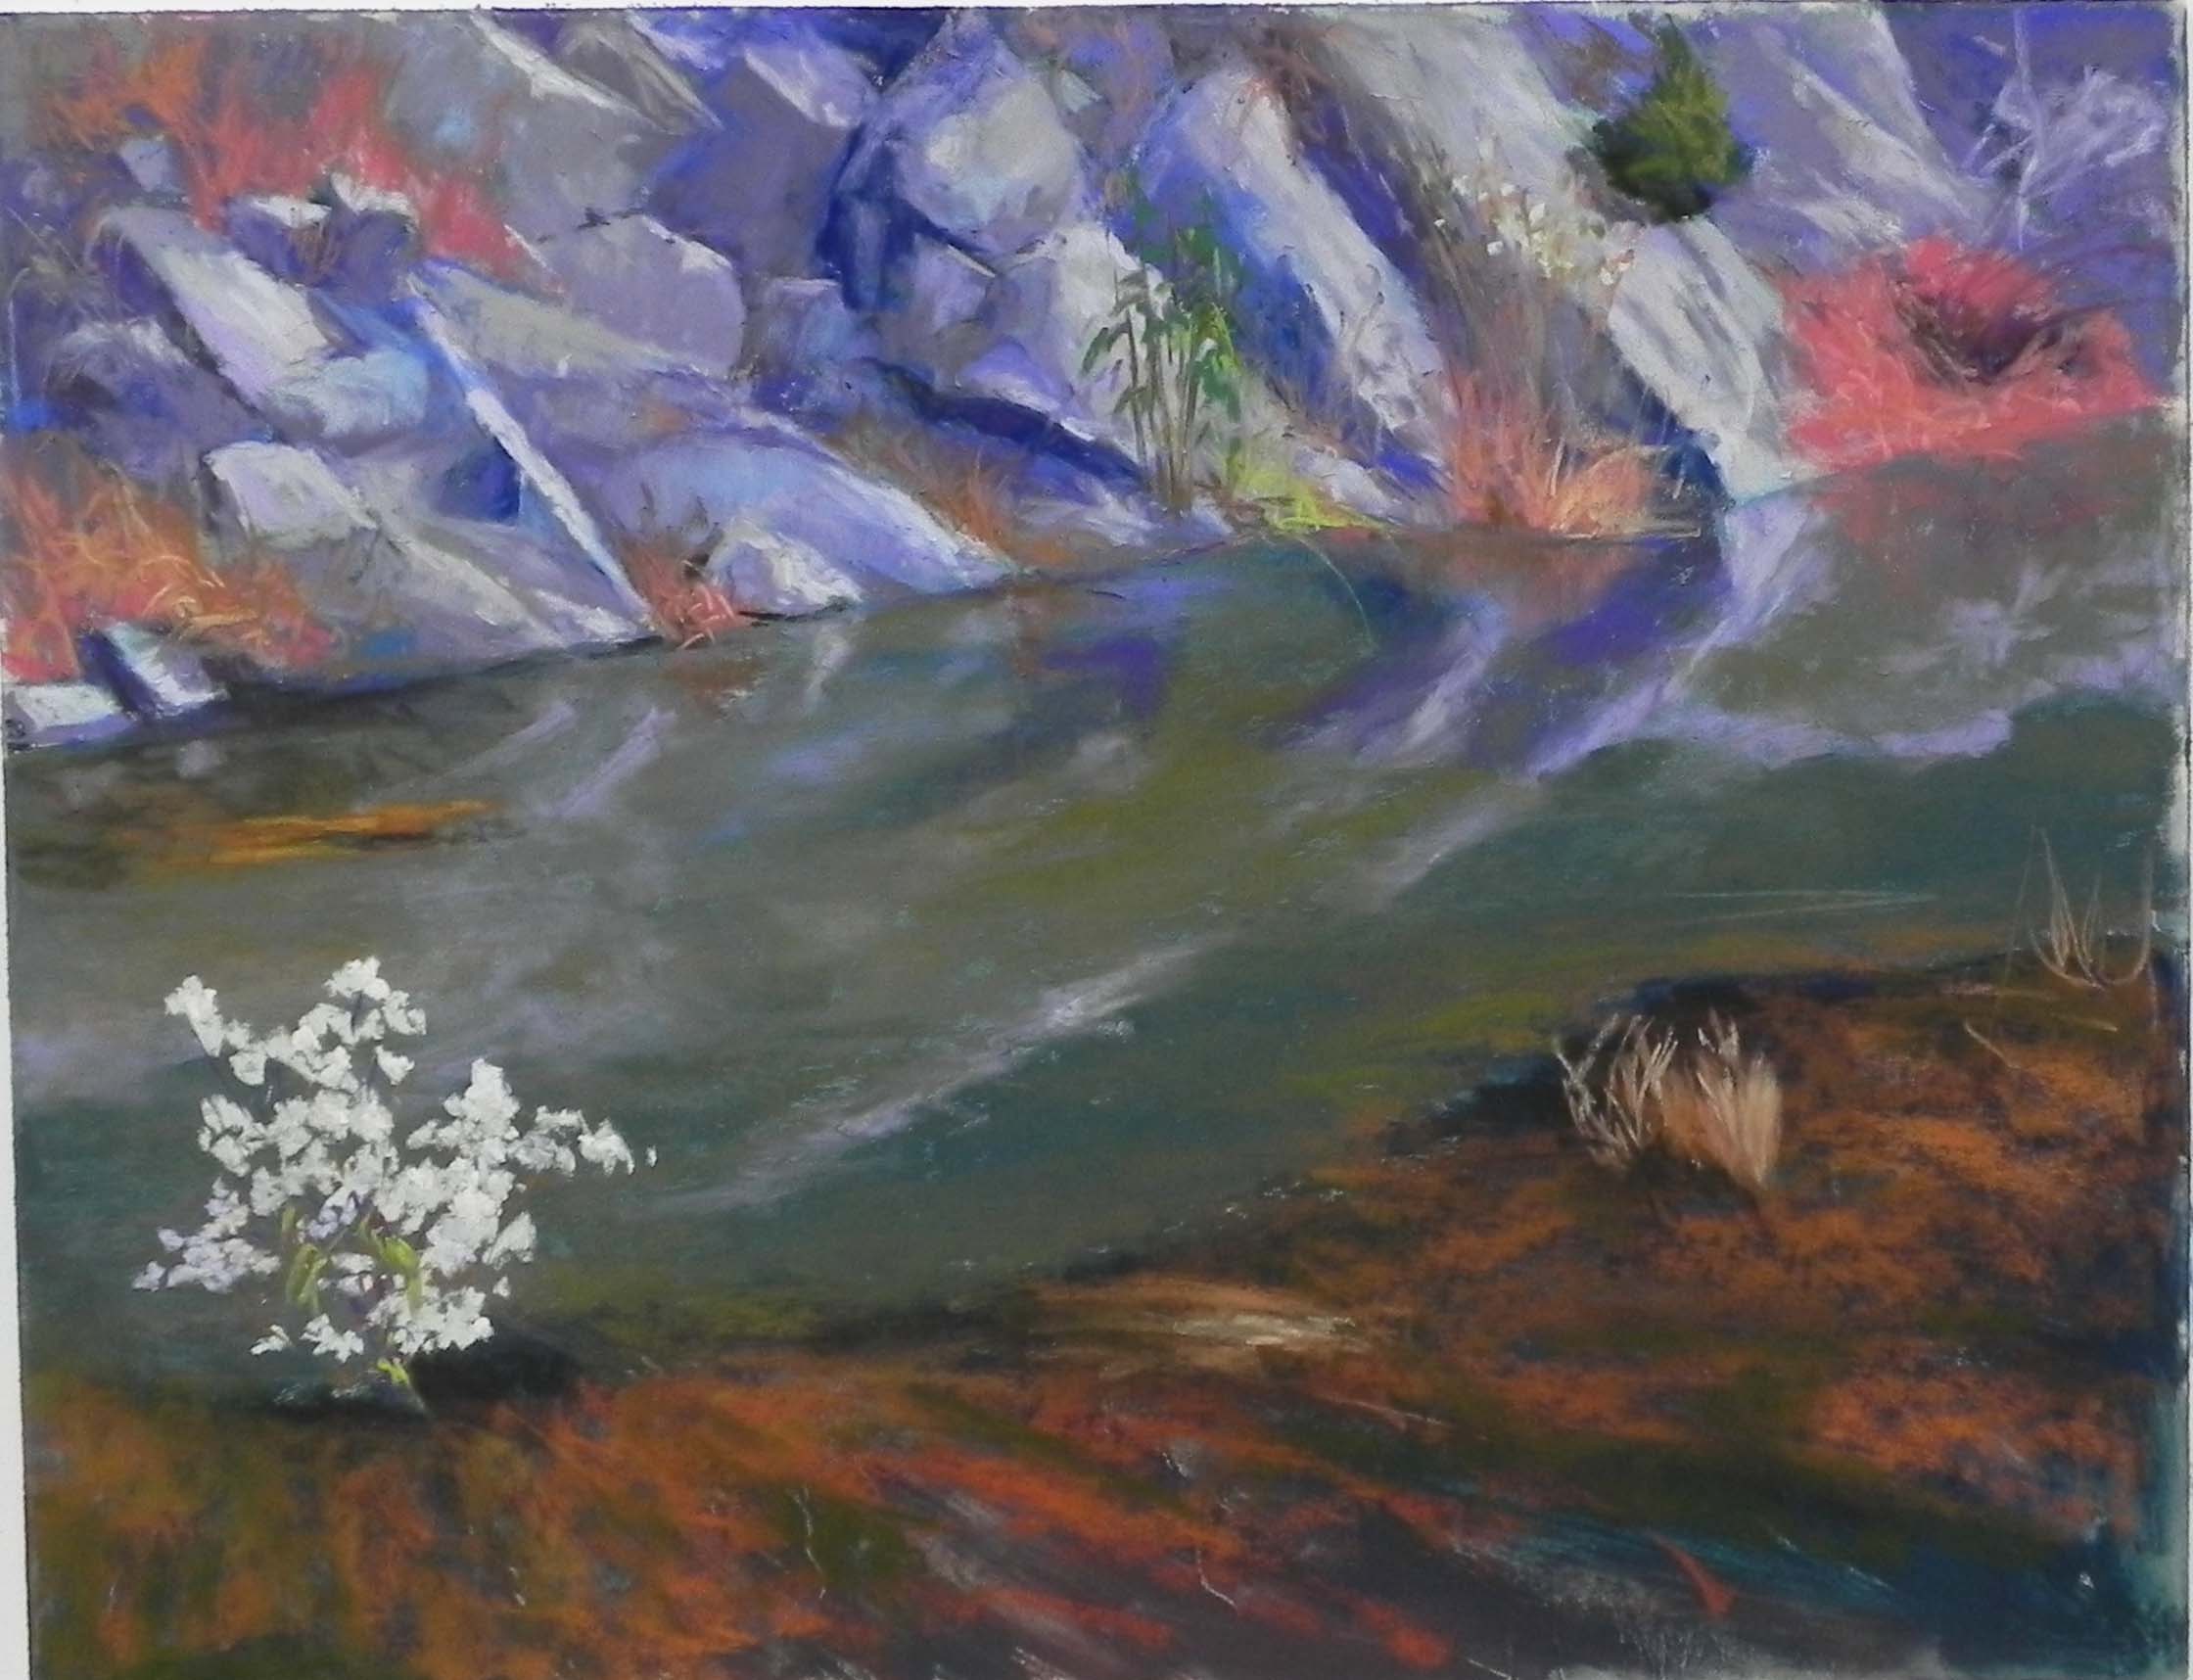
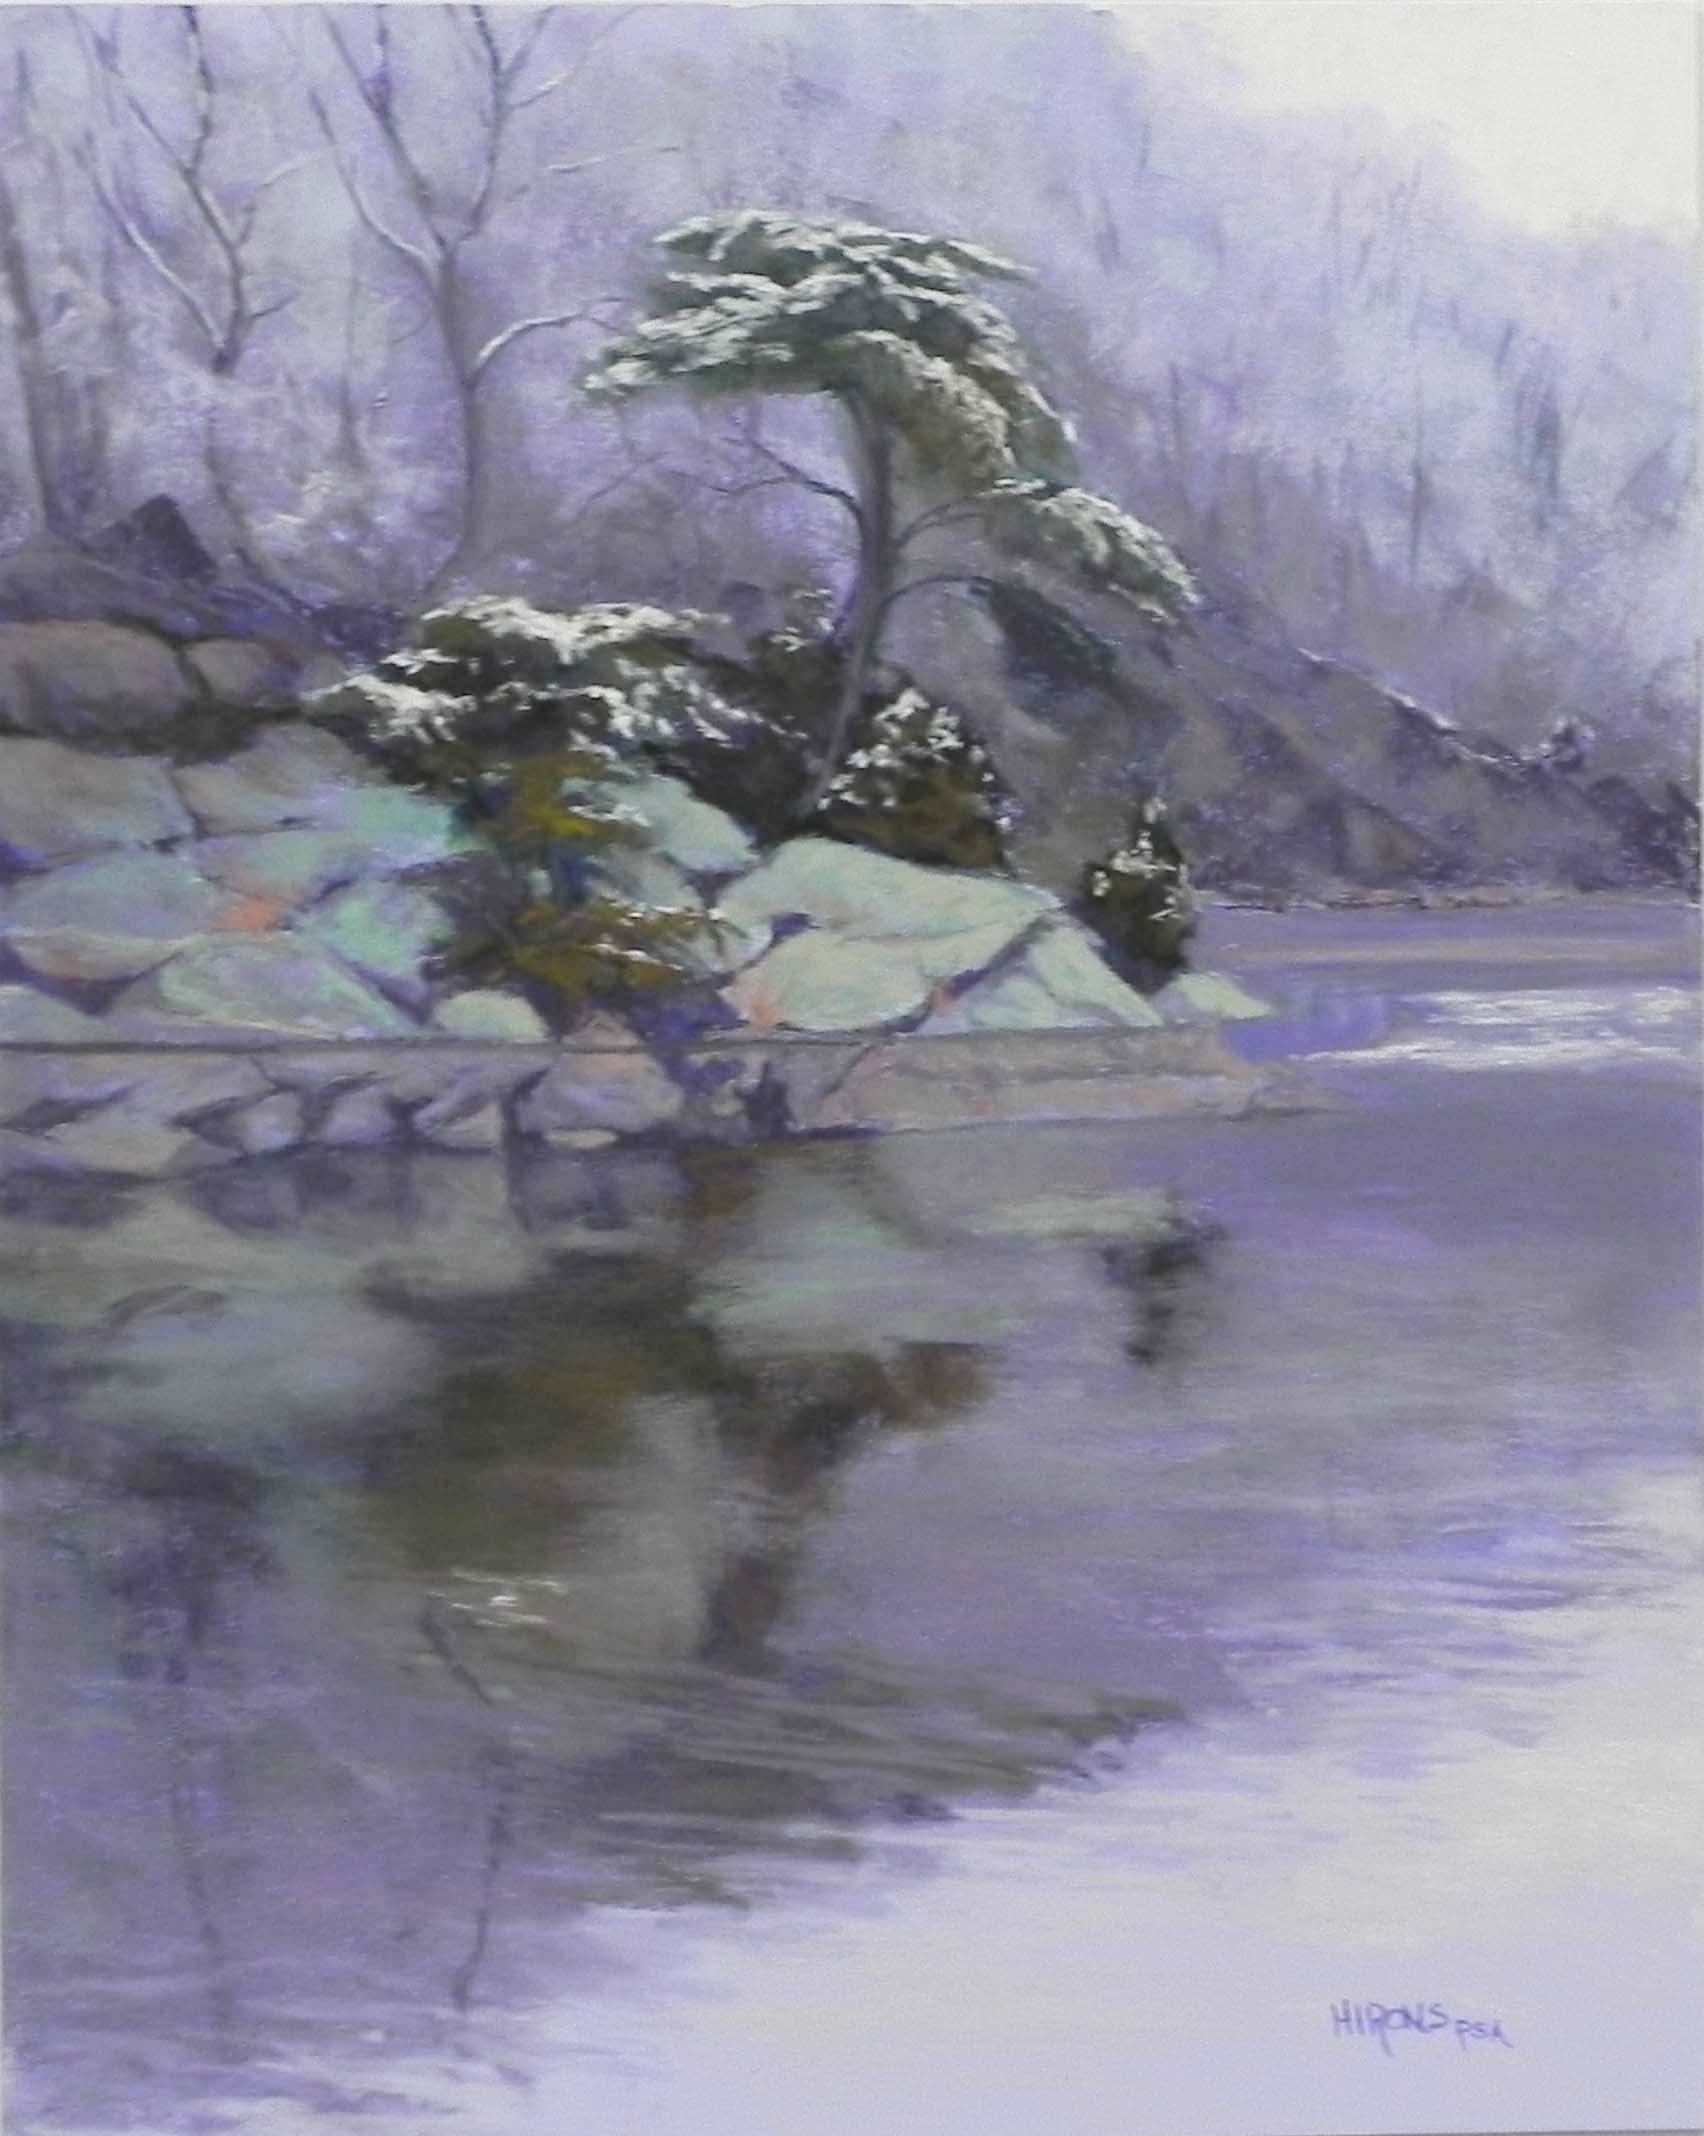
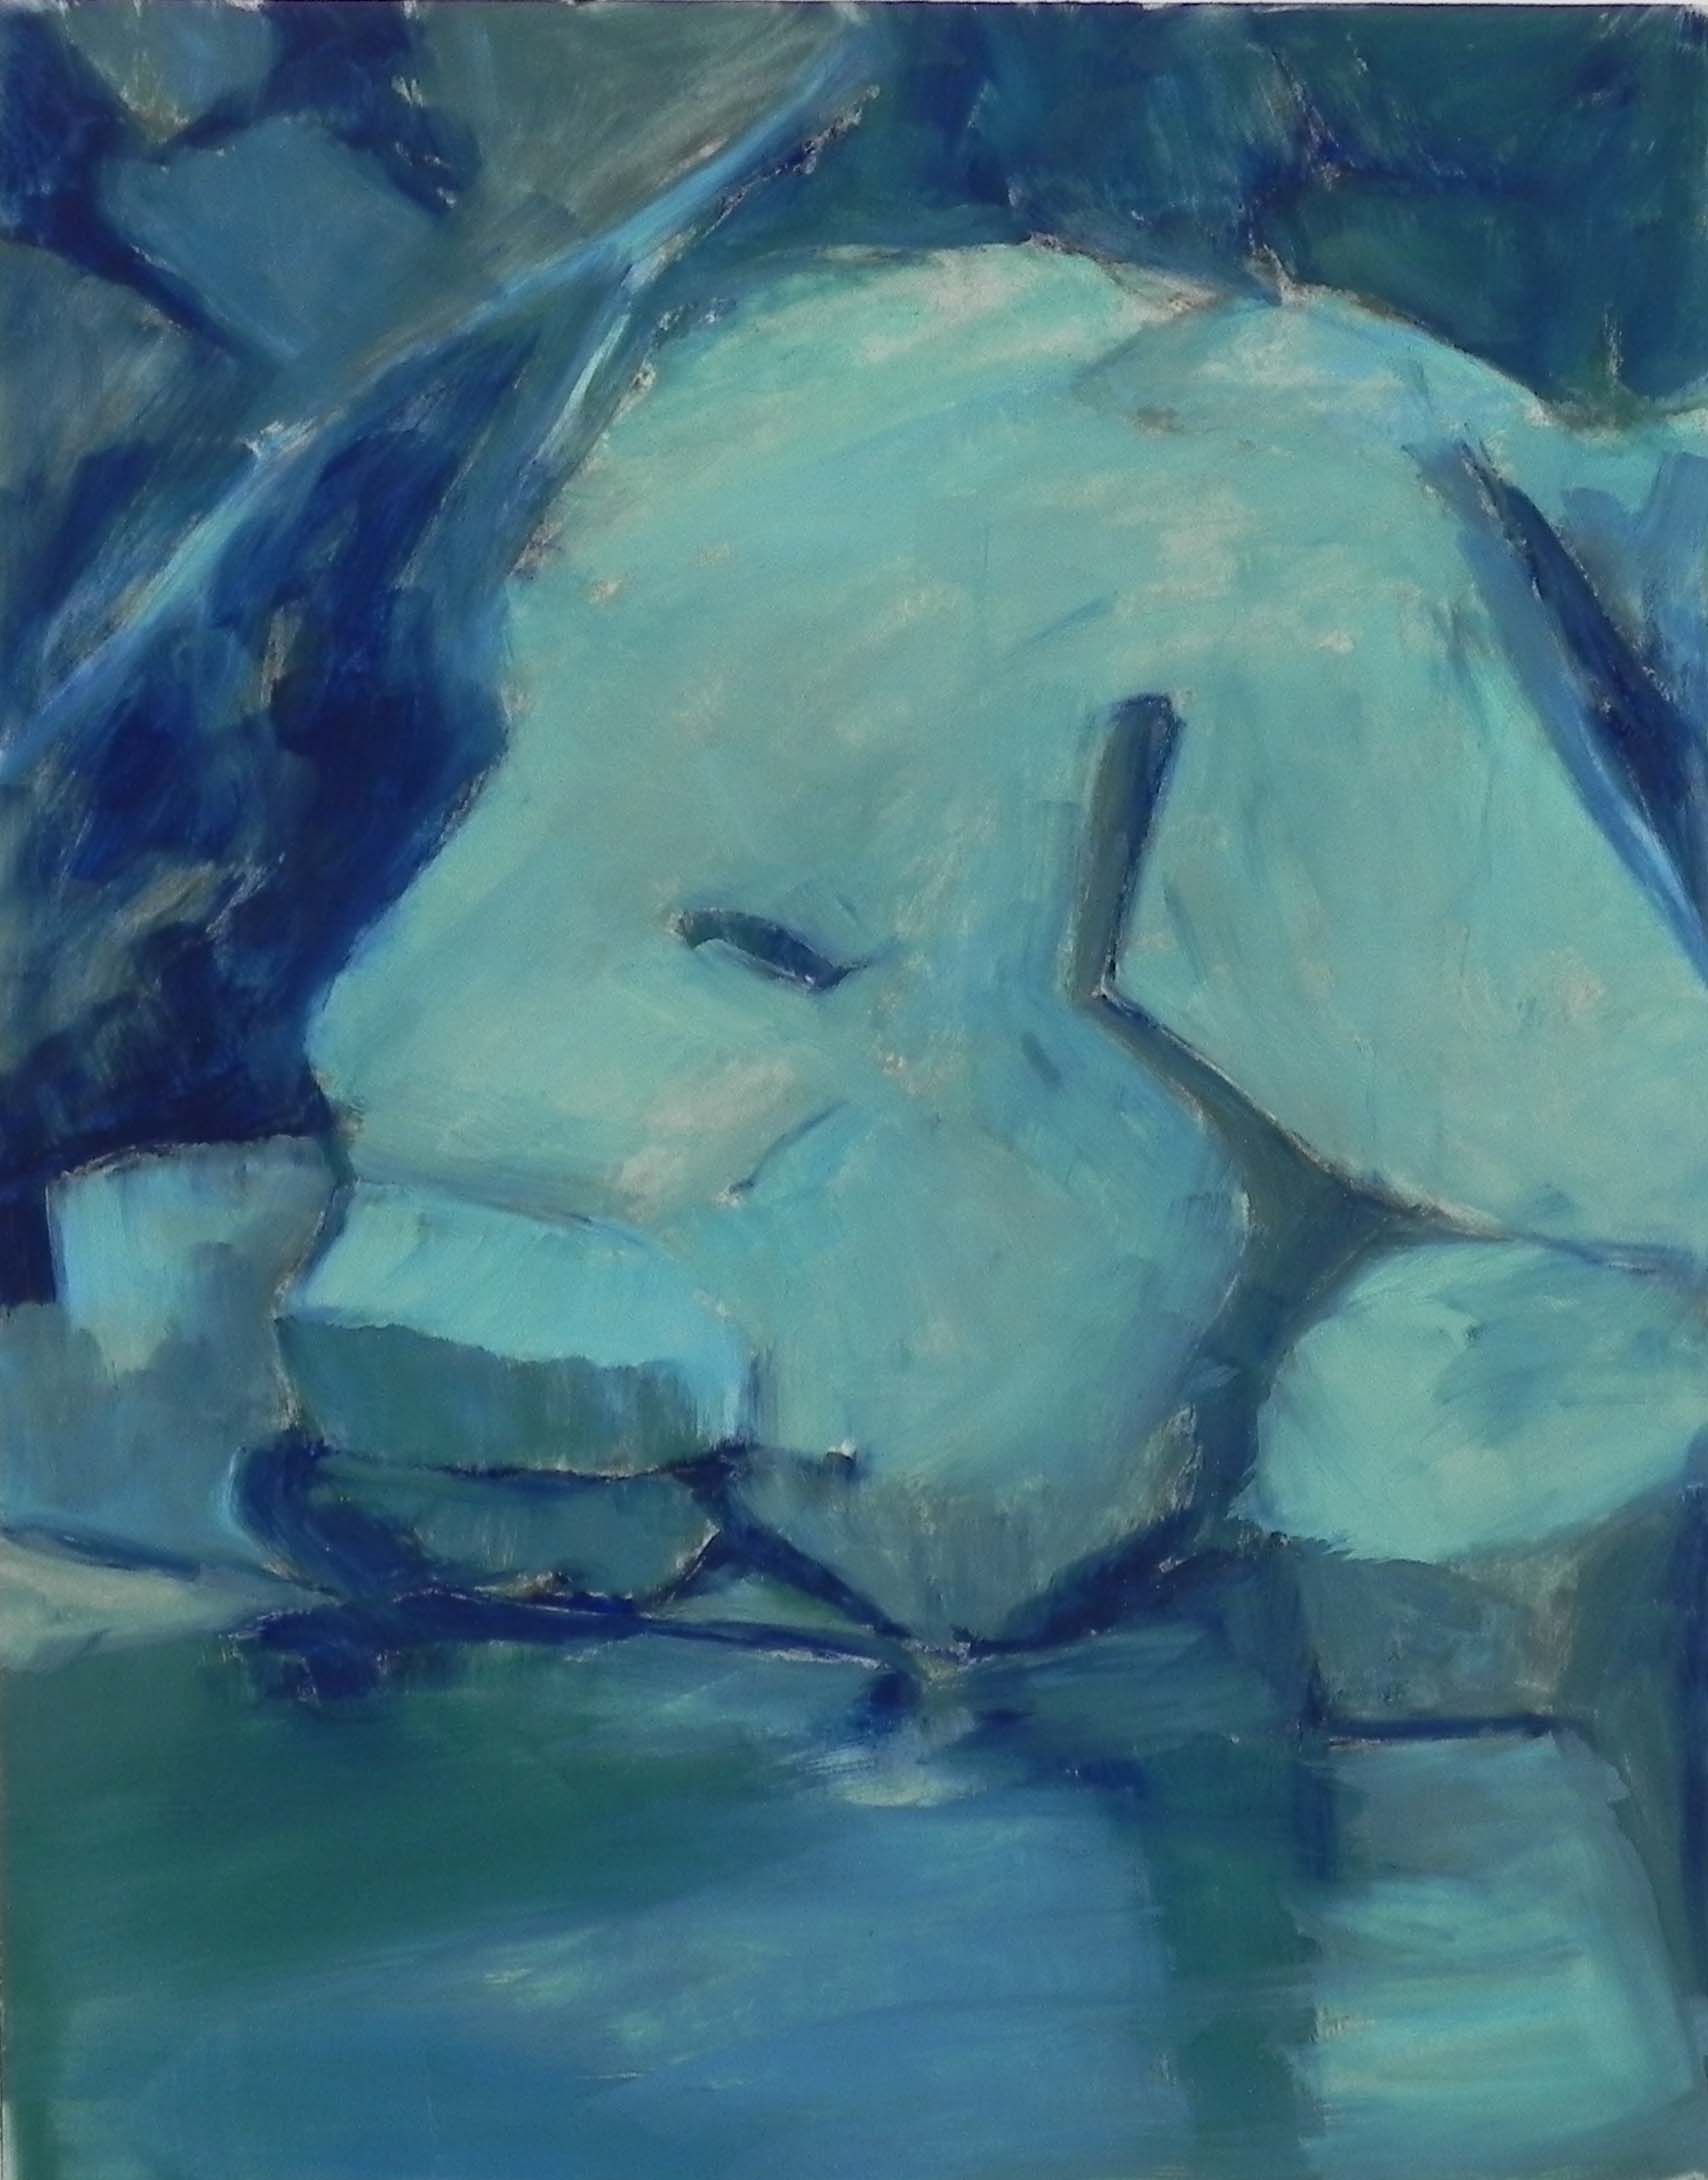
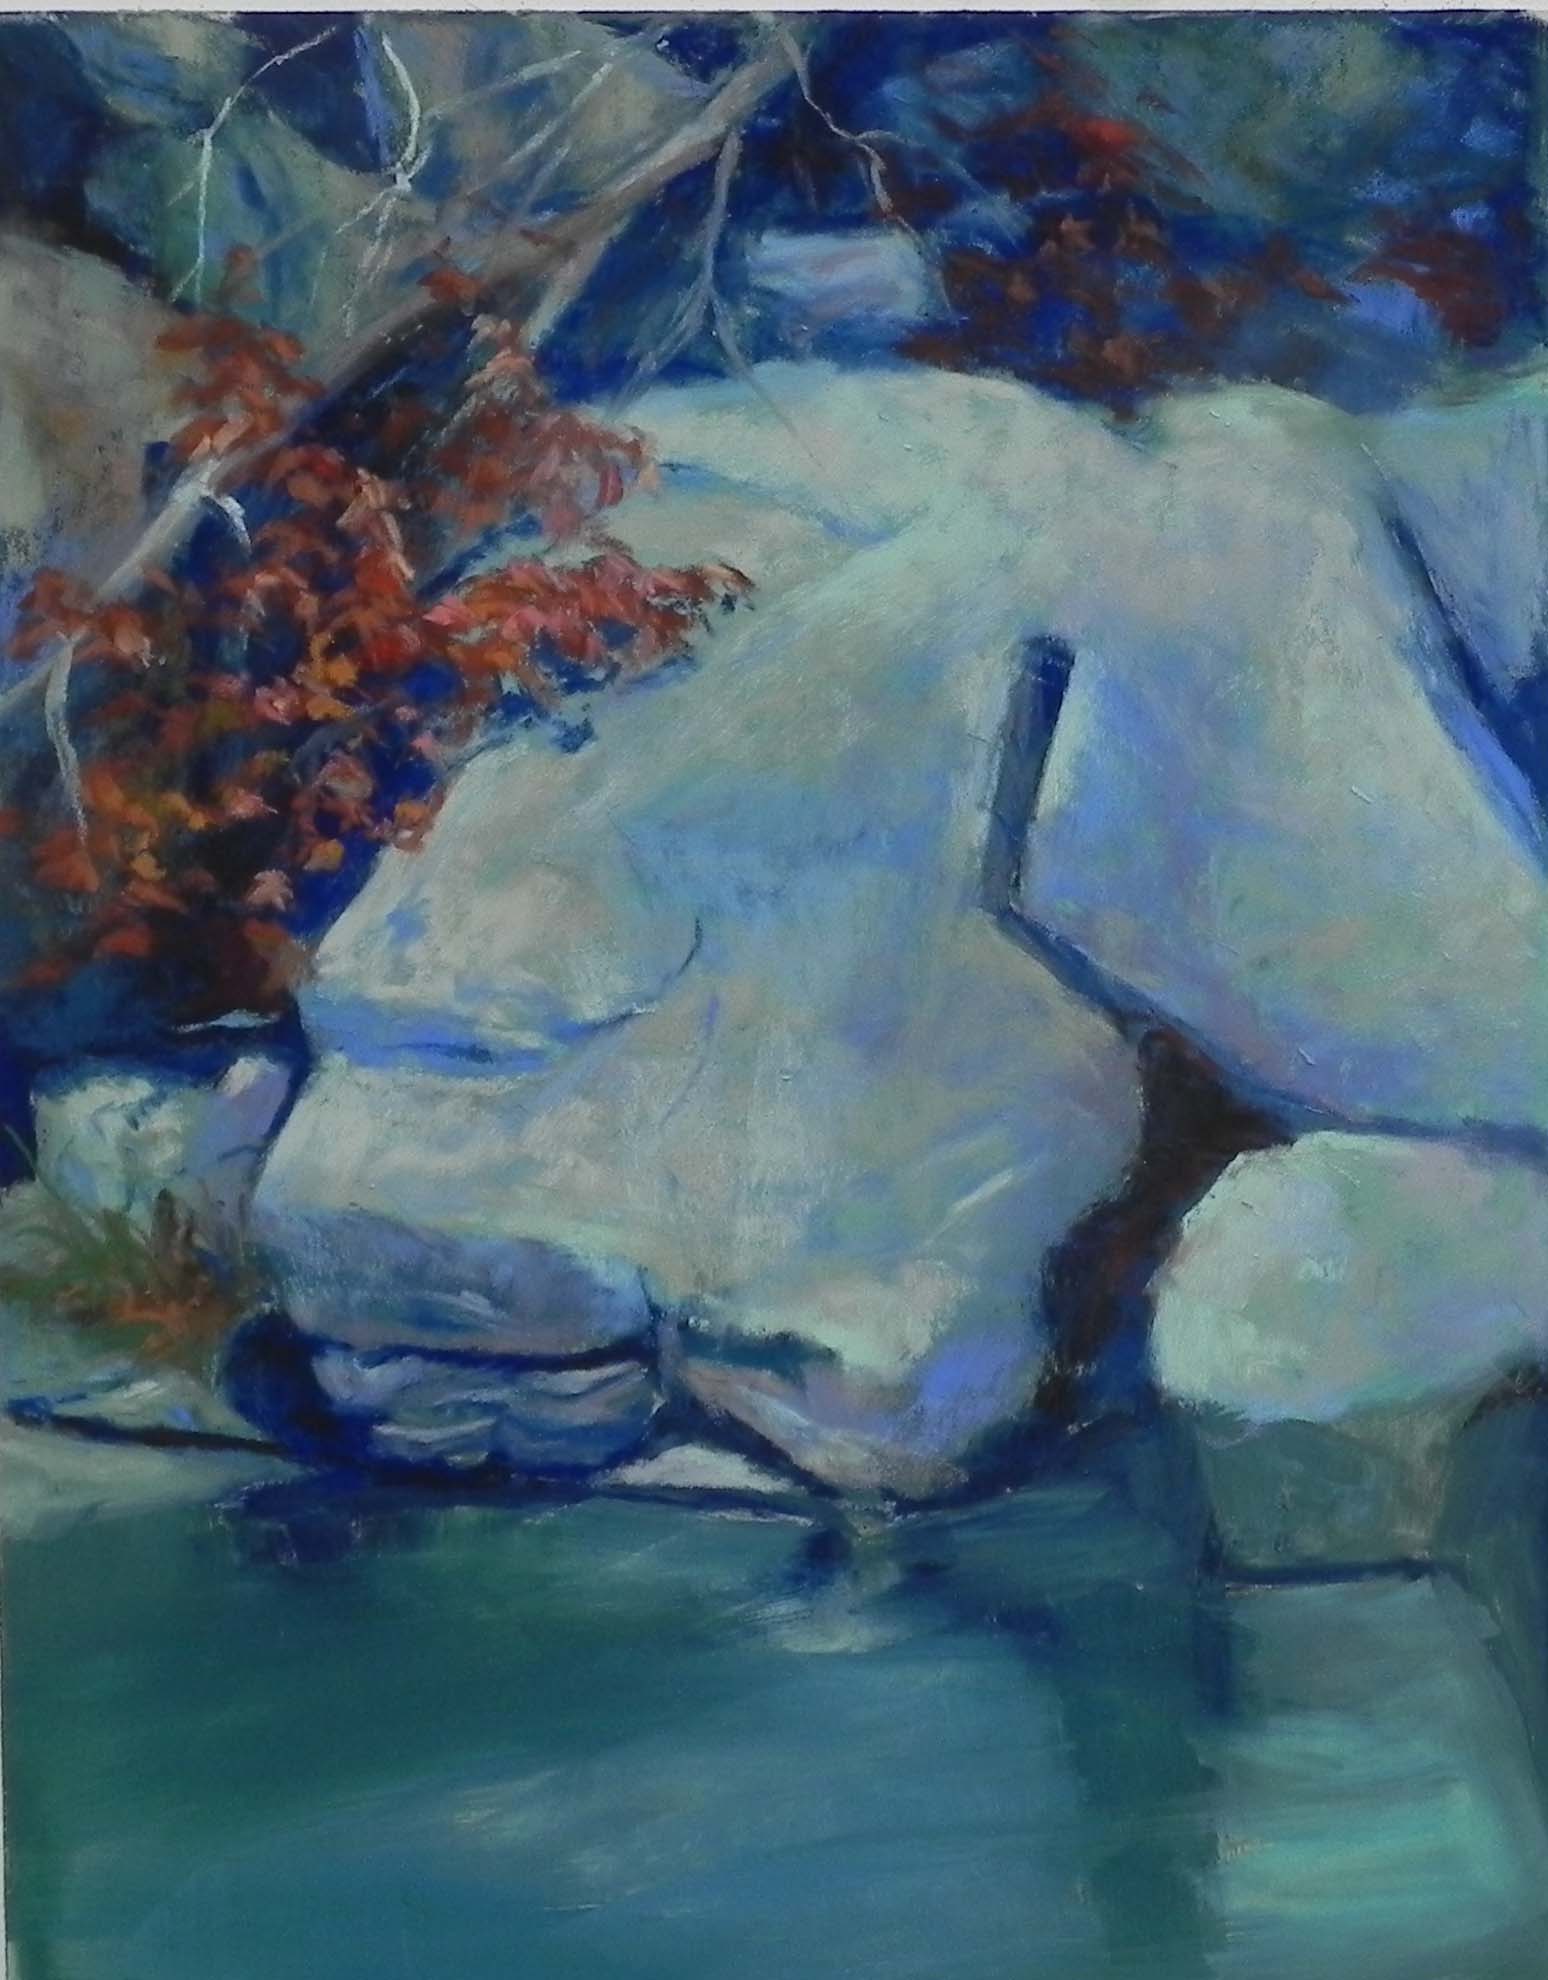
Background completed
Yesterday I spent several very happy hours in my home studio finishing off a demo that I began for the Olney Art League last May! The board (a resurfaced pastelbord) had been sitting in my studio all that time and I had decided to chuck it. It was next to the trash can!!! But then I received an inquiry from a friend in the library community about my painting Spring Apples from my newsletter. When I told her the price, it was too much. But then I remembered the one I was about to toss. So I offered to try finishing it off for her. She loves it and I’ll be bringing it to my framers today.
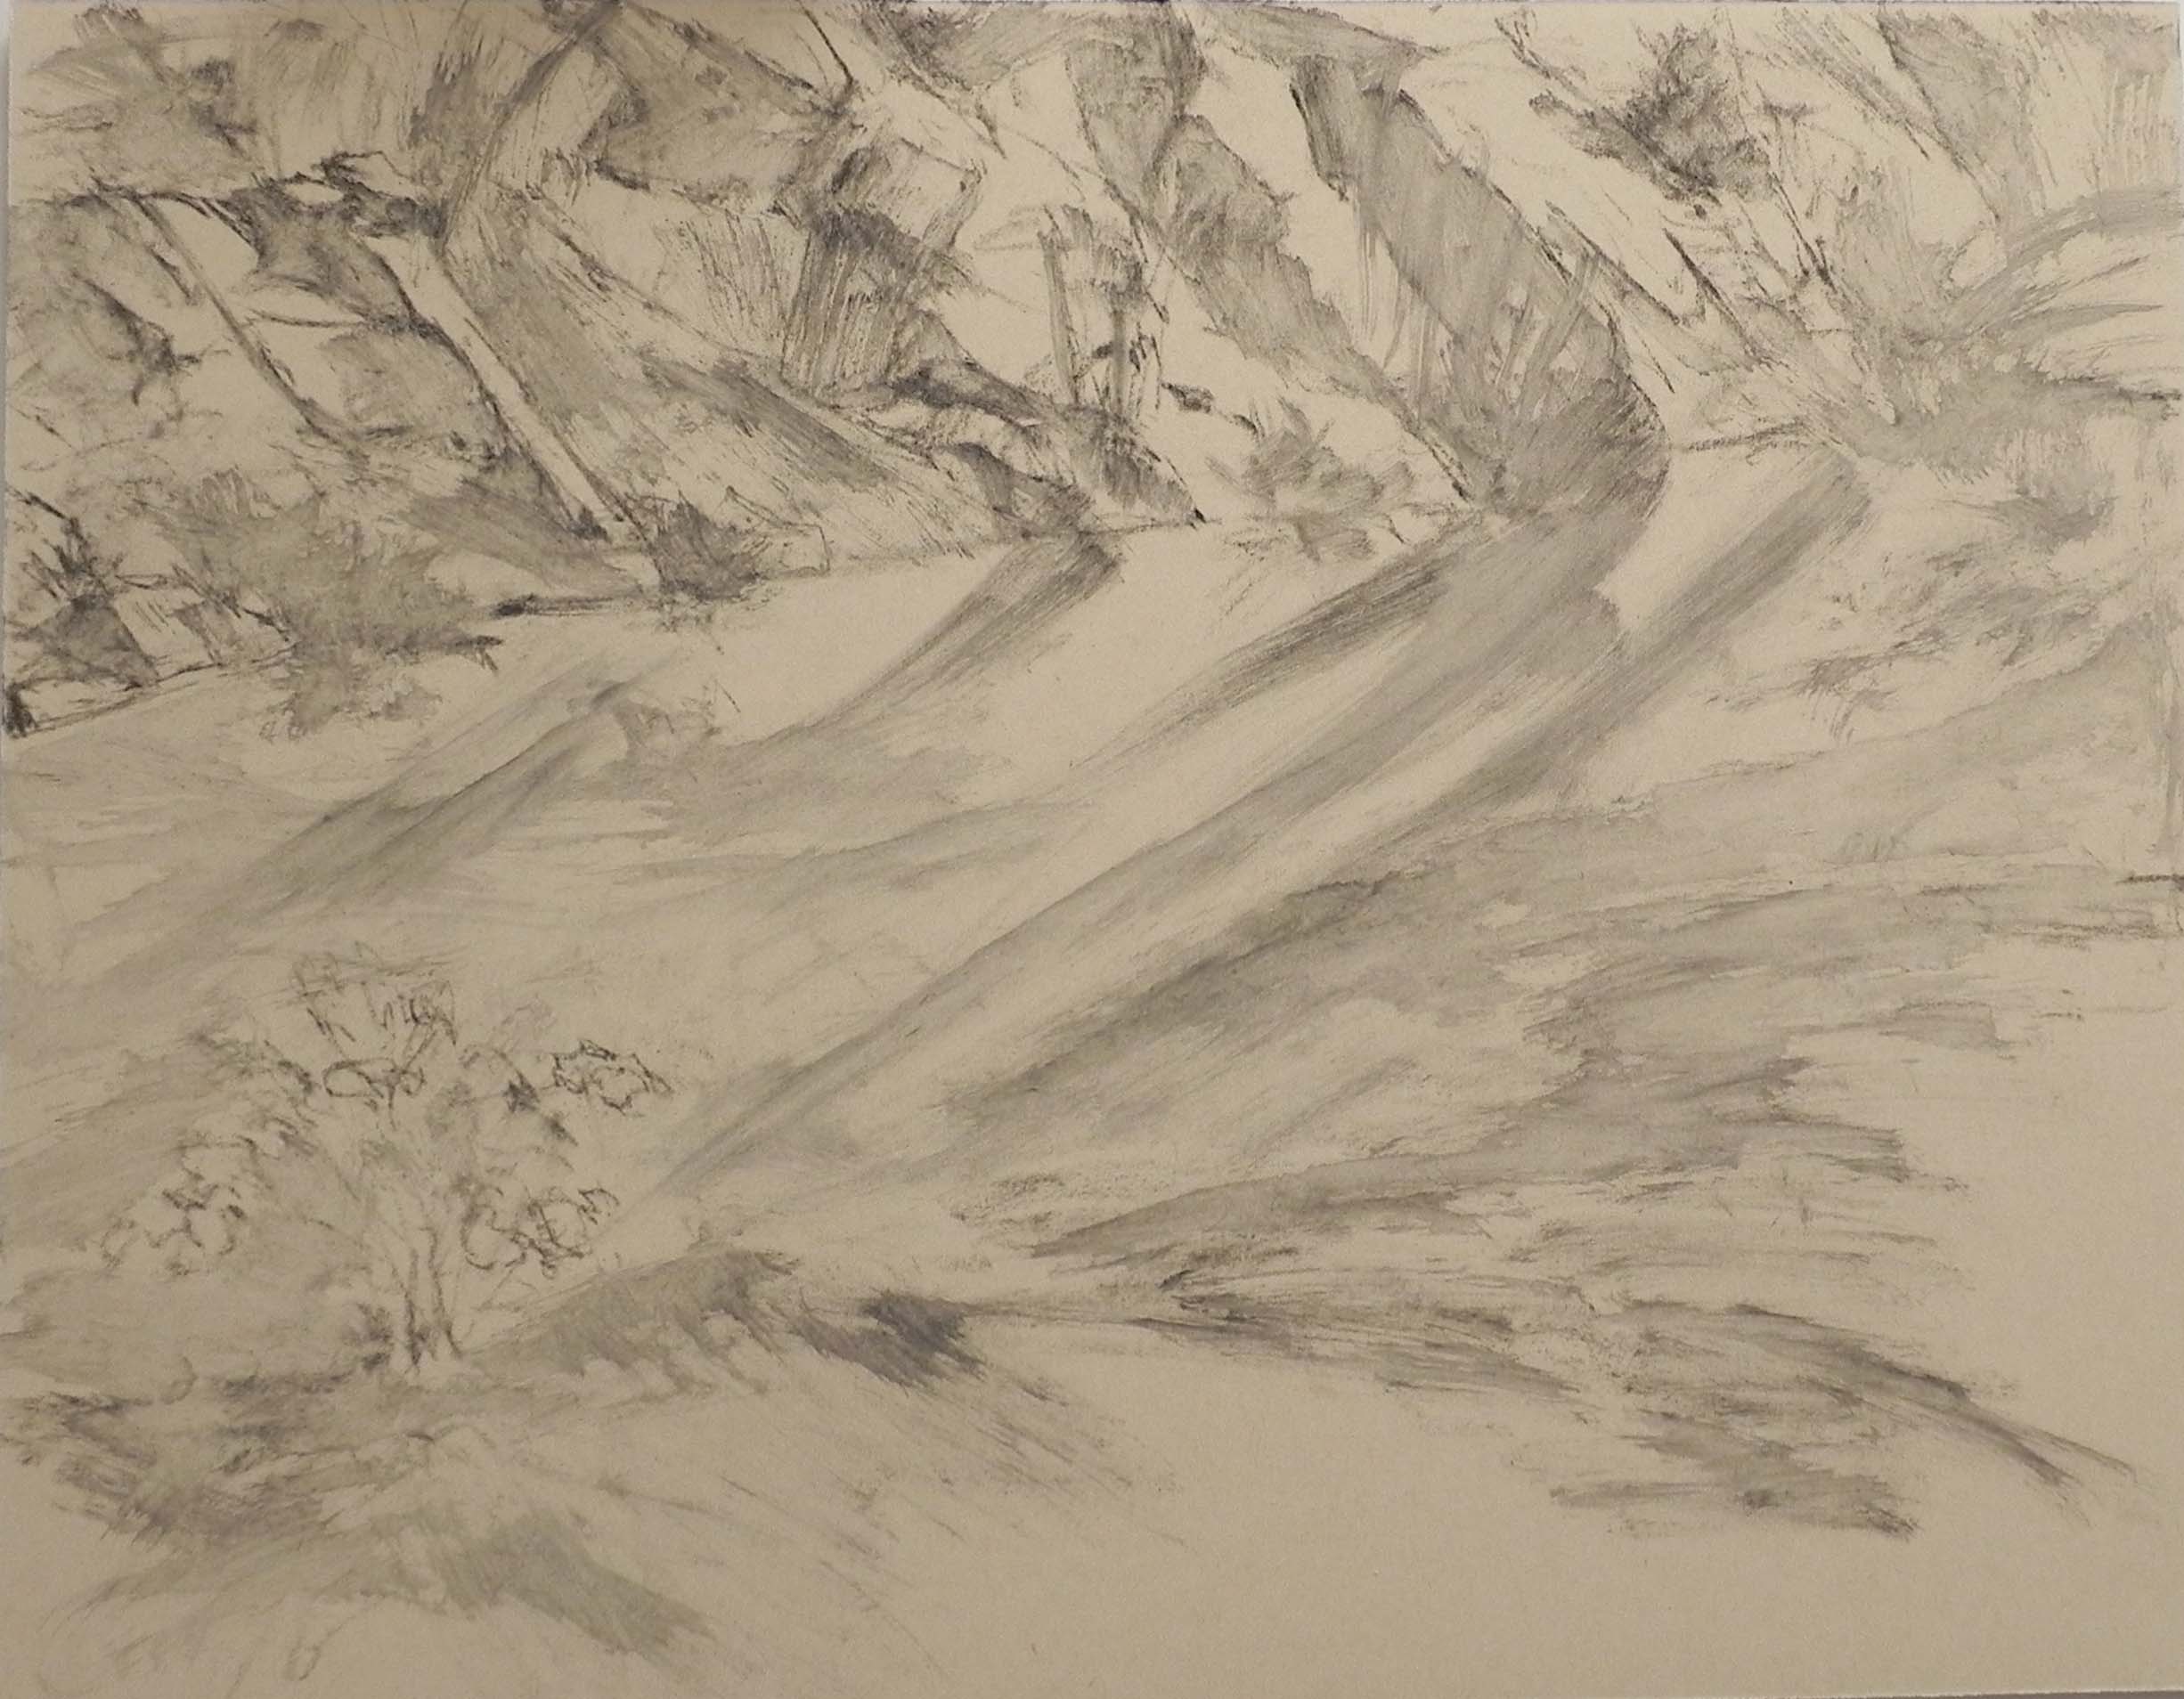
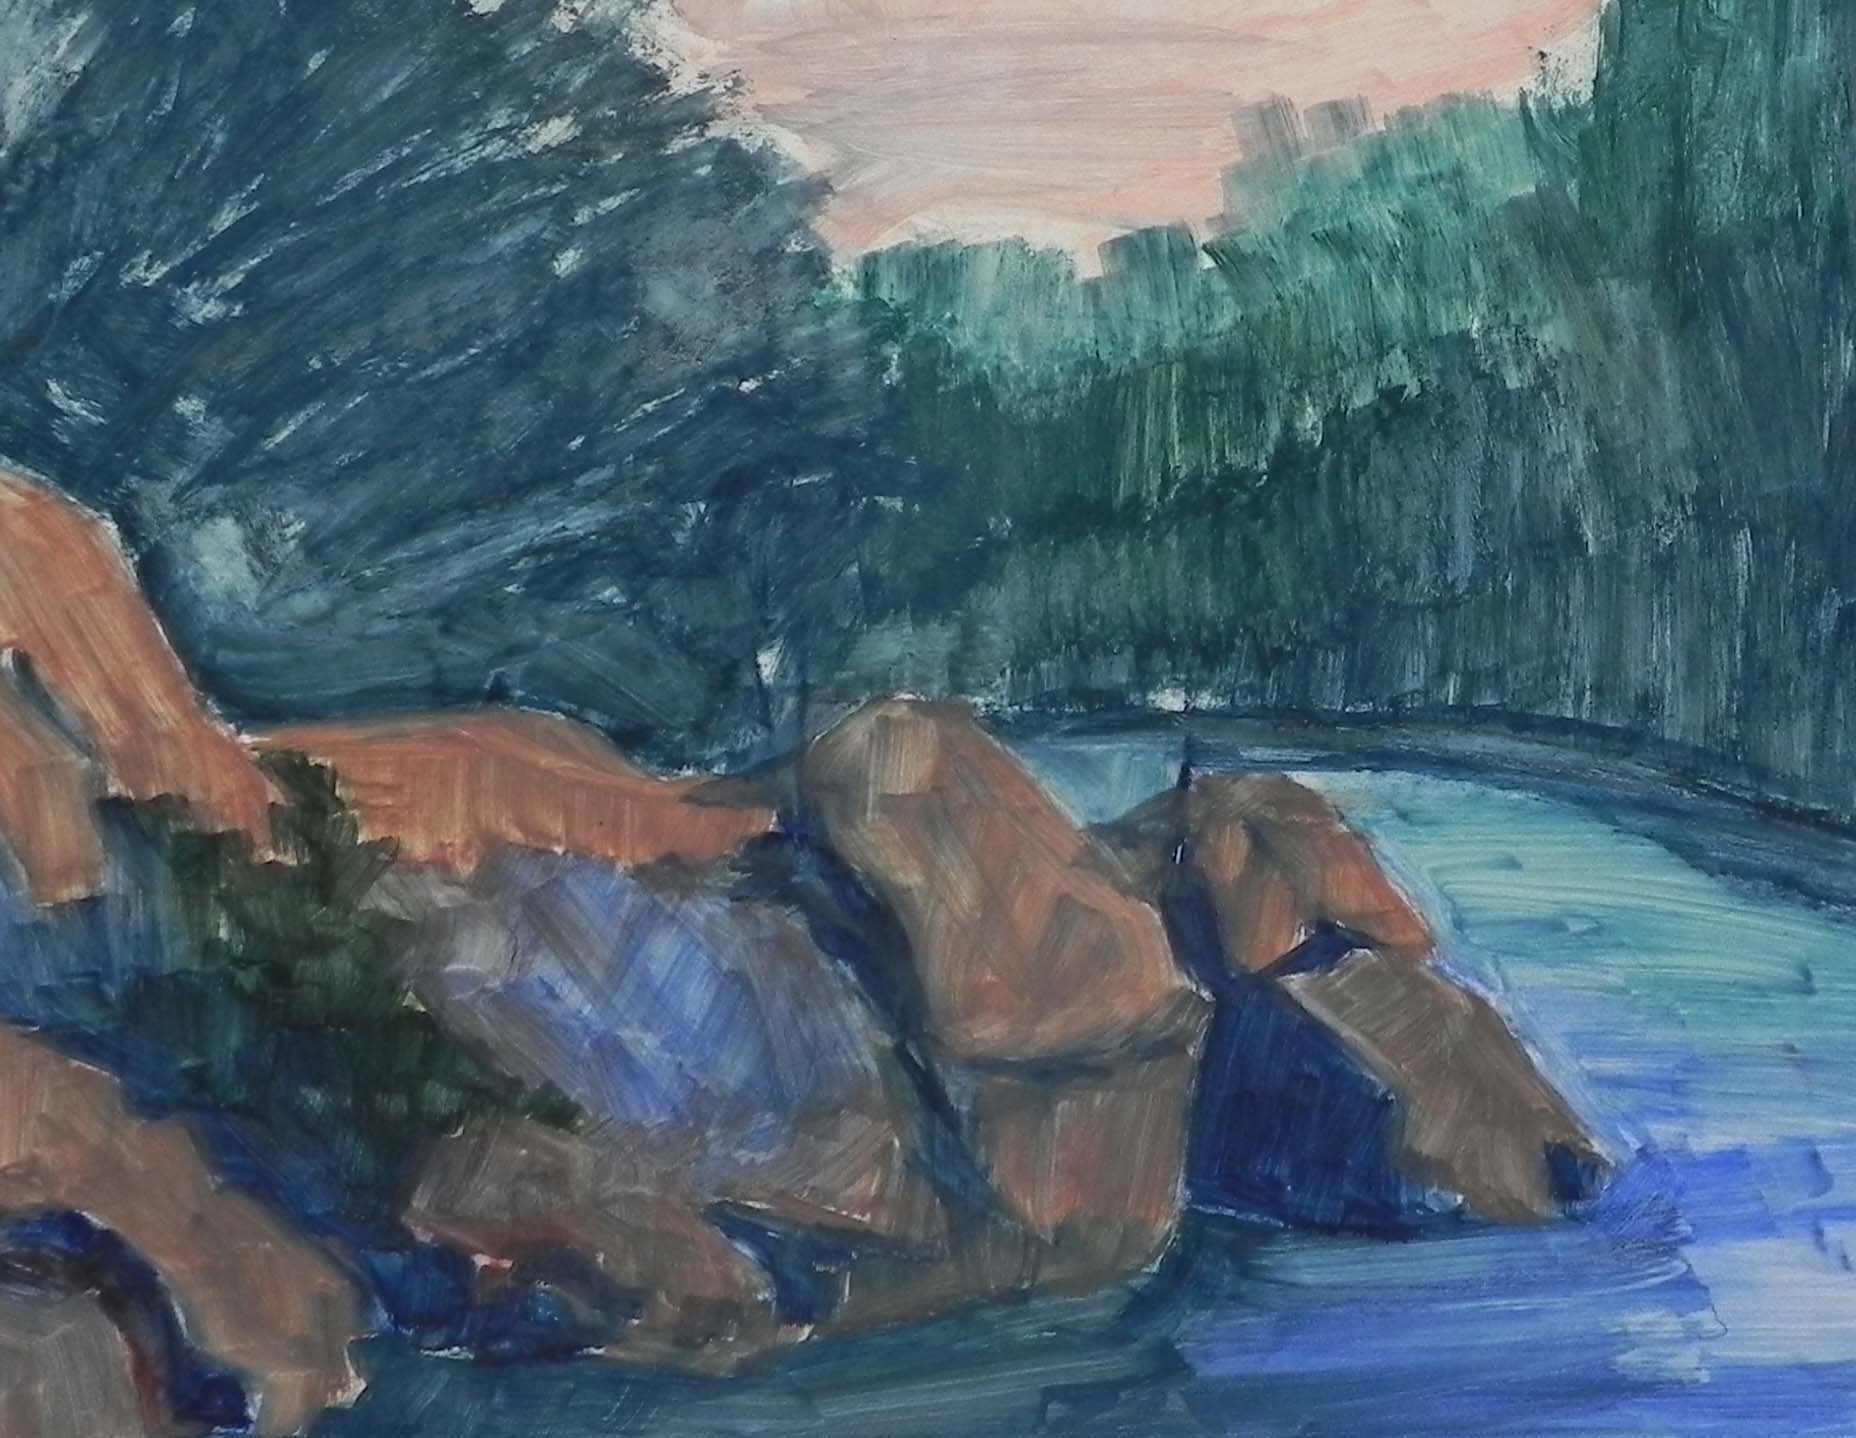
When I began this for Olney, I used a brown-toned Art Spectrum liquid primer to cover a pre-used pastebord. I talked about the need for texture in this type of subject matter. My previous painting had been done on Rives with the primer. The brush strokes in this one are much more obvious in this one, the substrate being harder. At the demo, I did an underpainting, then began broadly laying in the areas of color–sky, field, green and pink trees. I’m showing you the painting as it was completed in the demo (stage 1) and the painting after I’d completed the background (stage 2). I used a warm blue green and a light yellow green for the sky and once it was complete, I fell in love with the painting and knew I could do a good job with it!
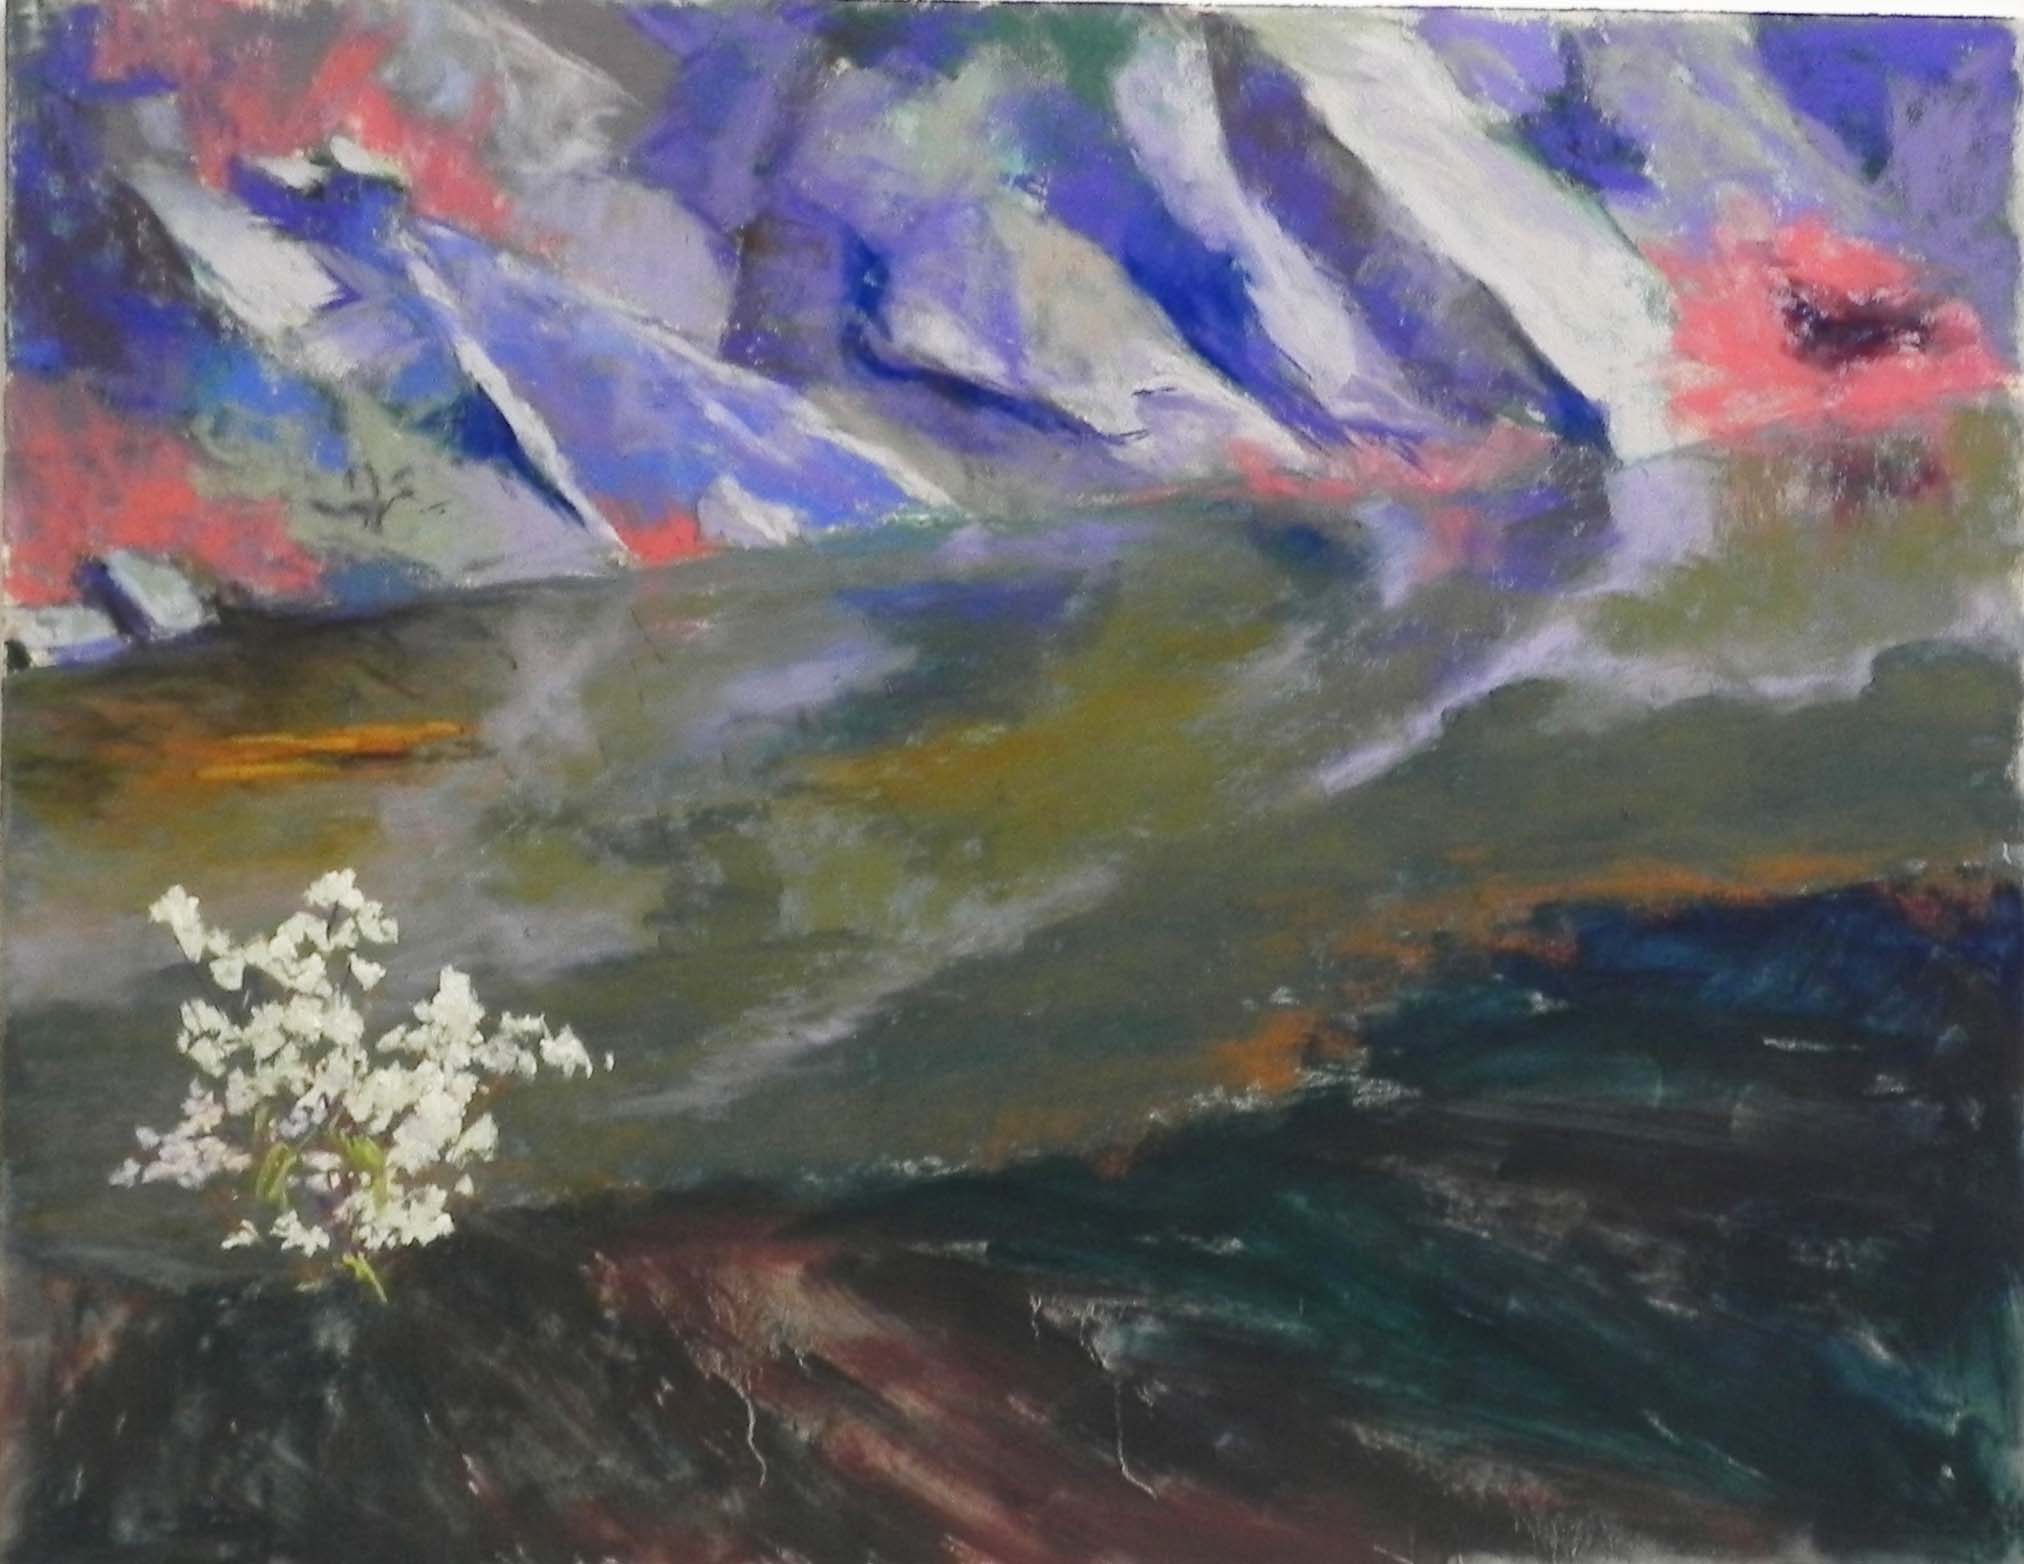
I used nothing but soft pastels for this. Because the surface is so hard, the soft ones are needed. I found a wonderful array of Great American “majenta” pastels in my storage boxes and used them for the pinks. I used very light greens for the white apple blossoms, and added yellow on the ones facing the sun. I used a mix of very warm brownish greens for the tree in upper right corner. Very dark green and Ludwig “eggplant” for the dark area under the trees. There are some small pieces of light grasses that I added into the dark that may be seen if you look at the picture in an enlarged format.
I’m so happy that I rescued this painting and completed it. Now that it’s spring again, I could finally get into the mood to complete it and having a buyer never hurts!!!