
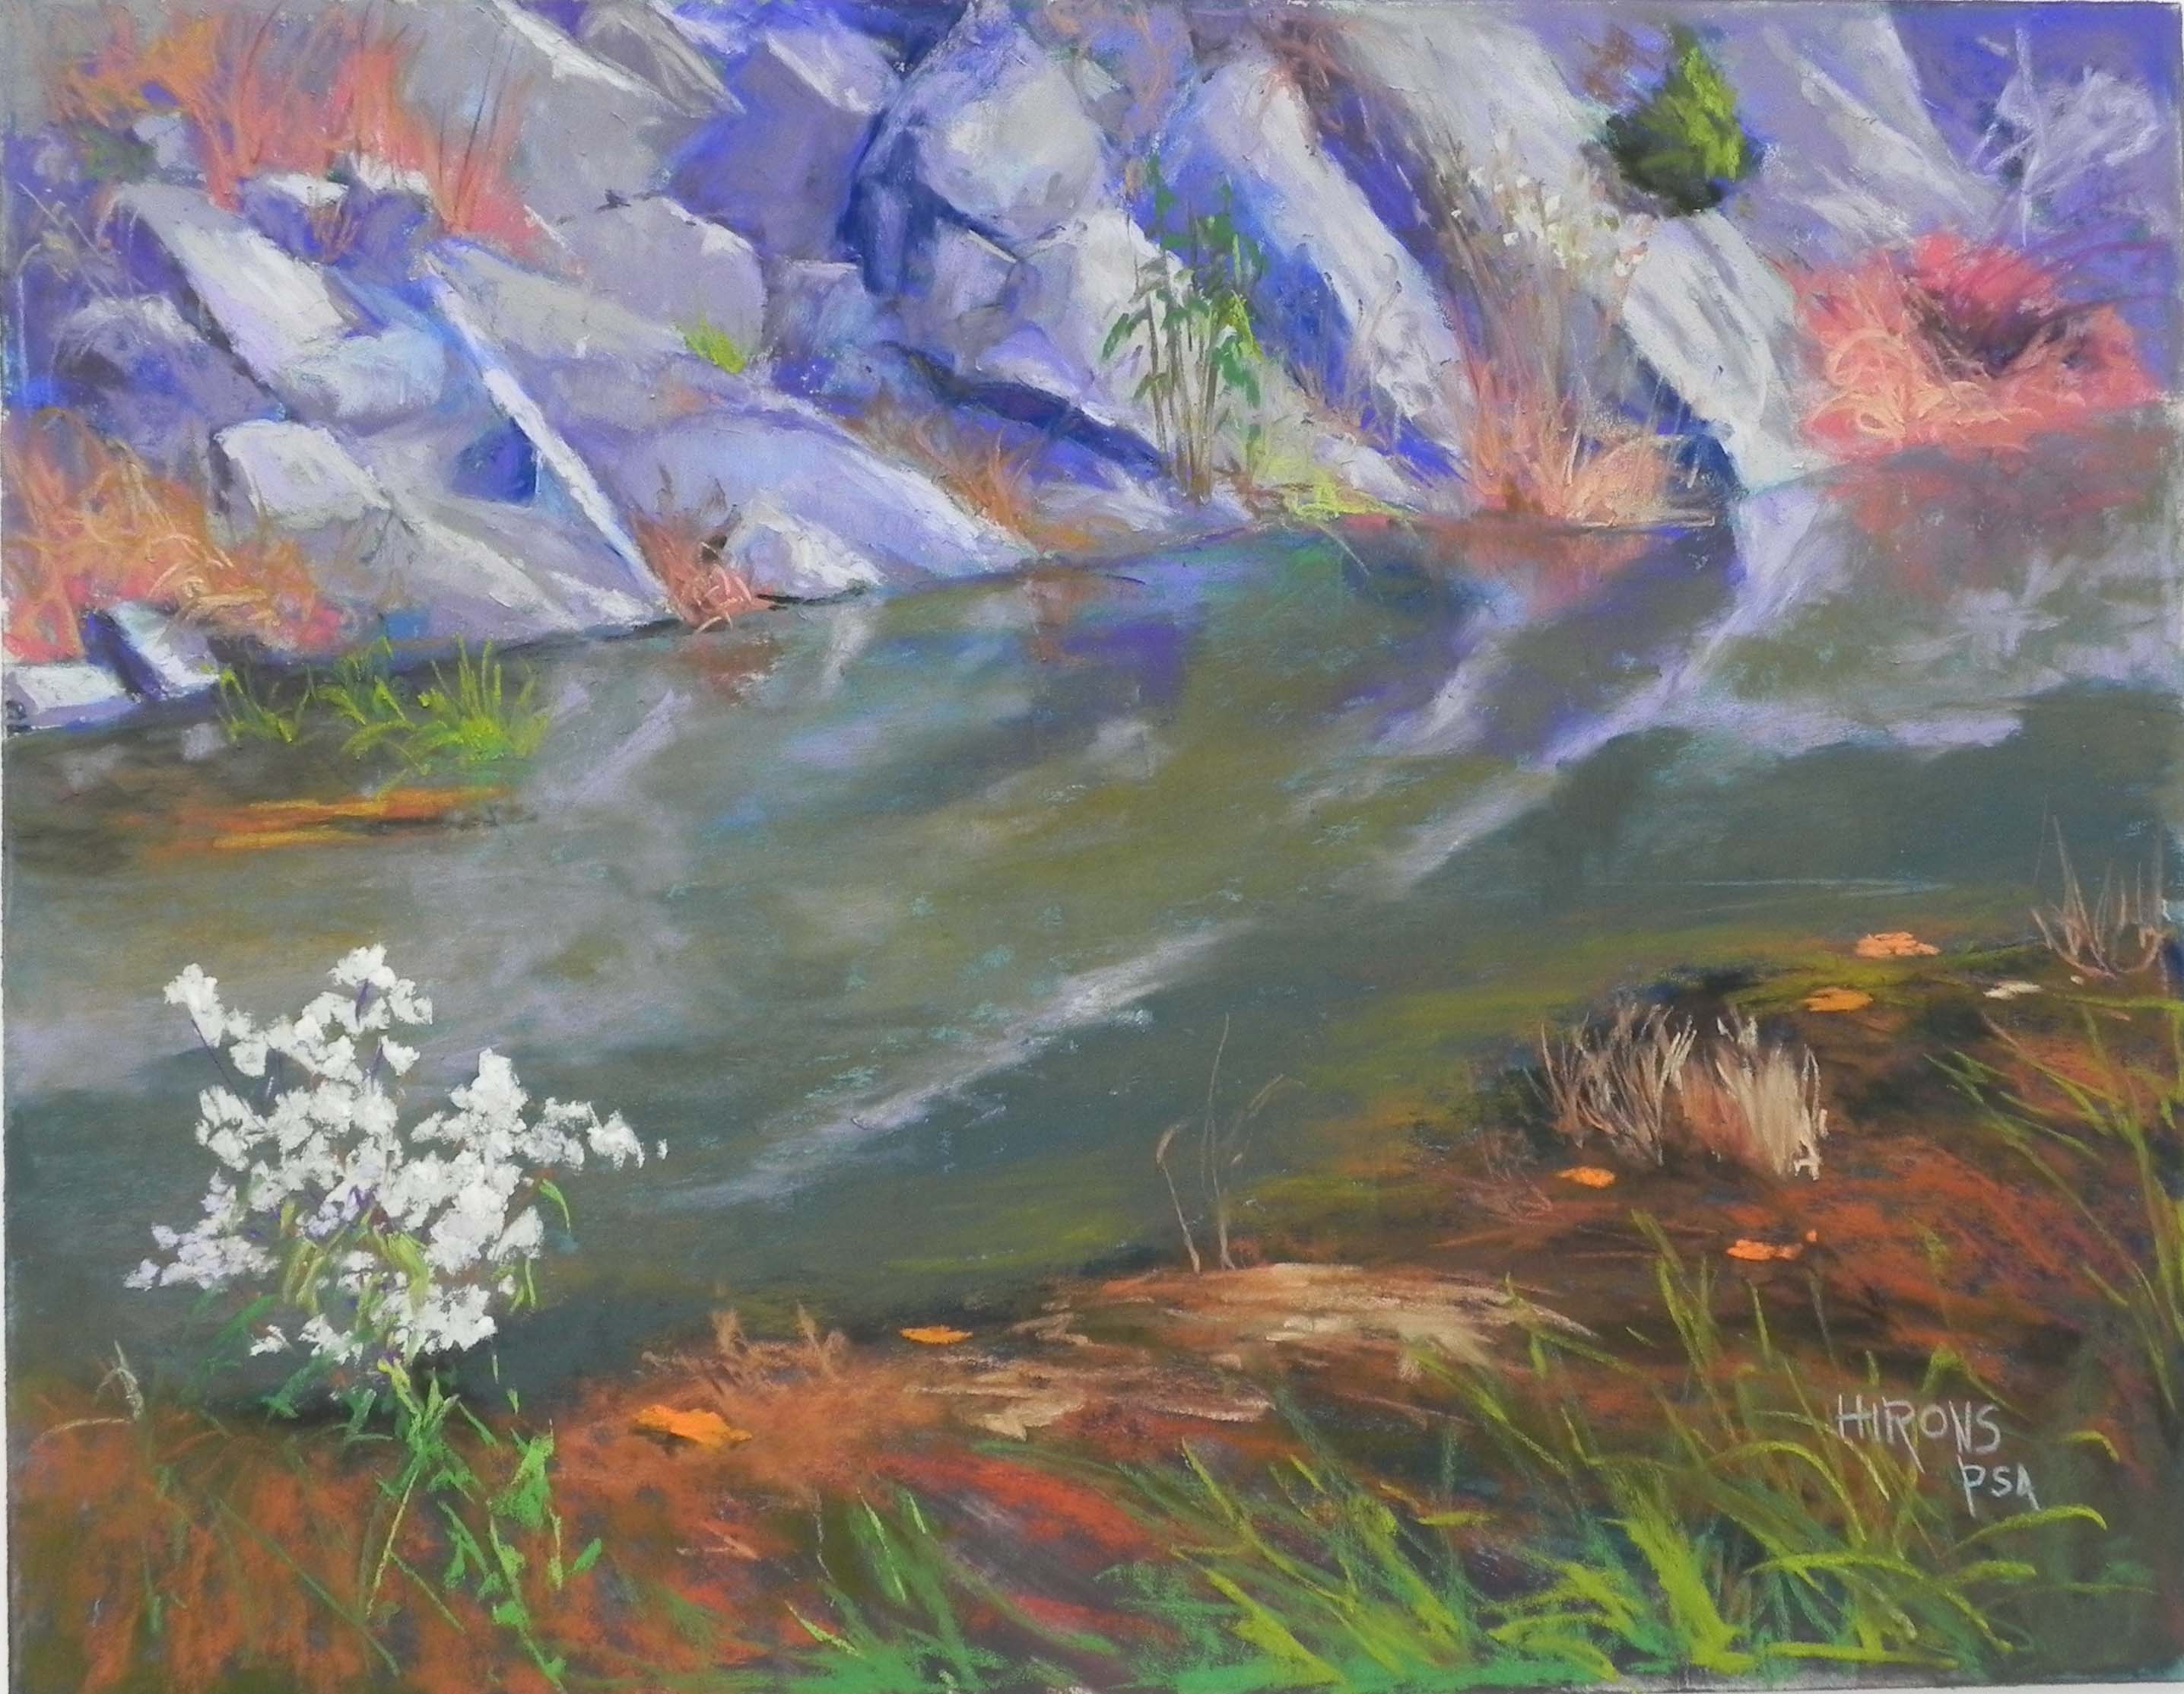
Autumn White, 14″ x 18″, UART 400
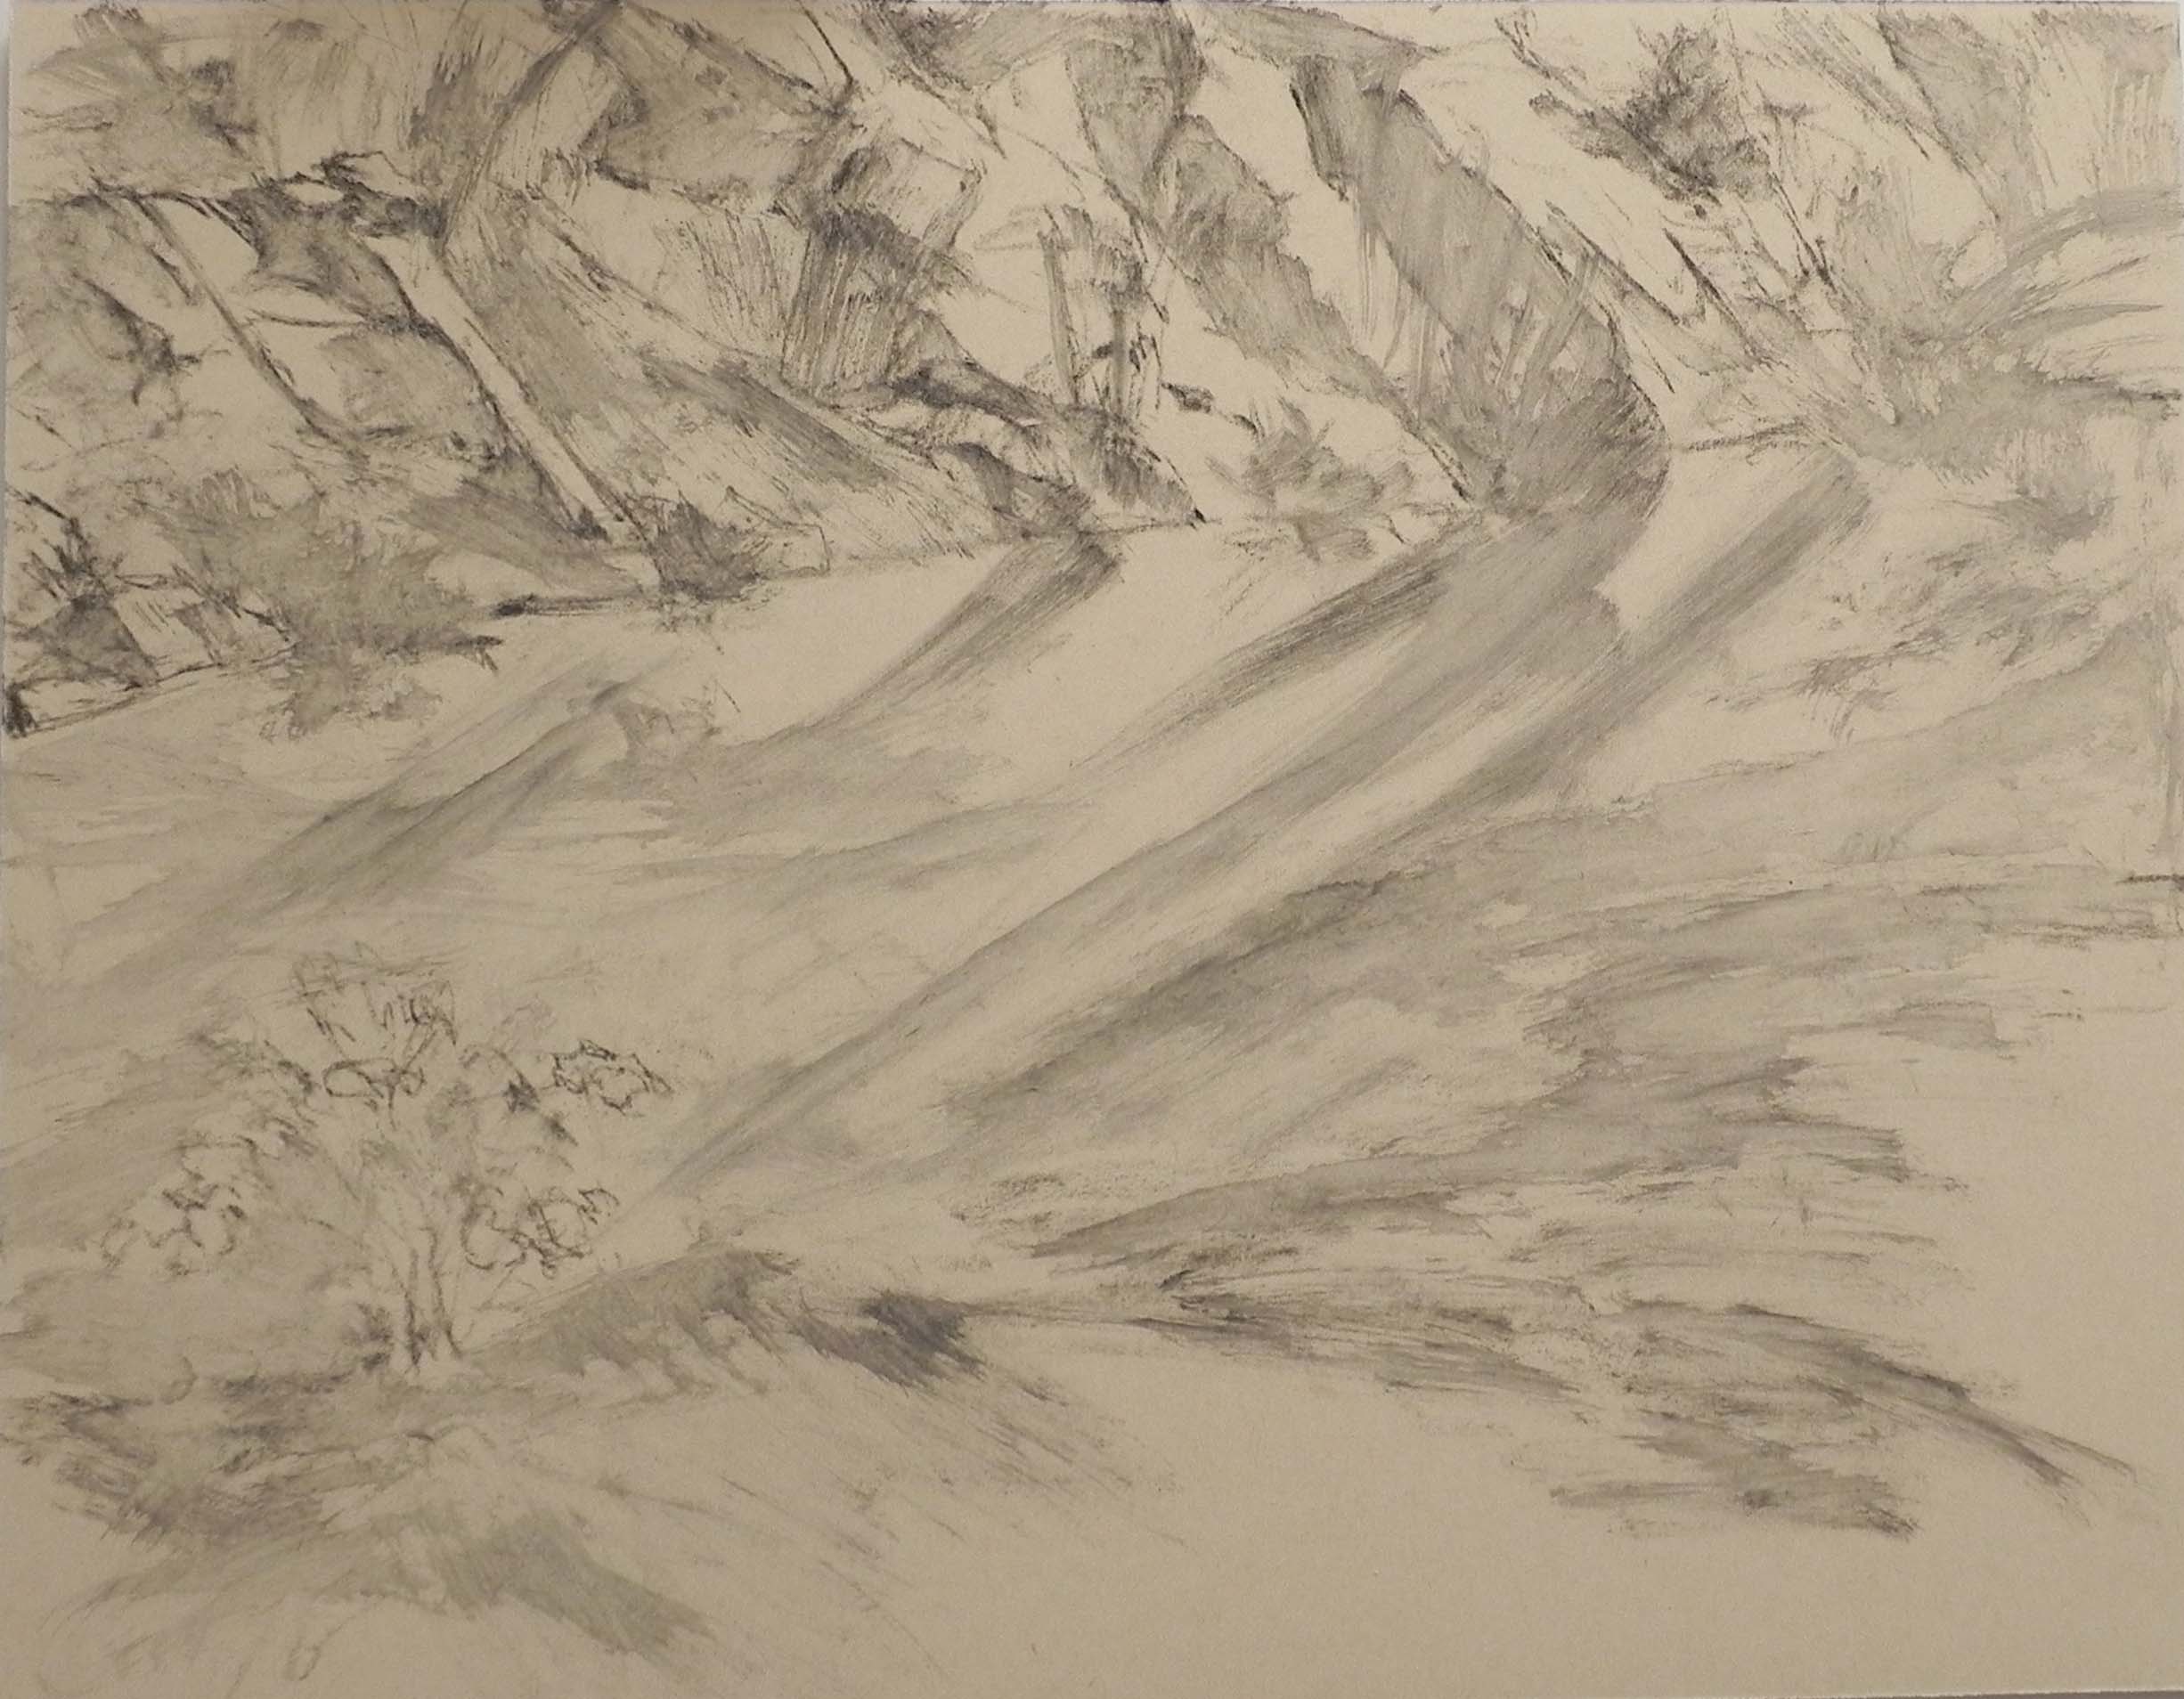
Stage 1. Graphite lay-in
Stage 2. Hard pastel underpainting
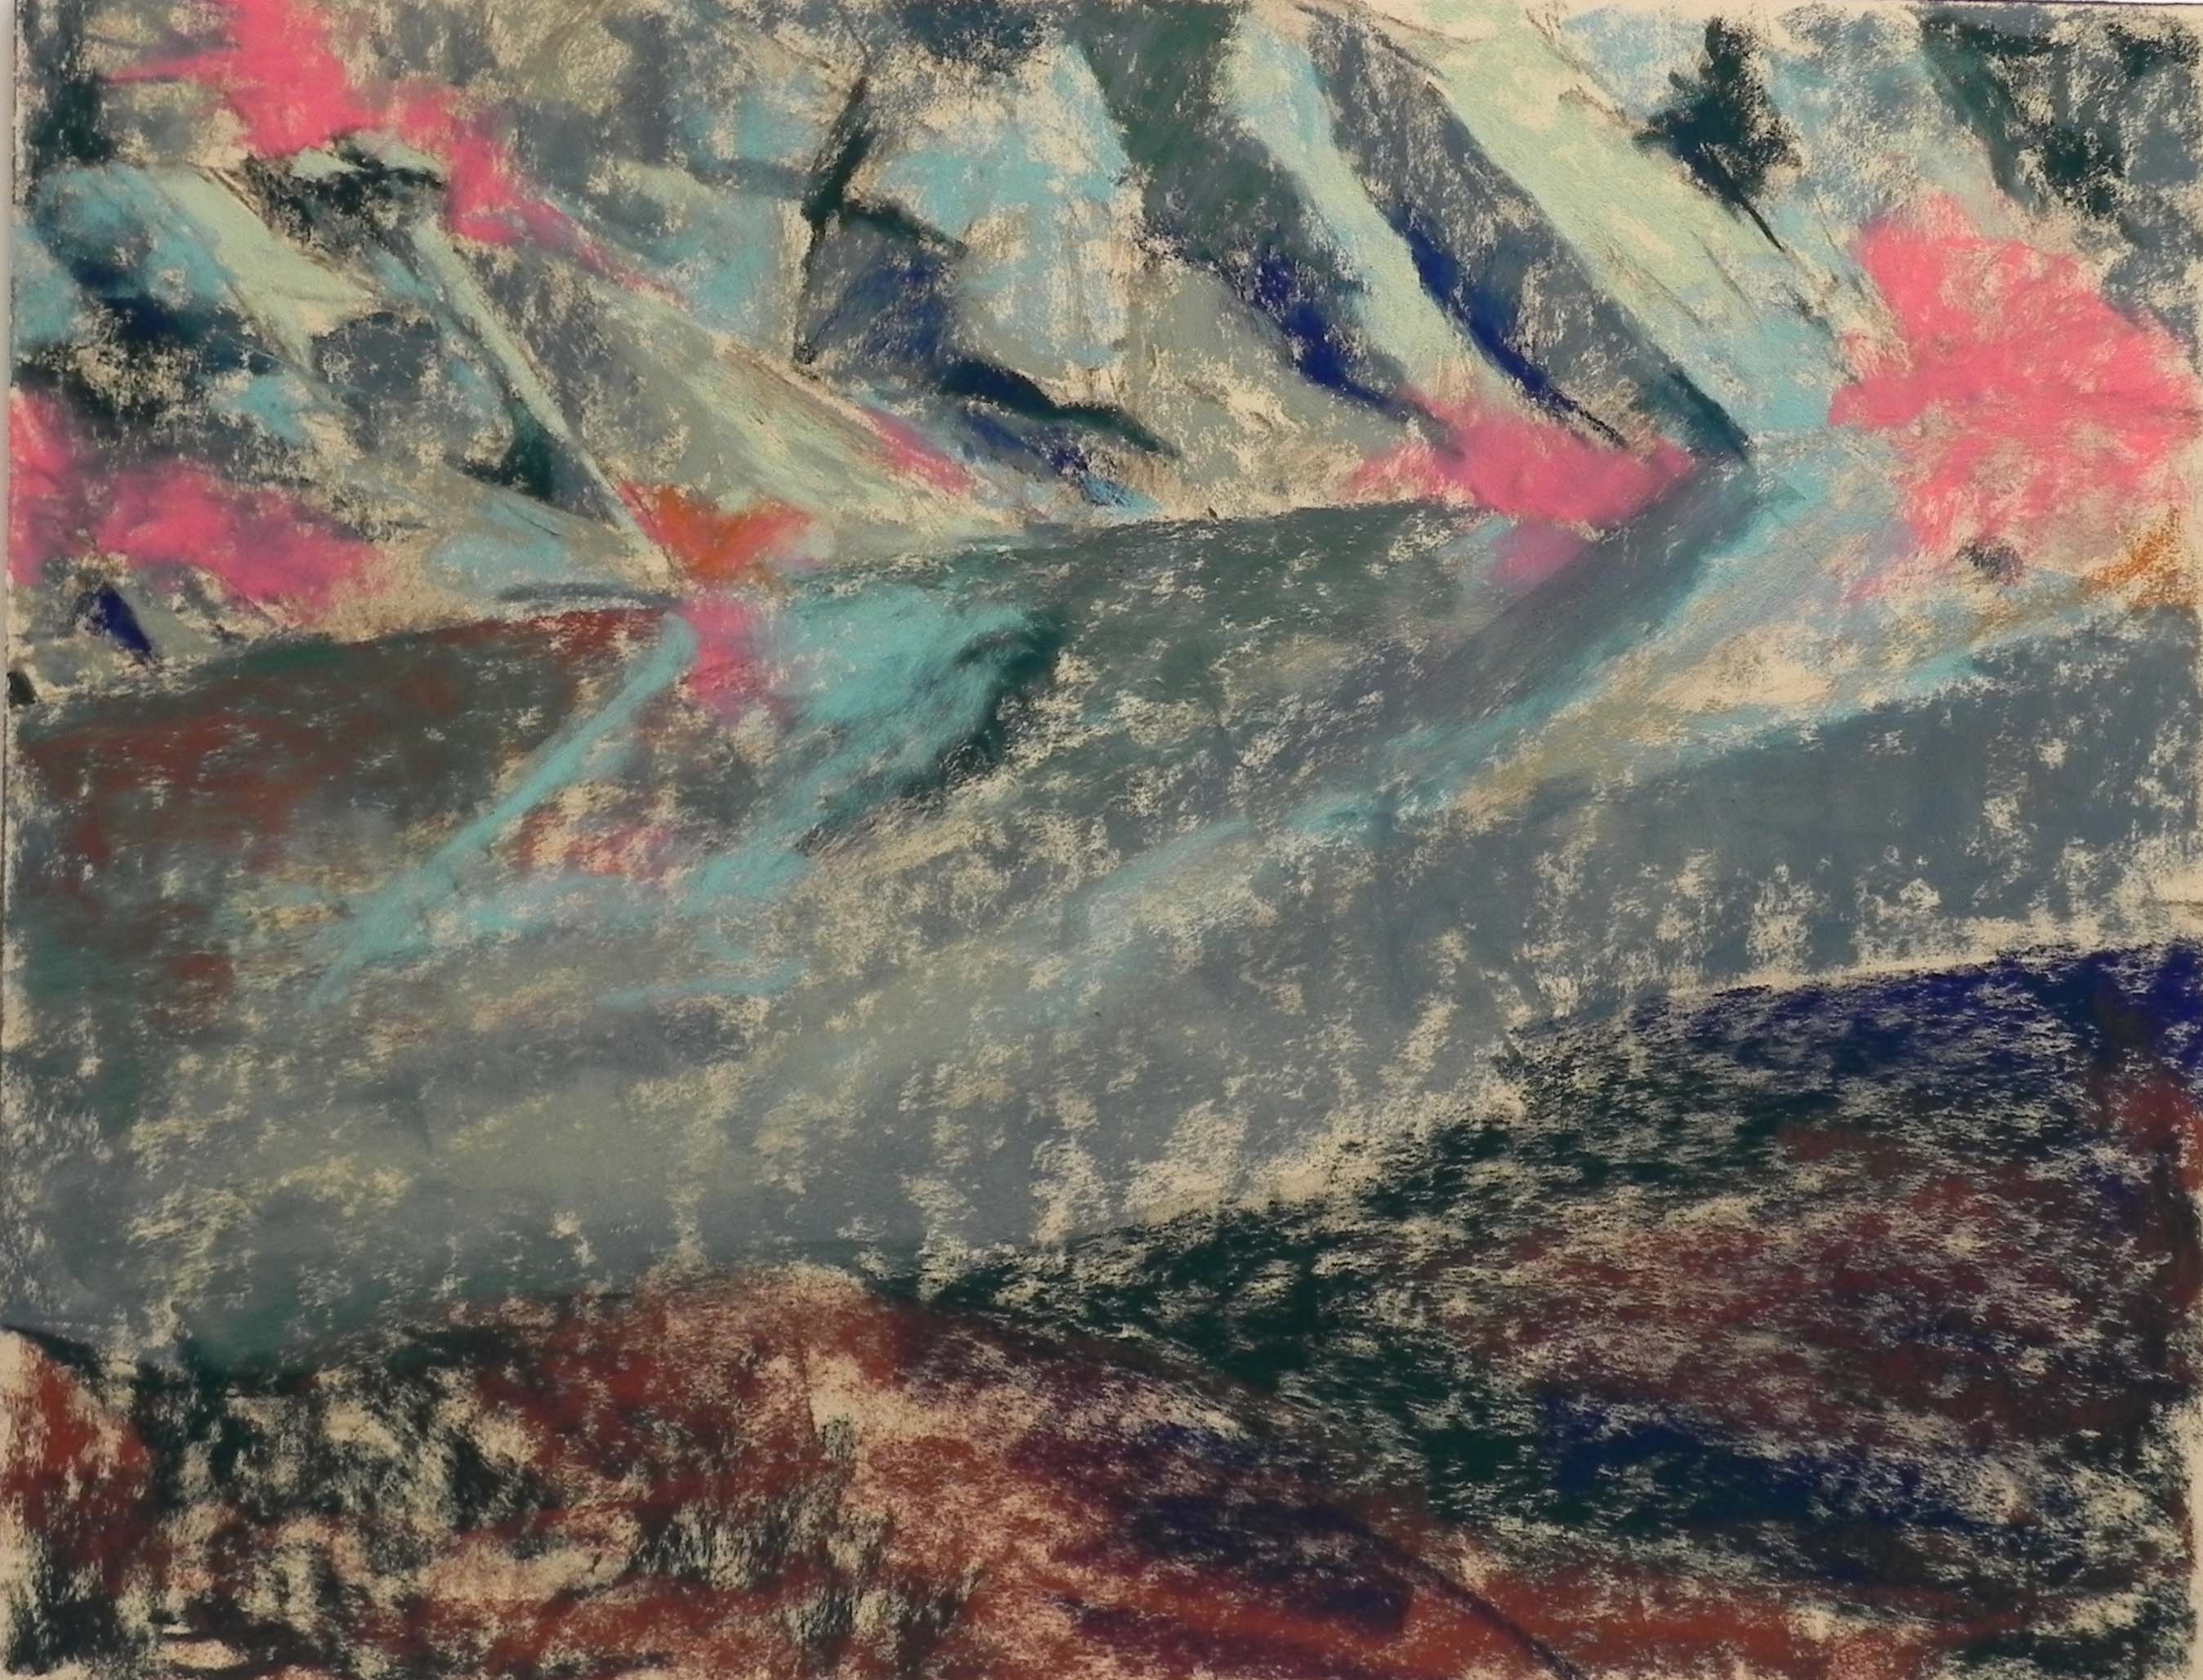
Stage 3. Underpainting with alcohol
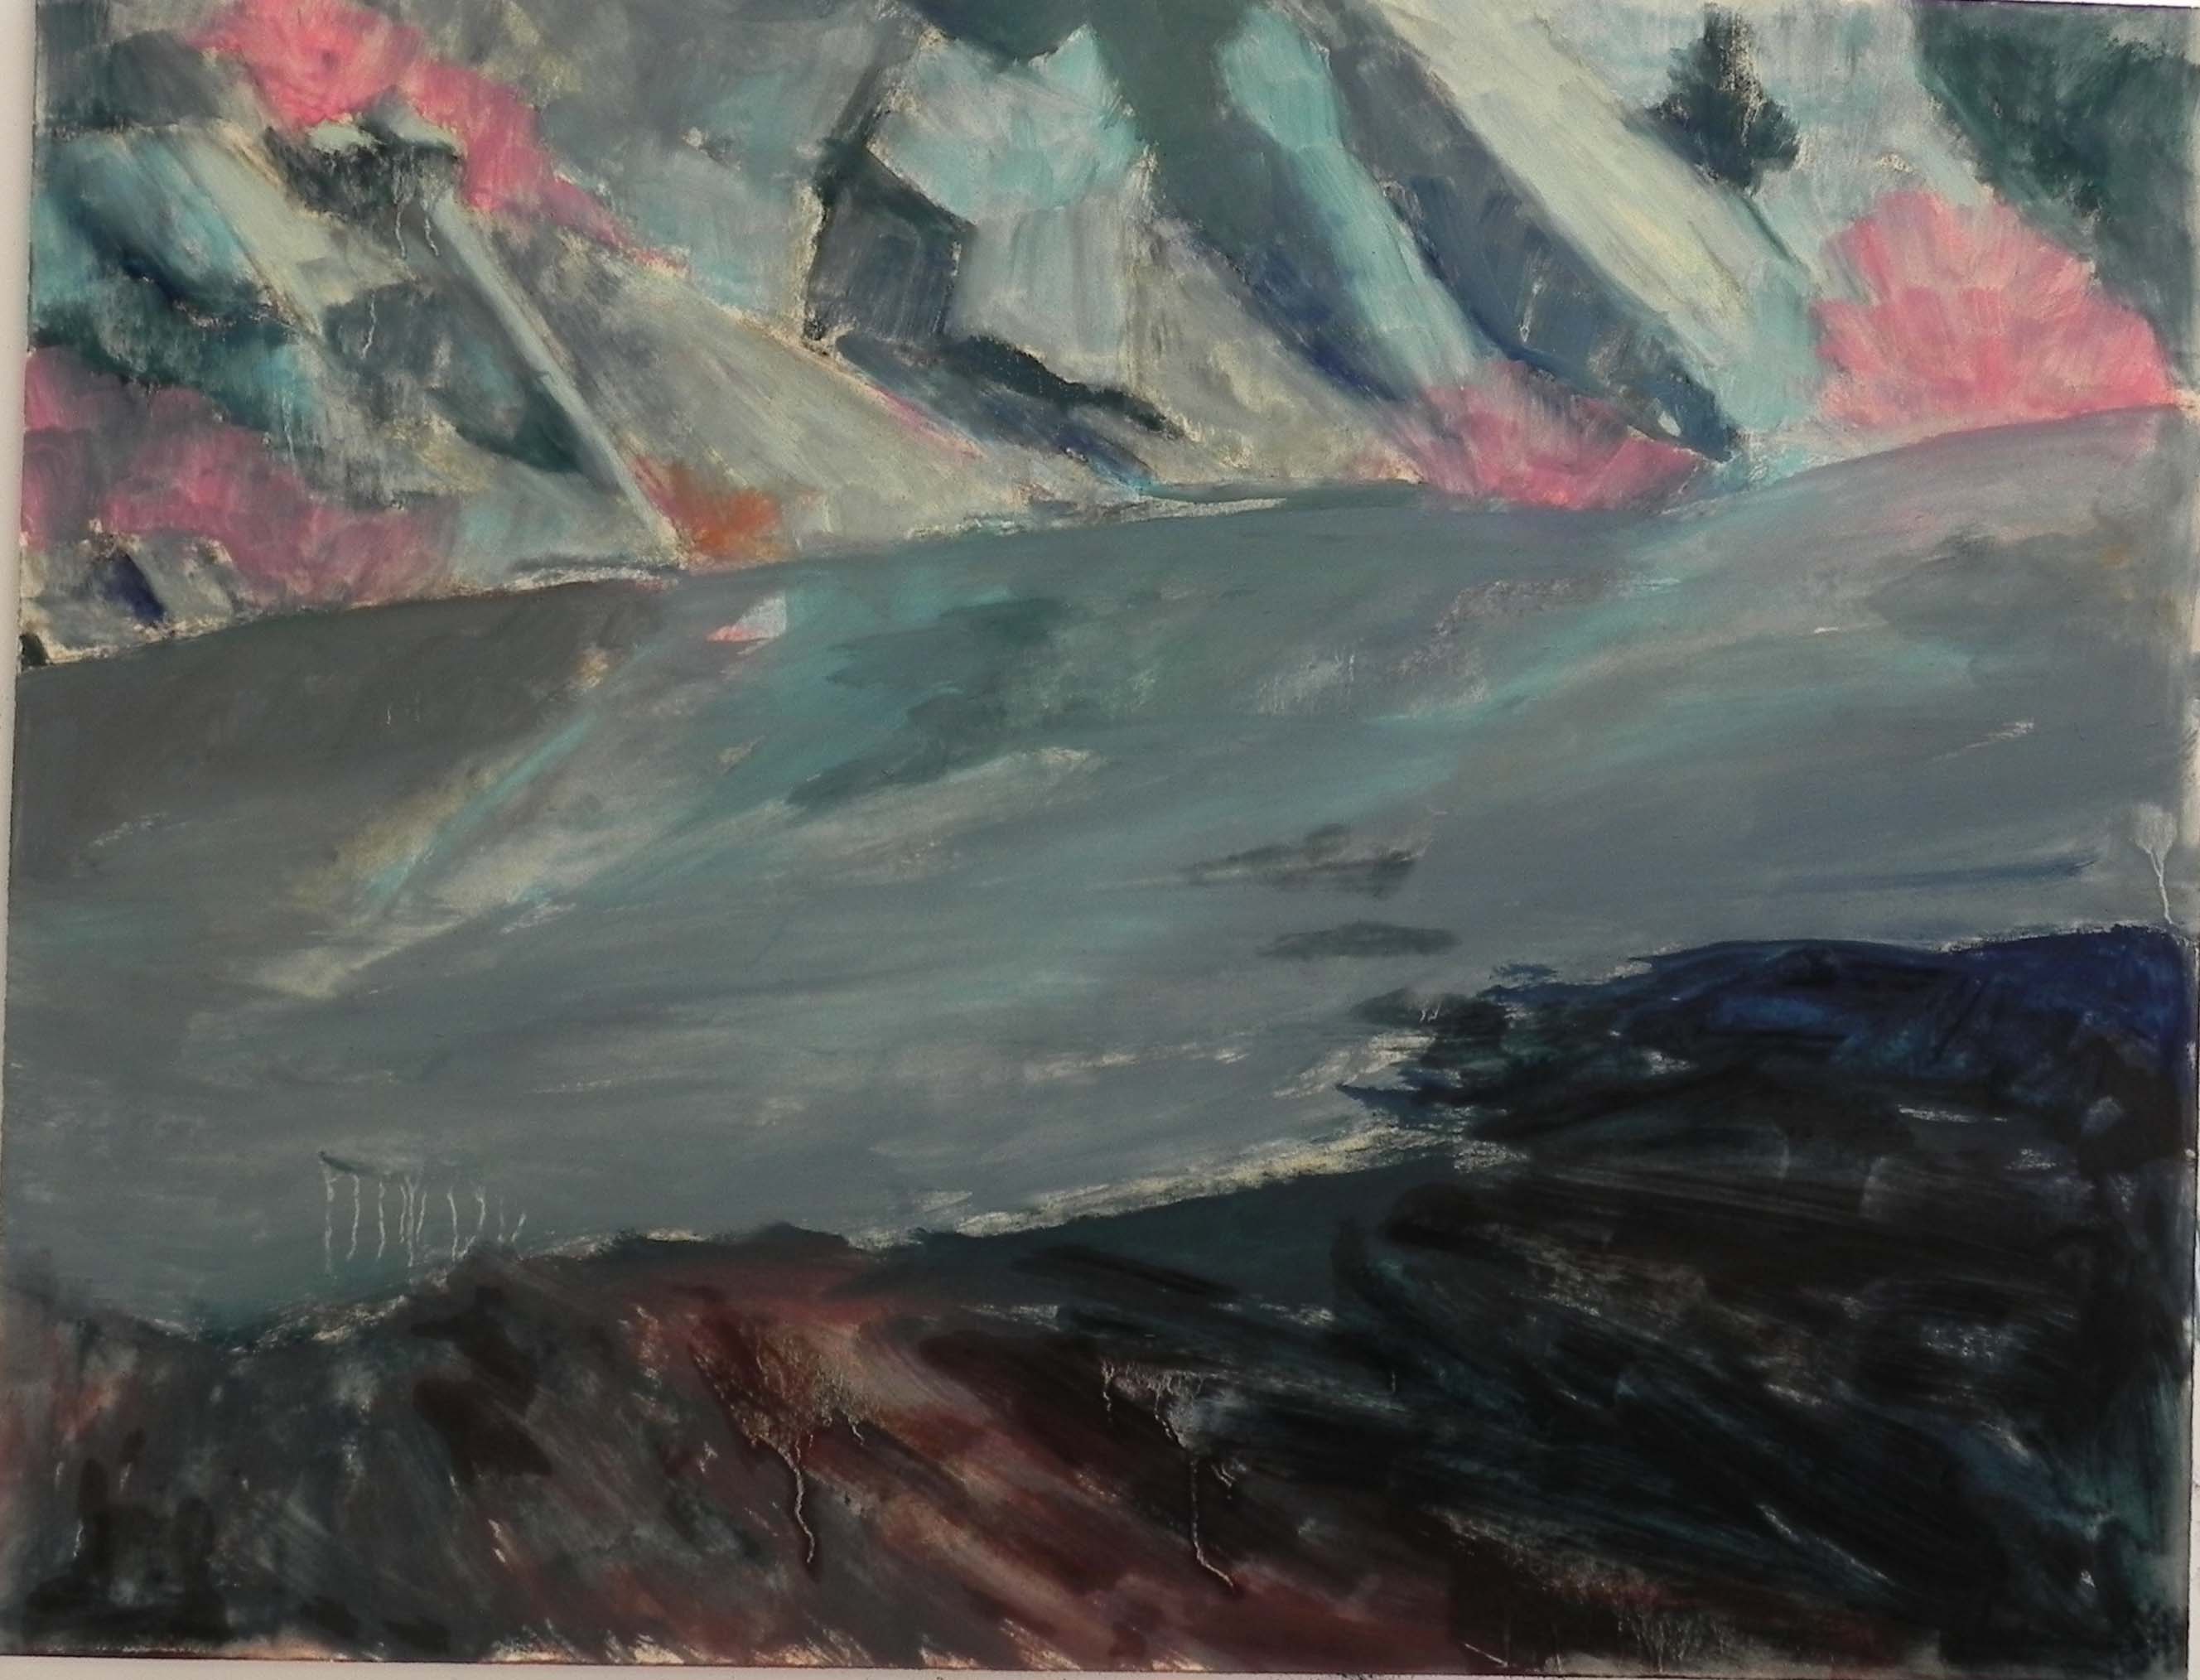
Stage 4. First pastel on rocks
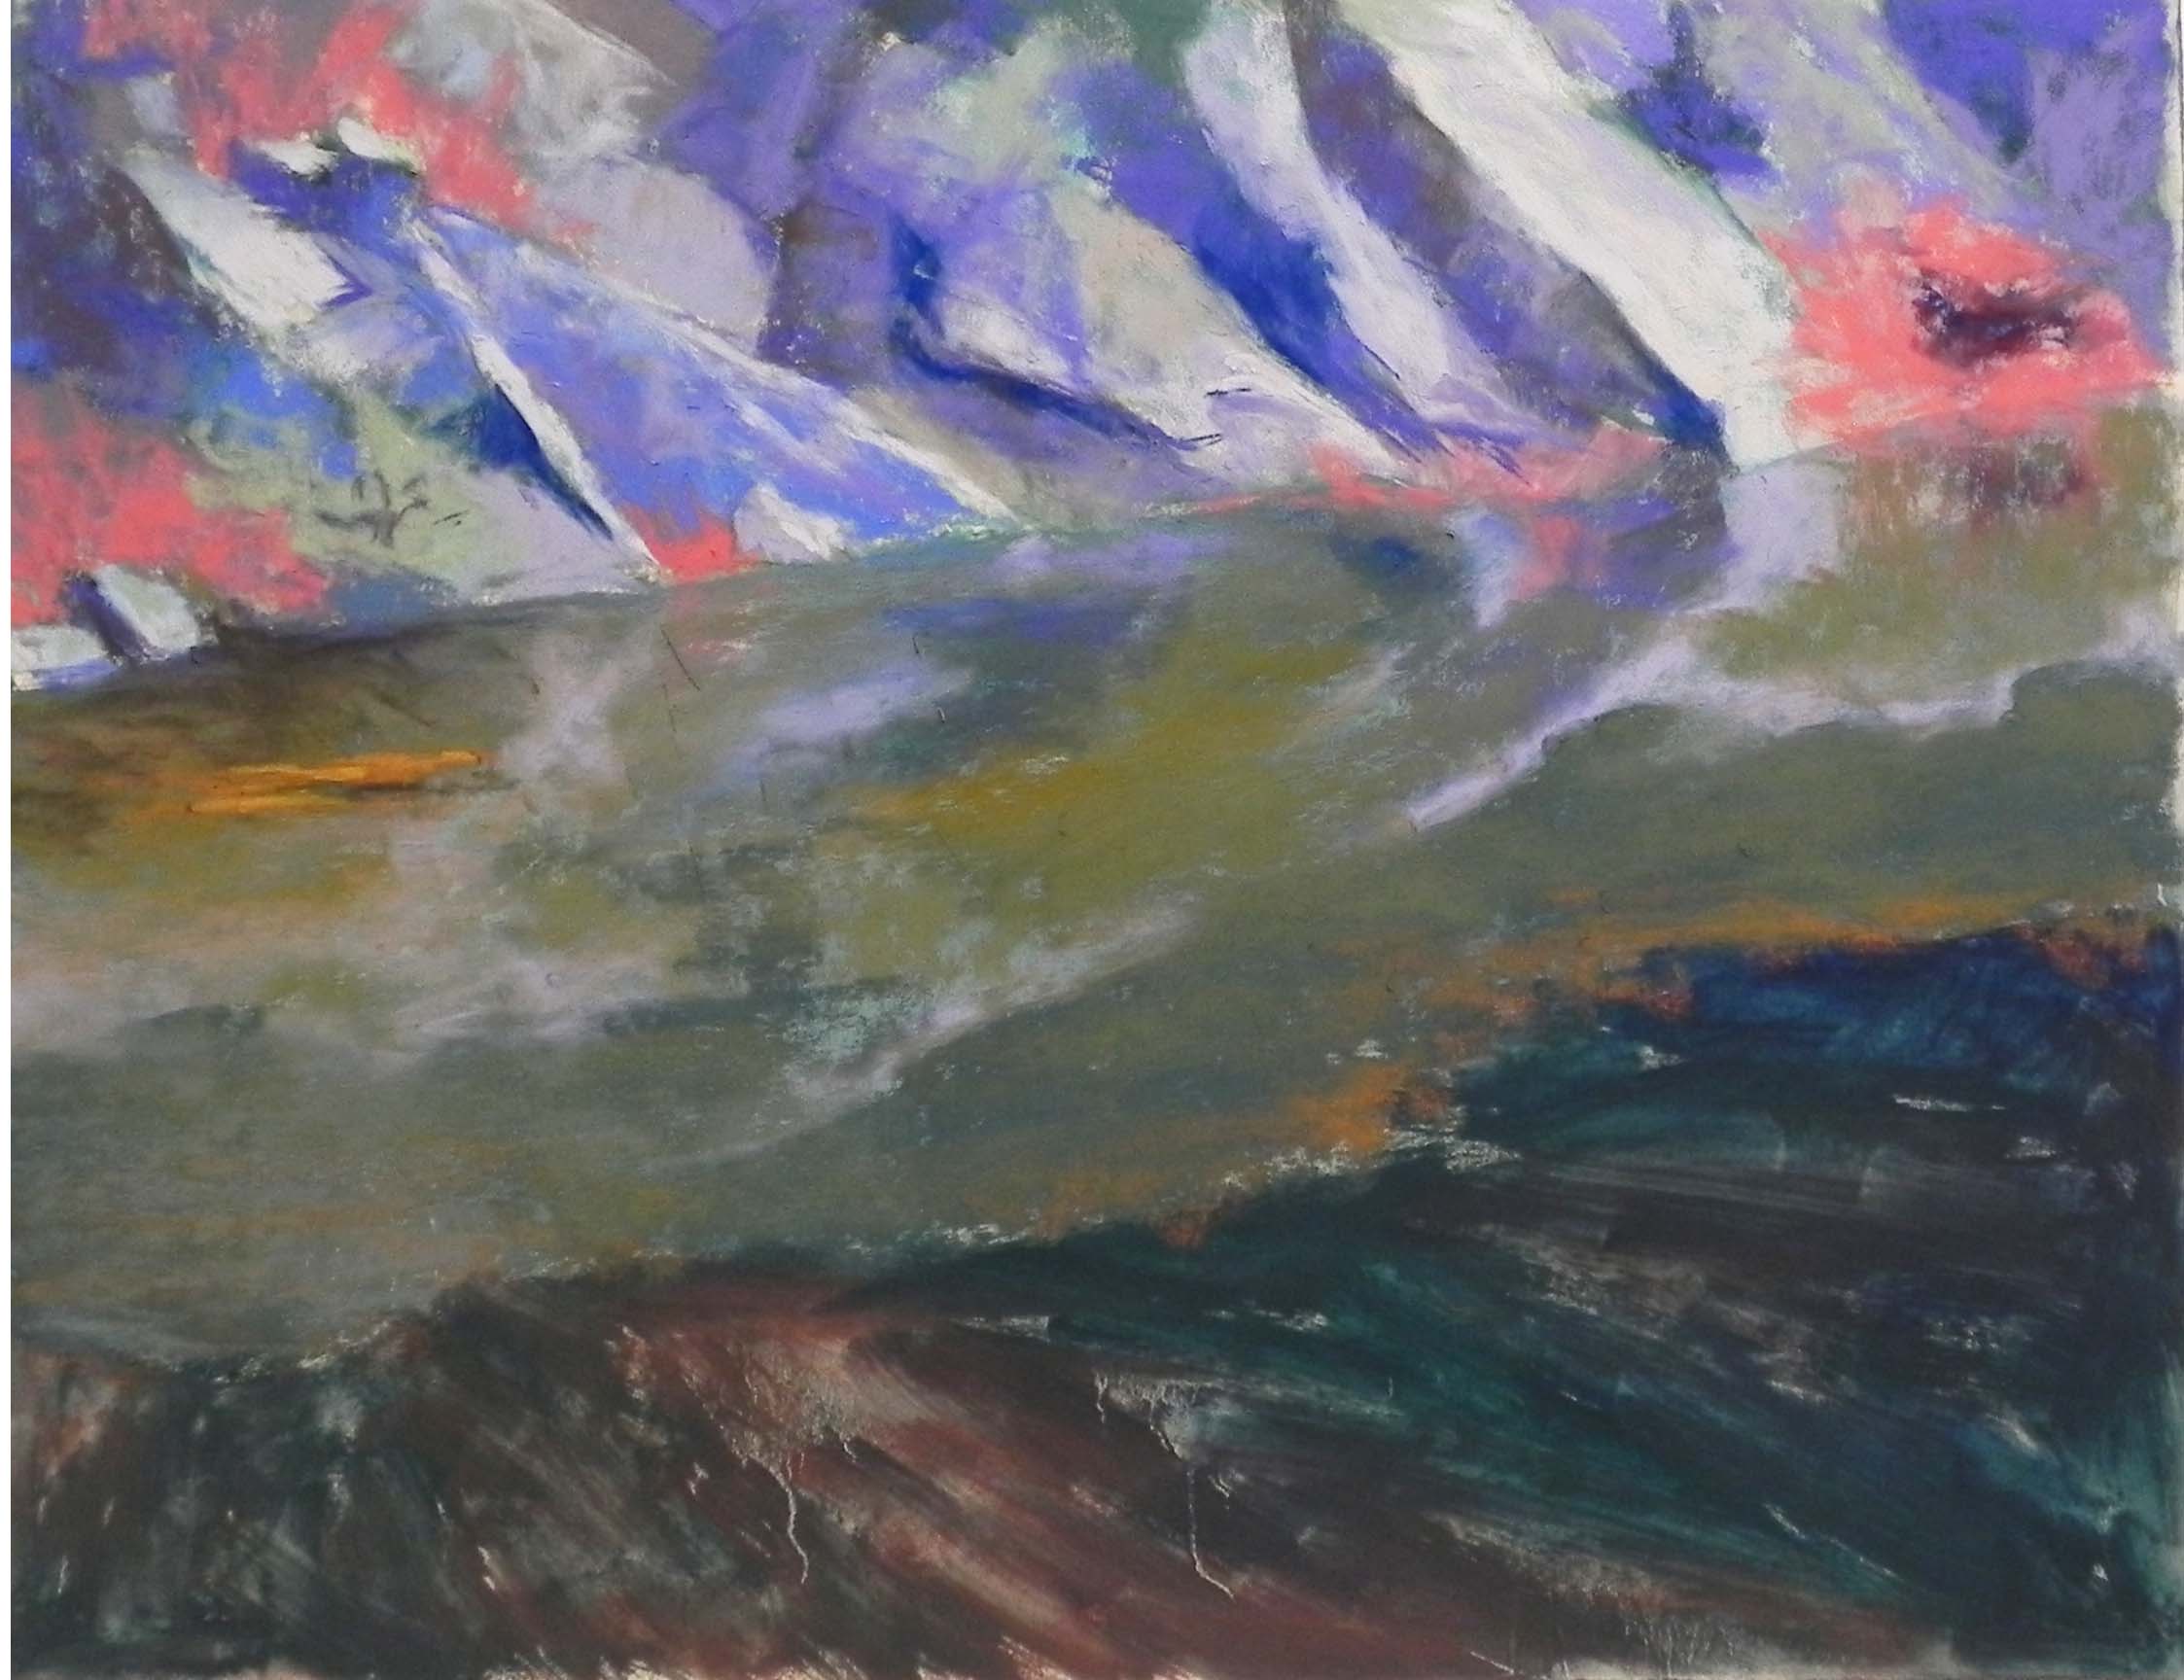
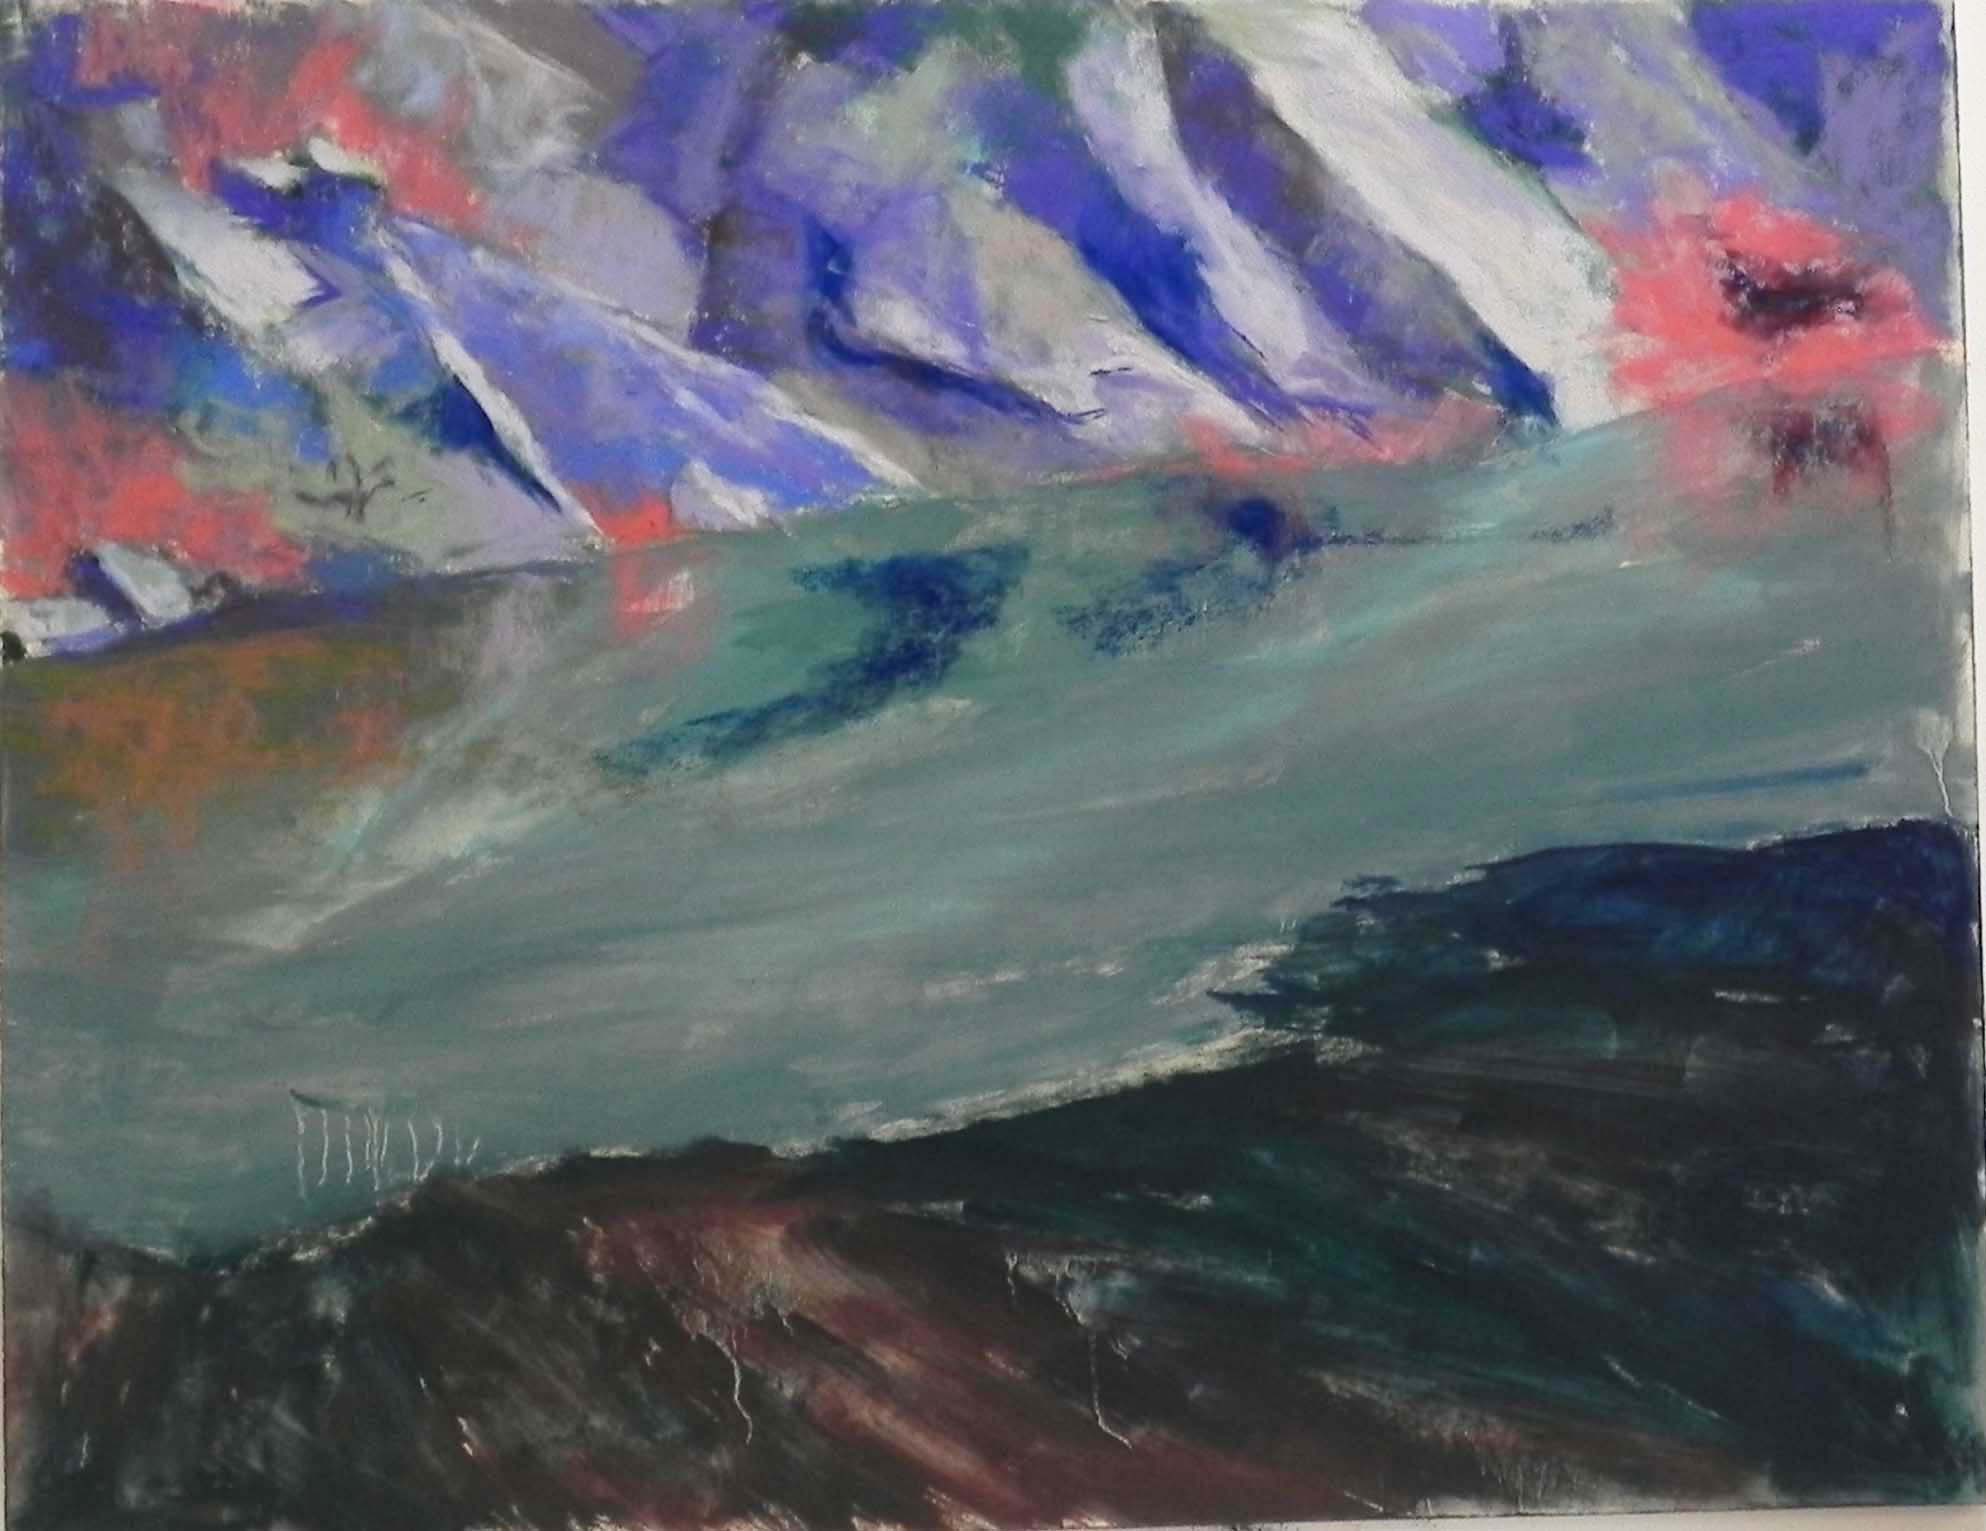
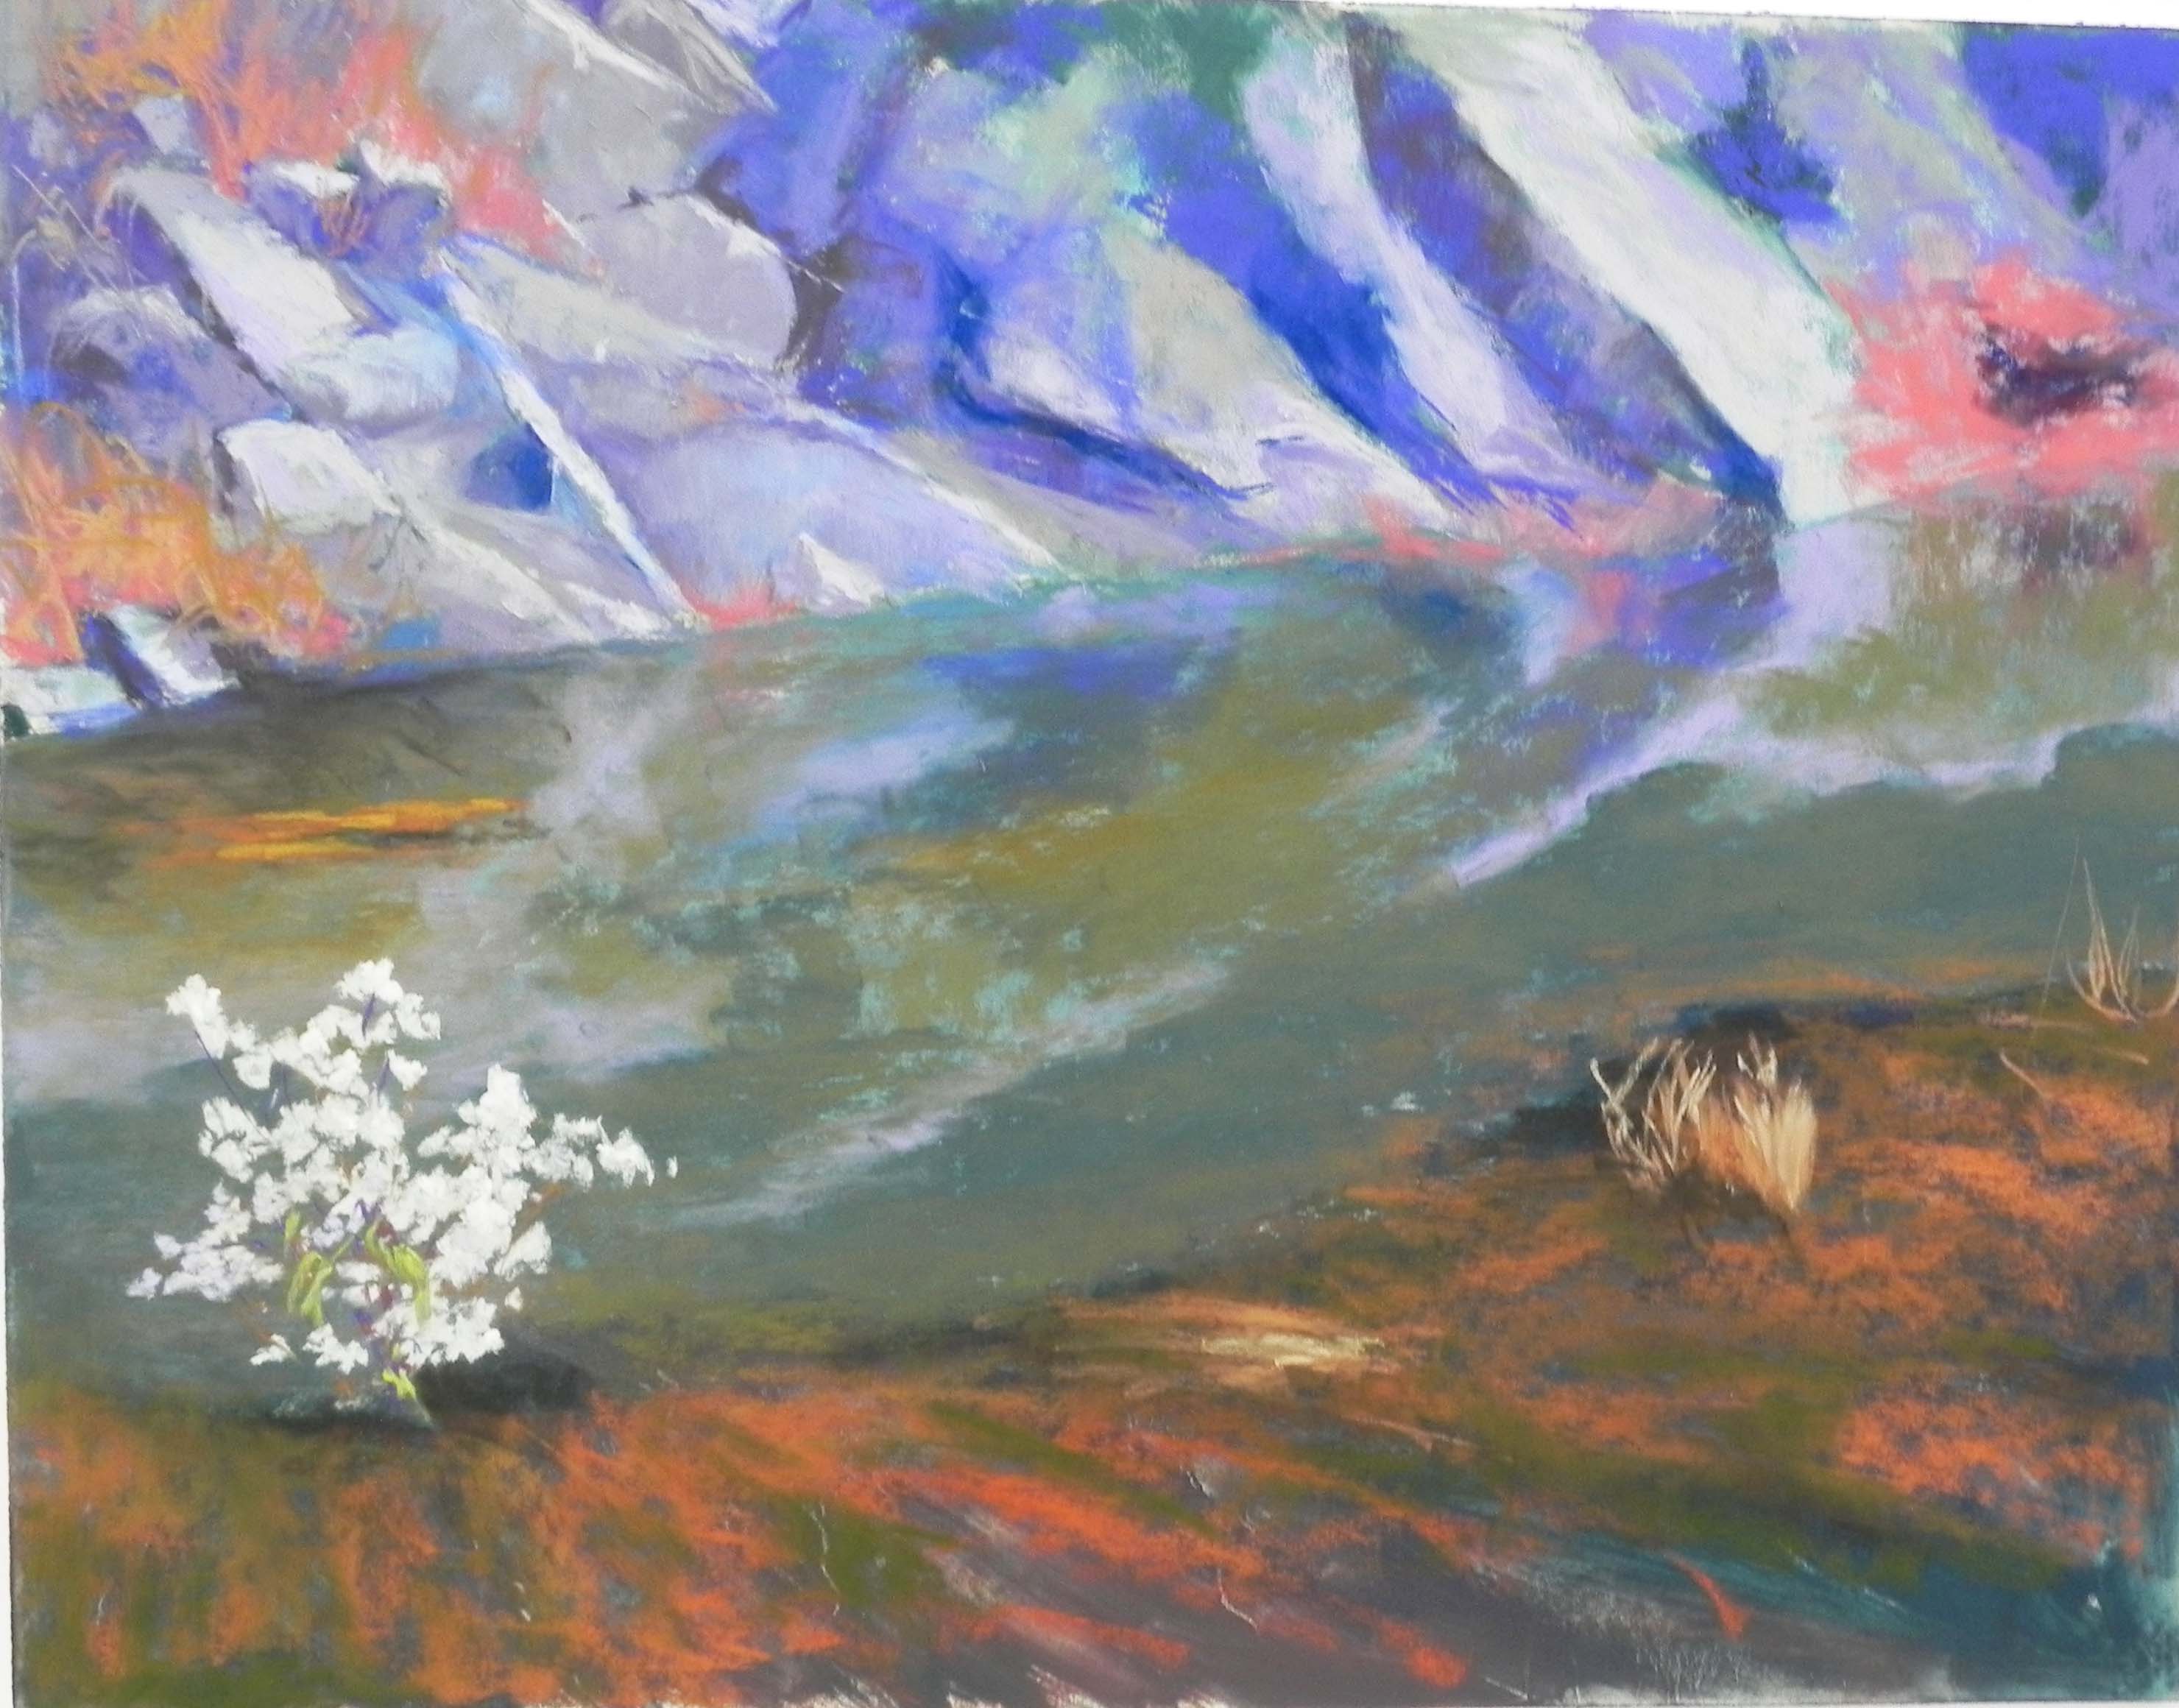
Stage 5. Water and reflections
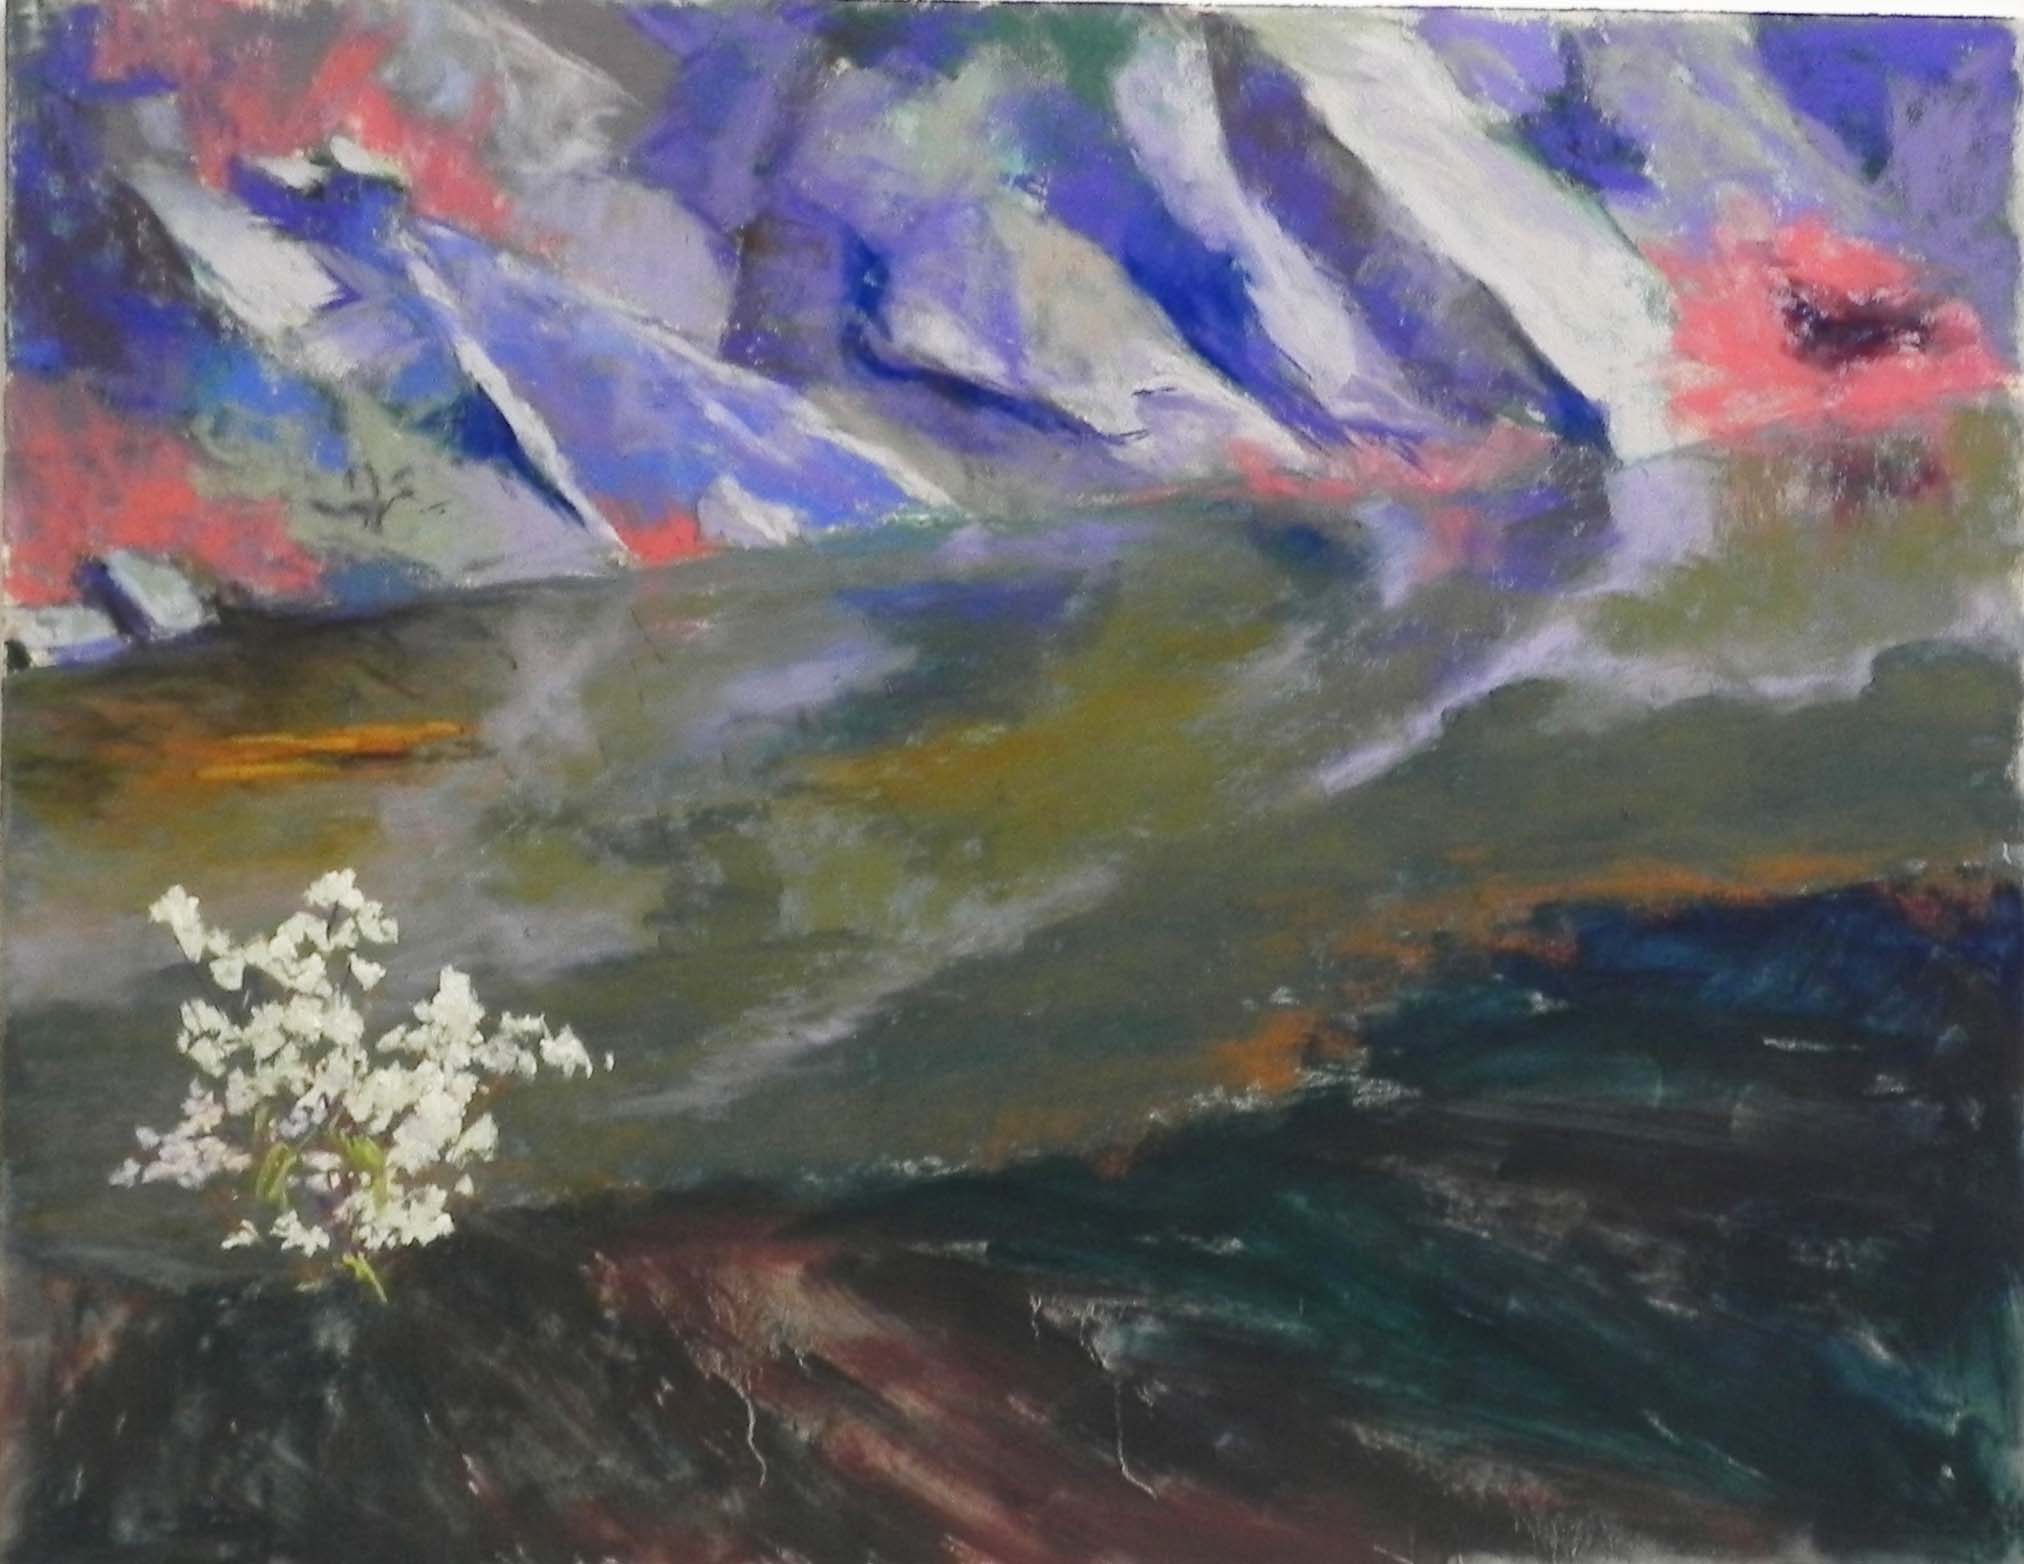
Stage 6. White flowering shrub added
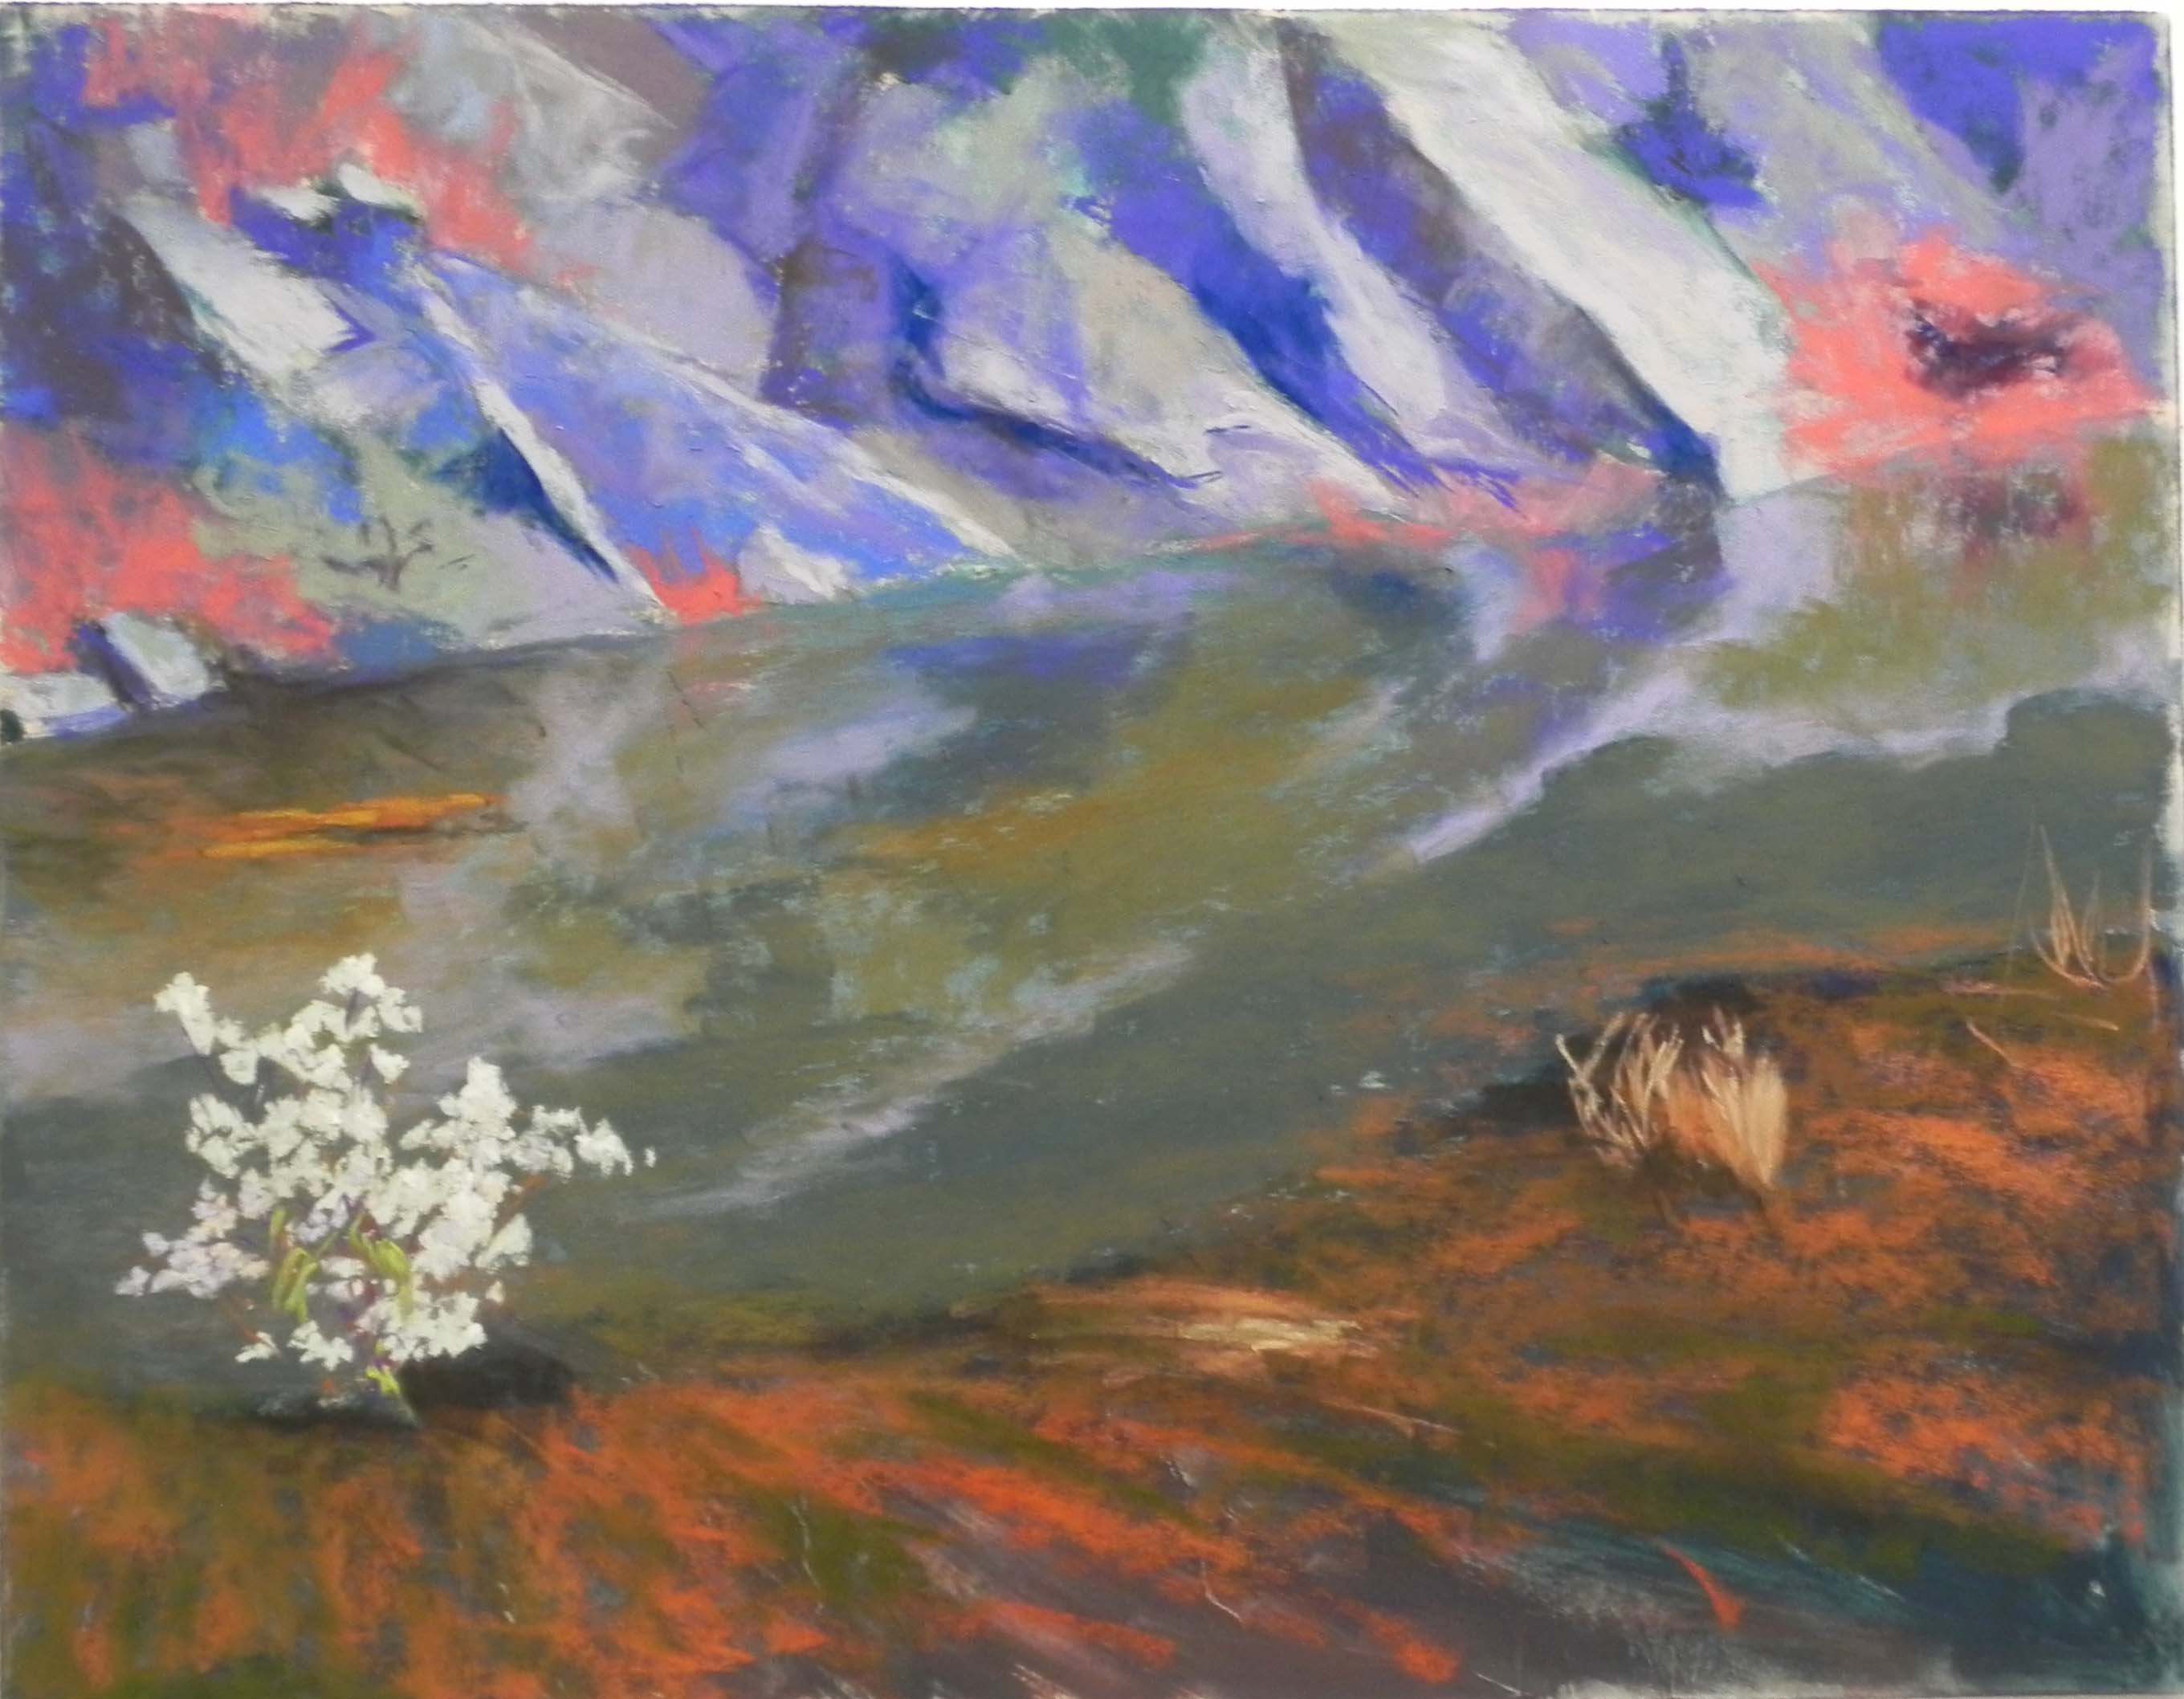
Stage 7. Bottom grasses added; demo ended
Today I did a demonstration for my Monday class. I then worked on the painting in my studio and finished it. Two of my new students weren’t there, so I decided to take a lot of pictures at
Stage 8. Rocks completed, more in water
Stage 9
various stages, which I will put in this blog and discuss what was happening at each stage.
Stage 1–the lay-in was done yesterday using an HB pencil, then going over it with a brush and water.
Stage 2. I began the underpainting using various greens and grays, and a very dark green at the bottom with a little warm color added in. I told the class not to get too worried about the colors one chooses for the underpainting. What’s really important are the value shapes. I went with various greens because I had the right range of values and I figured I’d end up with violet! I chose one reddish color to work in the colored grasses at the top, using red as a cool color over which orange would later be added.
Stage 3. I quickly applied the alcohol. What was pleasing was that I could still see where the reflections of the rocks were and the diagonal leading back to the flowering bush.
Stage 4. I did the rocks pretty fast for me! I used various blue violets and neutrals and tried to maintain the diagonals. I worked quite freely and abstractly, using more colors than I really wanted in the finished painting.
Stage 5. I next worked on the water and reflections, I decided that I had to lay it in behind the bush before I could add it. So I used Giraults and Ludwigs to get the part of the water behind the bush complete enough to add it in (they all wanted to see that in the demo, of course!)
Stage 6. I next added the bush using very light violet, green and cream Schminckes and a lemon yellow tinted white. The bush started out too small, but I just worked on over it. Brushing it out would not have been a good idea! The really soft pastels are needed at this point in order to be able to get a clean stroke on top of the layered greens of the water. I used a pretty firm push to add the color.
Stage 7. At this point, I added in the warm colors of the grasses at the bottom, working from dark to light. I stopped the demo at this point–1.5 hours total!
Stage 8. In my studio, Took a new look at it and decided the rocks were too dark. So I used various Giraults and soft Schminckes to lay in more neutral colors, lights and a more constant shade of violet. I also began adding more colors to the grasses in the rocks to make them less red.
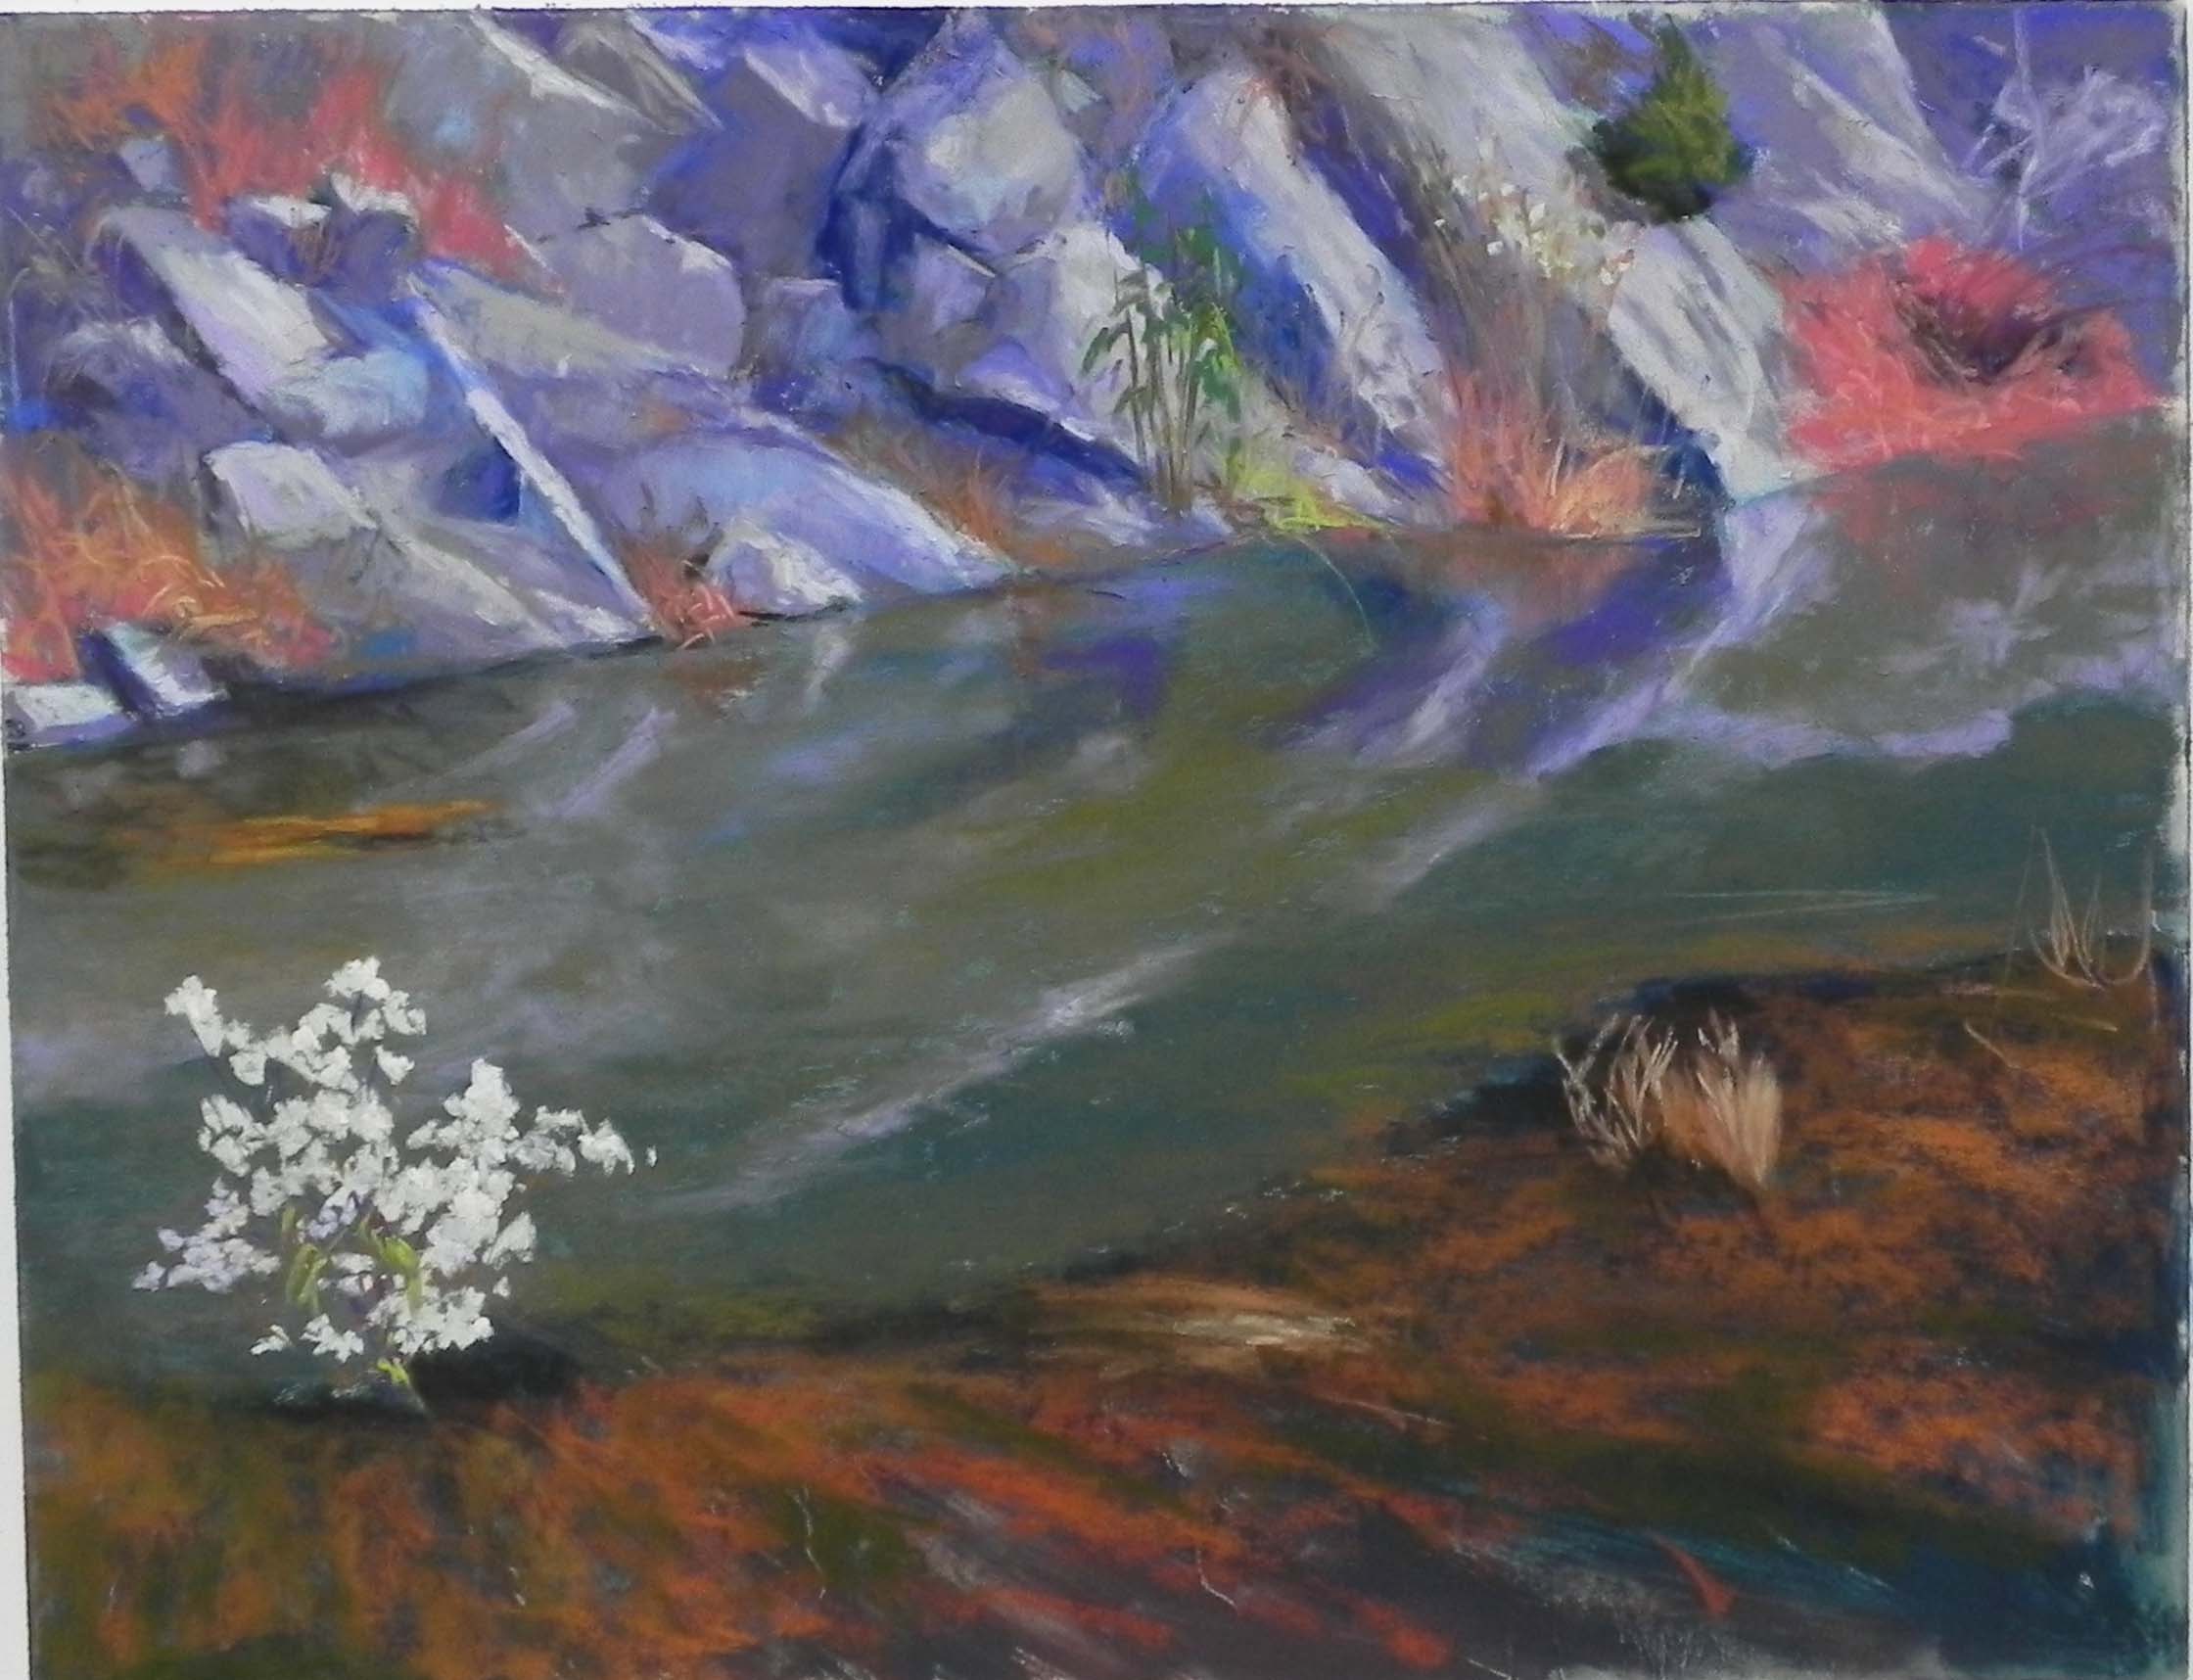
Stage 9. I added the small plants, grasses, etc. to the rocks, and did more with the water and reflections.
Final: I added the green grasses at bottom. This is an unusual painting as it isn’t really a landscape, more of a still life in a way. There is no real distance in it!
This is the last painting from the fall set of photos. Hoping to get to the canal this week when the temp. goes into the 70’s. I thought I’d also mention that my mounted UART is from French Canvas, which creates True Grit Pastel Panels. There are a number of different sizes, such as this 14 x 18. I also got 16 x 16! They are quite nice, come individually wrapped and don’t seem to warp (yet!)
This step by step is brilliant. Thank you!