Surface after being washed off
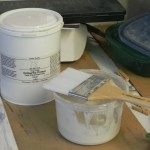
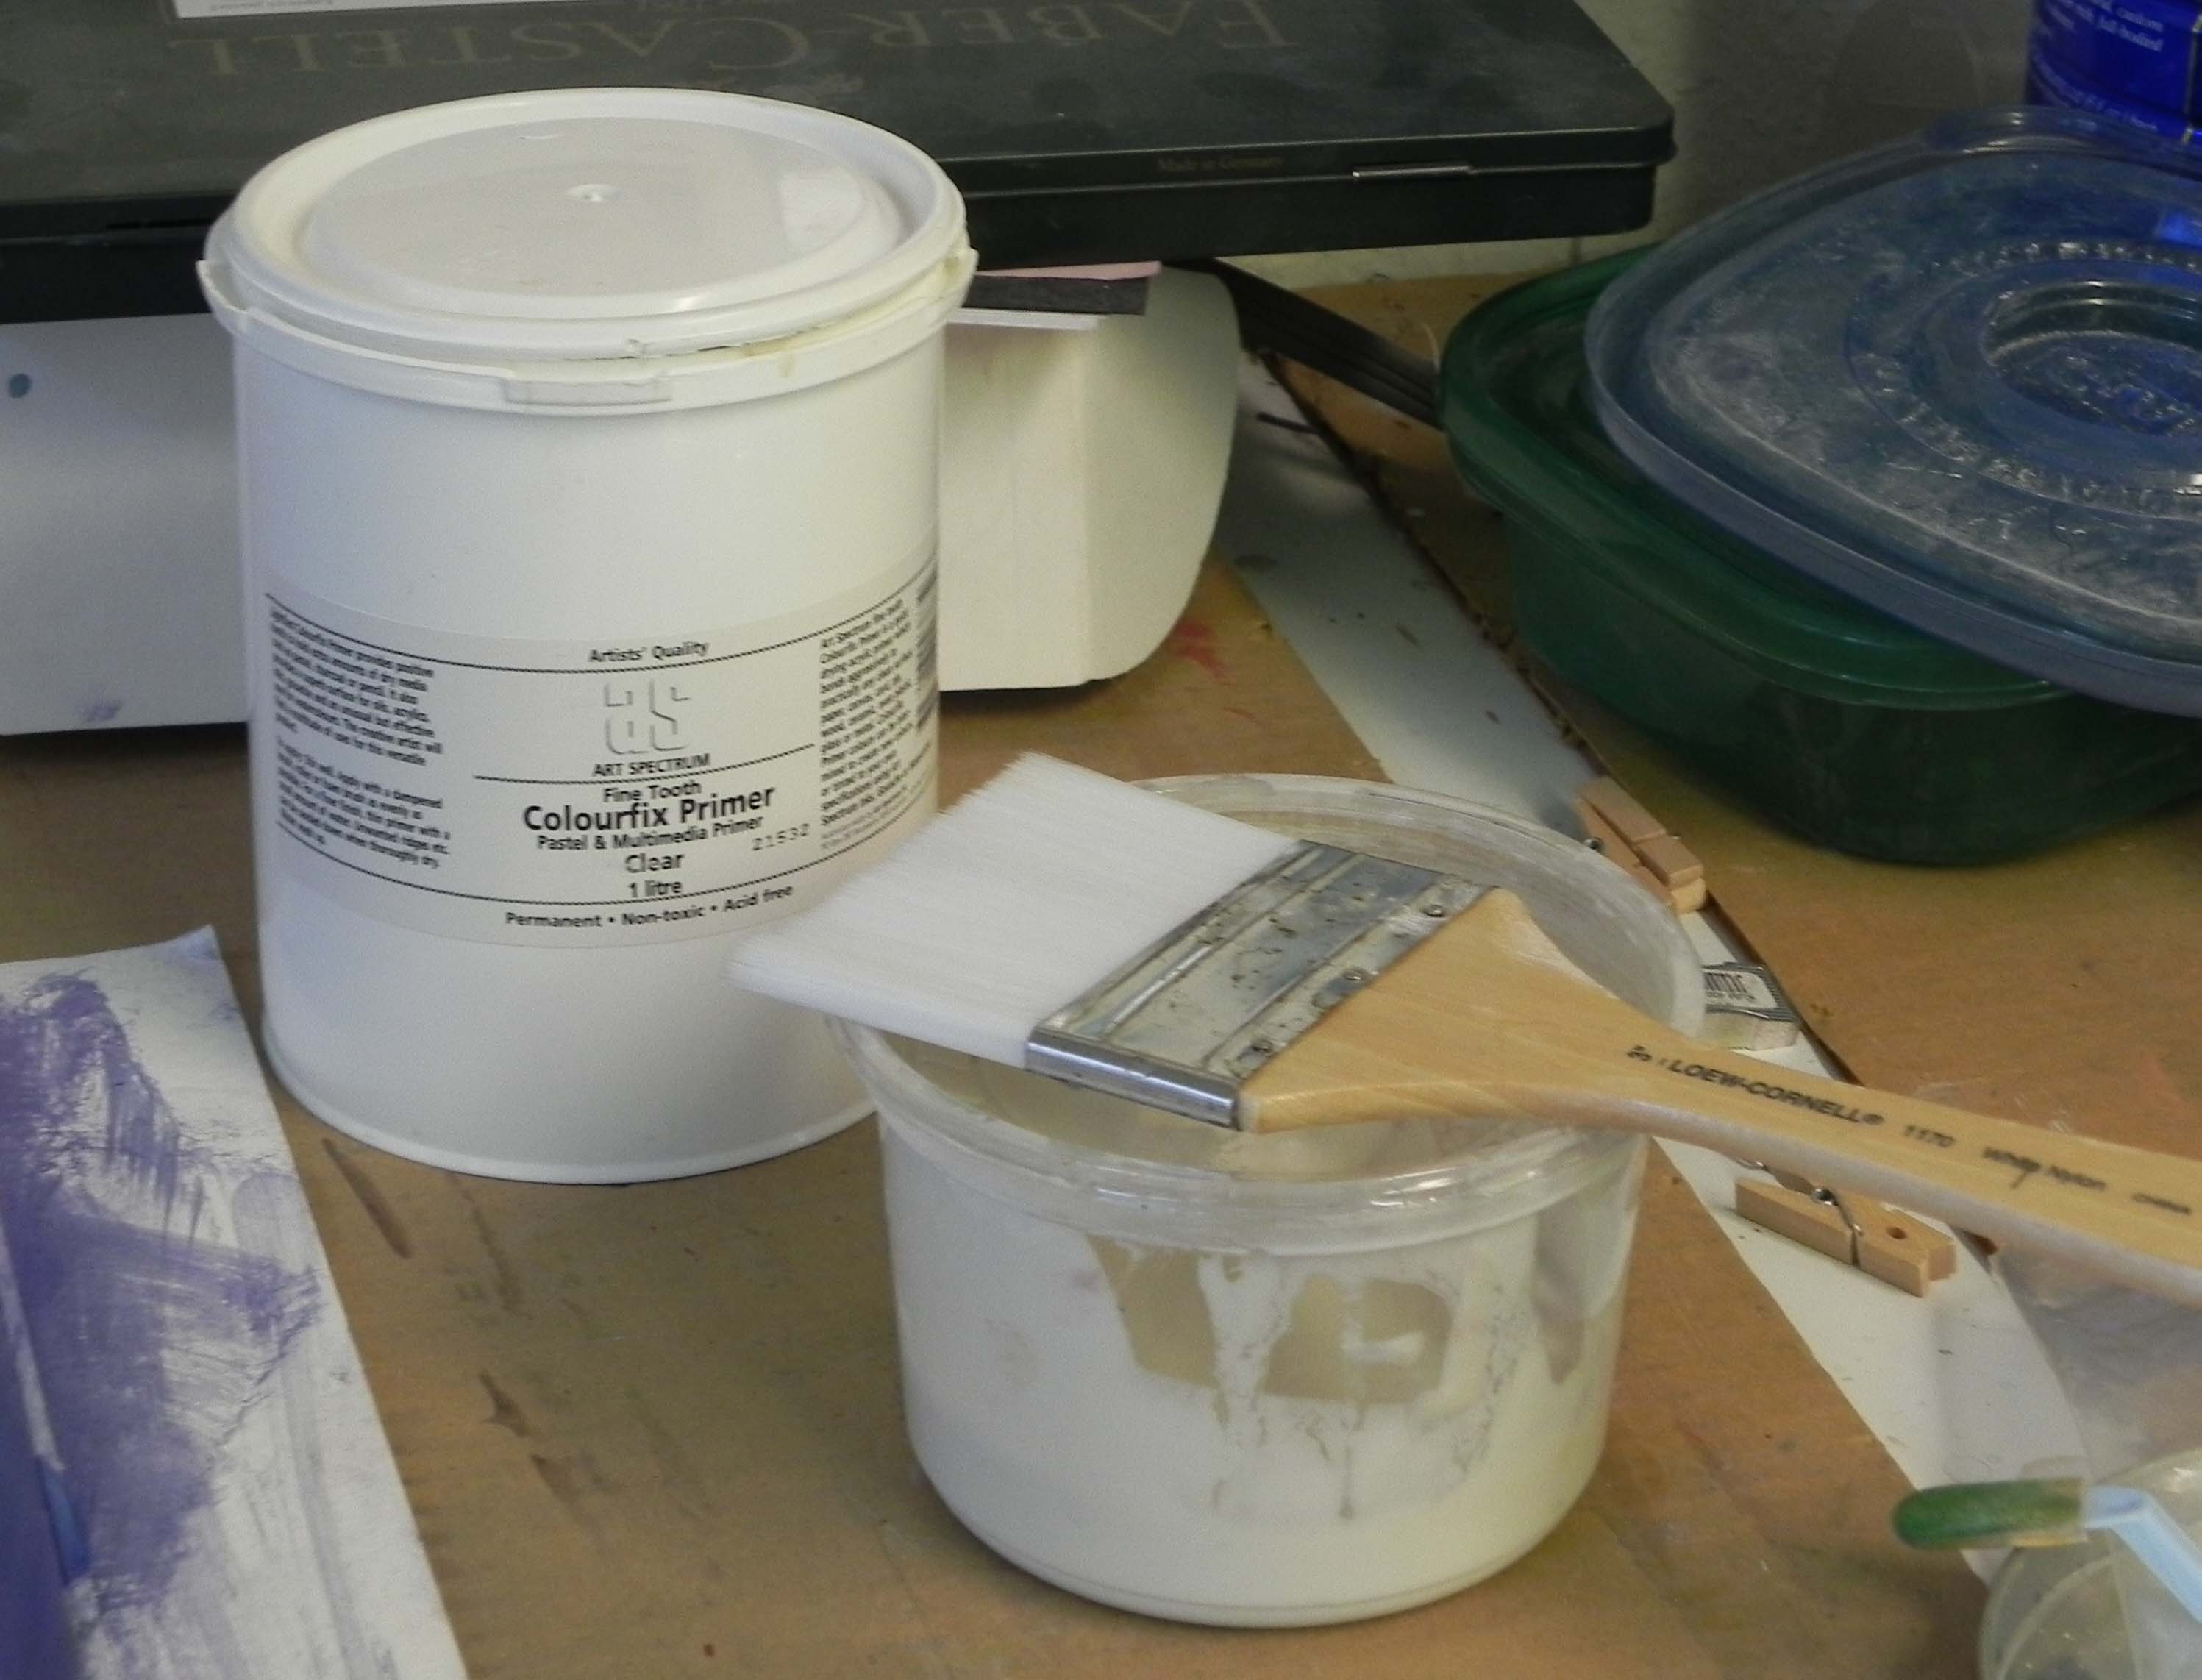
Colourfix Liquid primer in original tub and plastic container
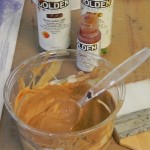
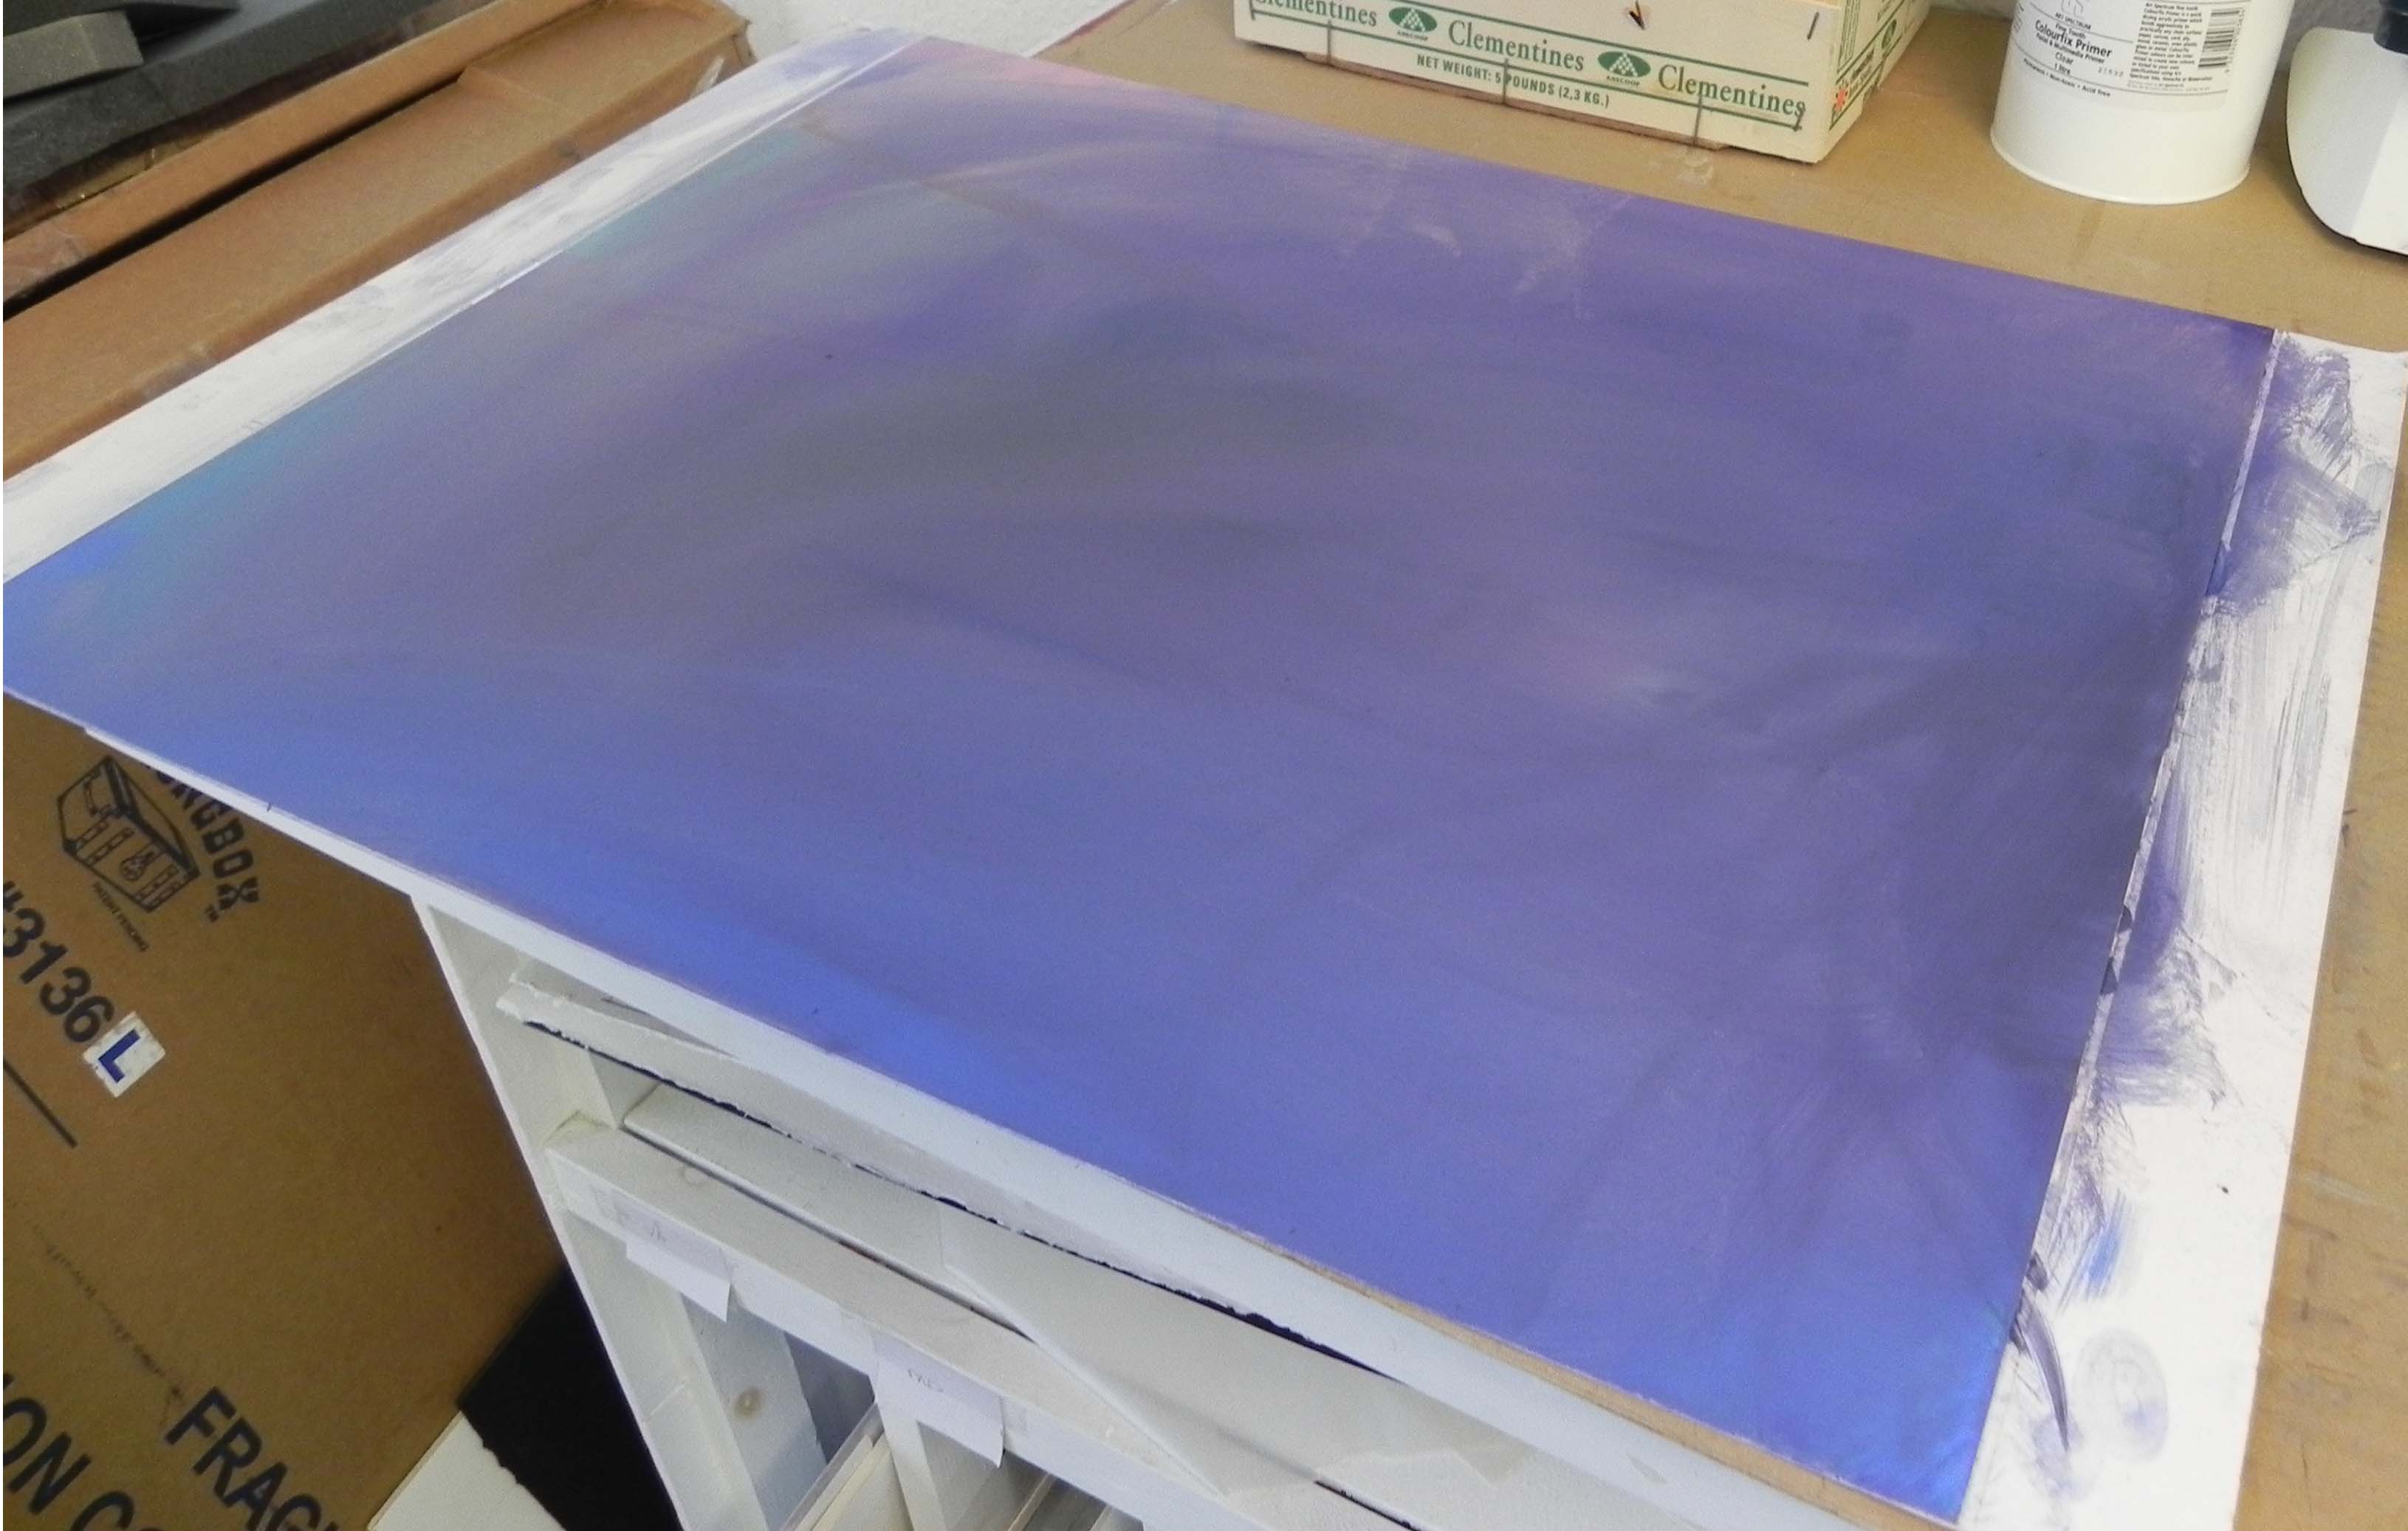
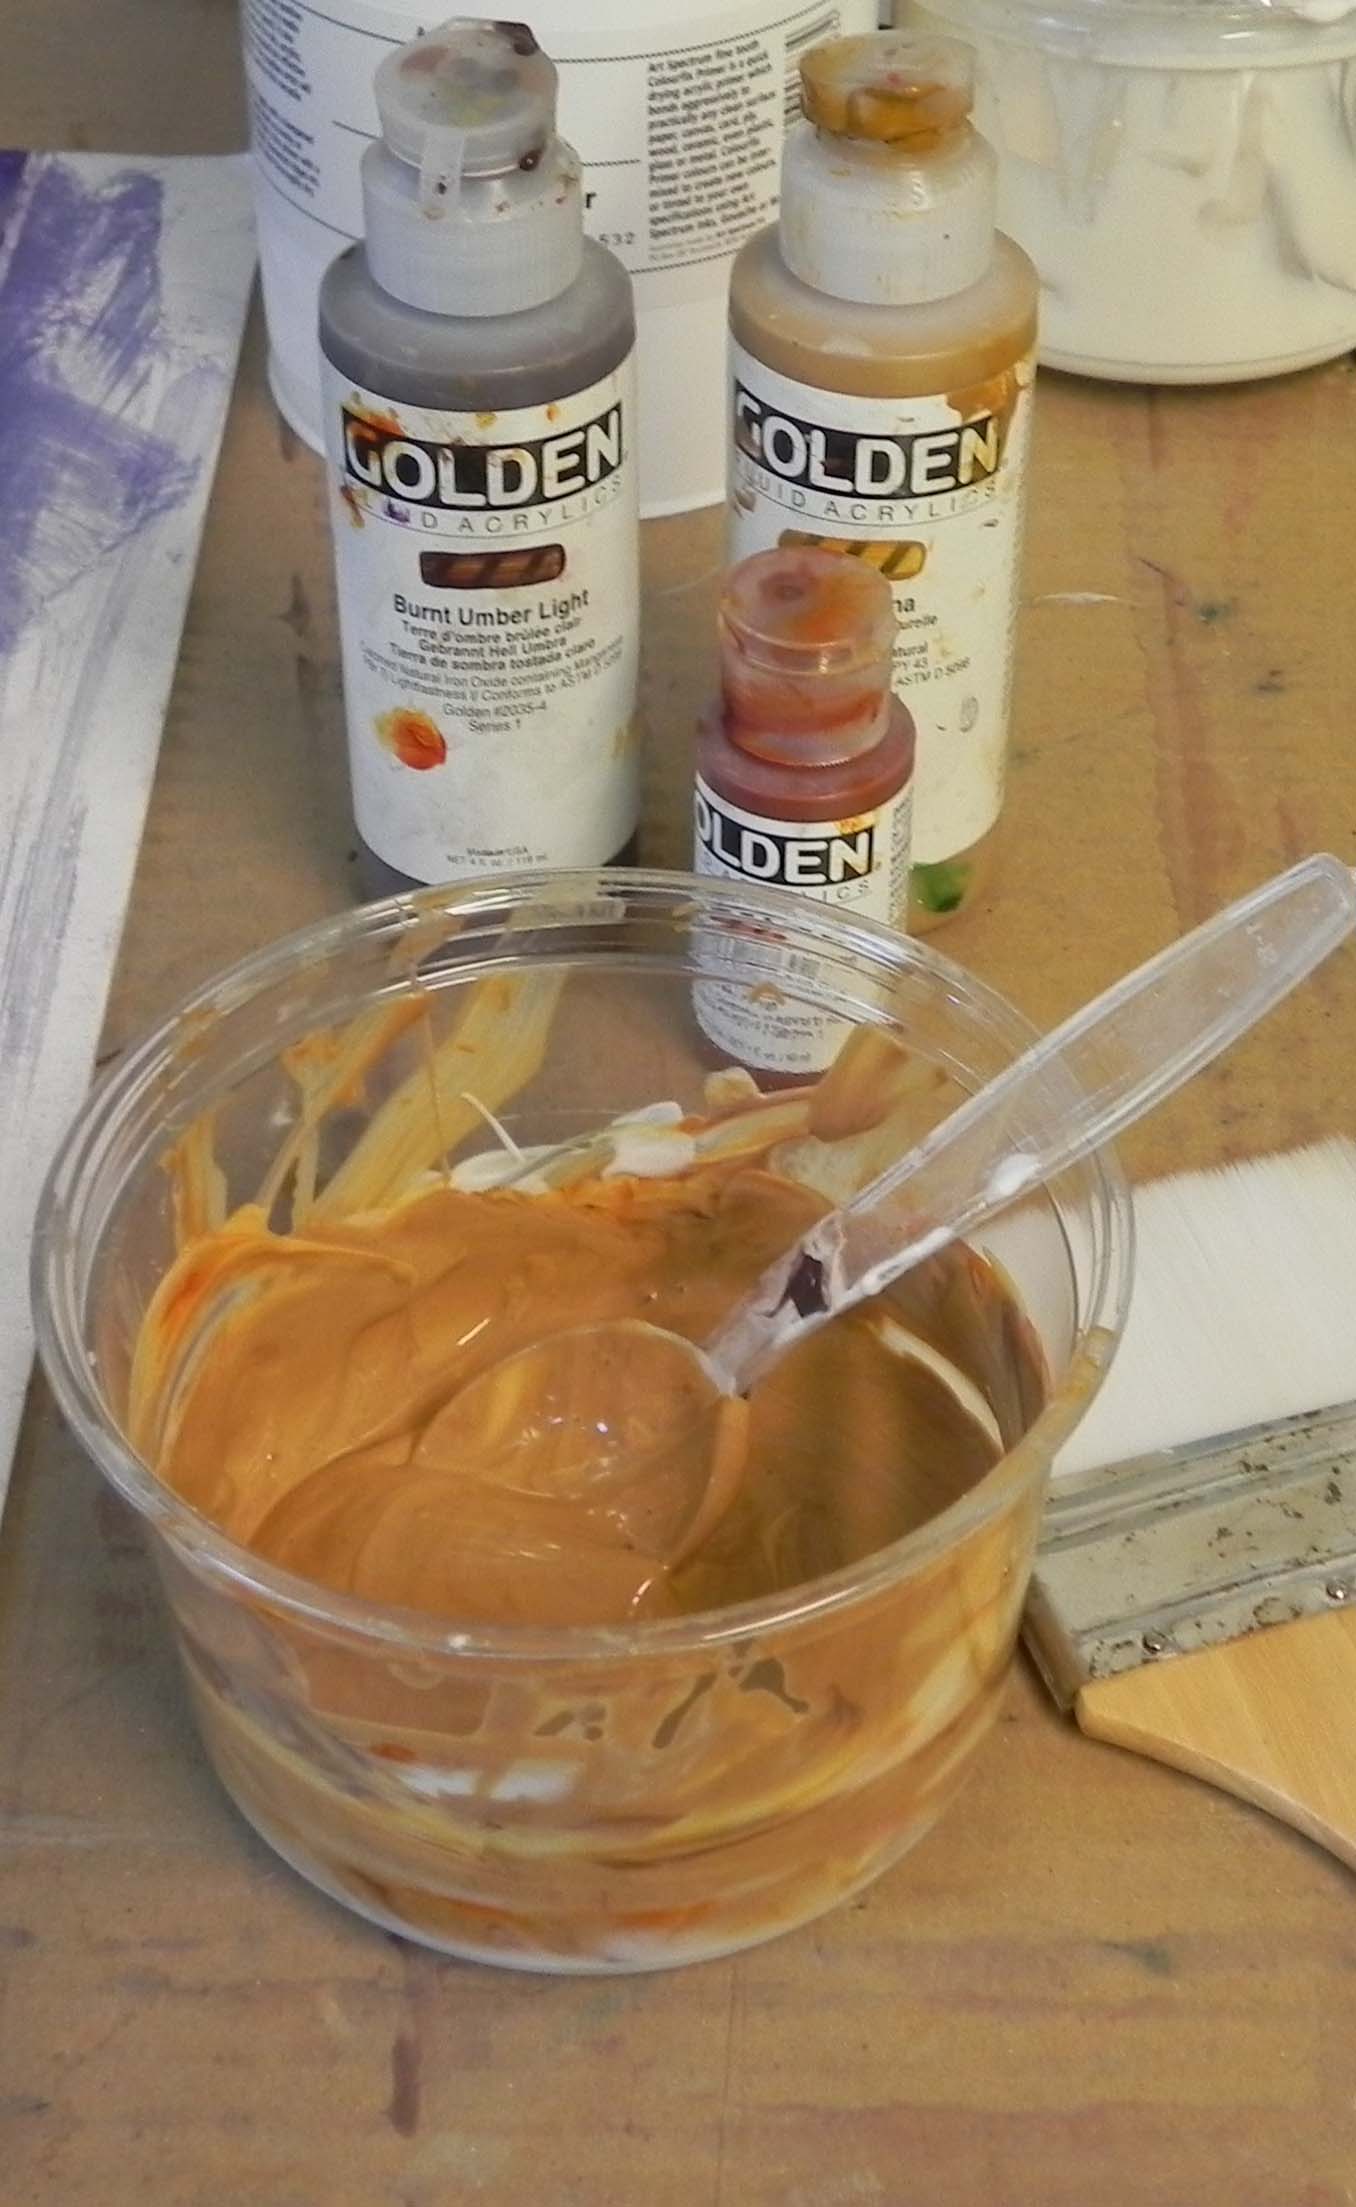
Liquid acrylic added to the clear primer
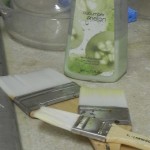
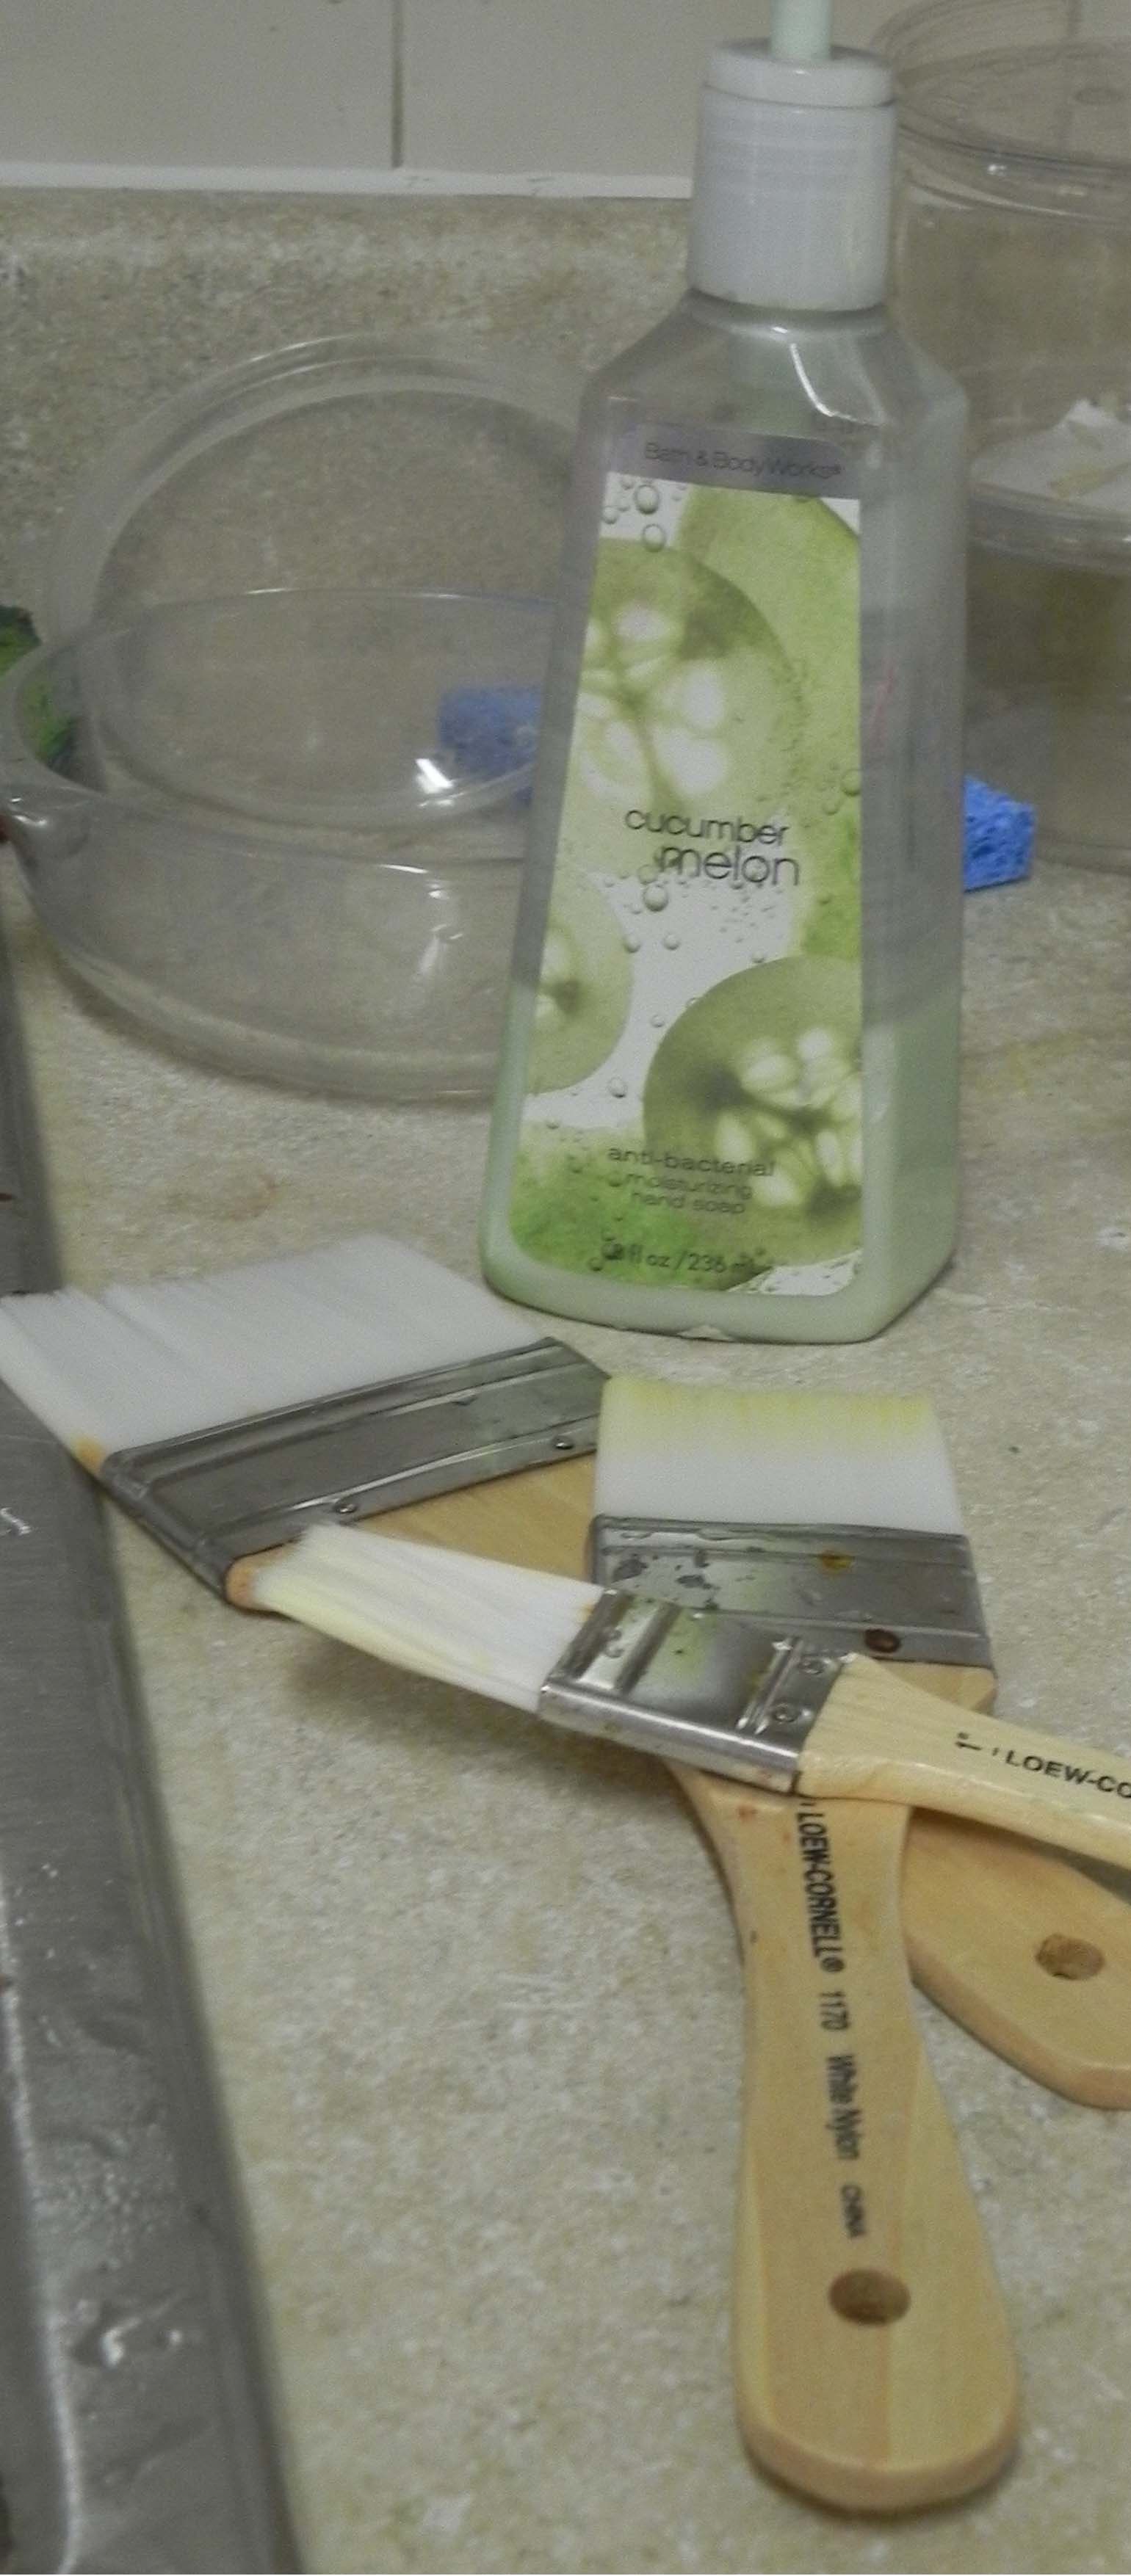
Brushes with hand soap for cleaning
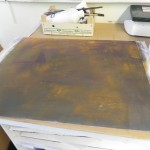
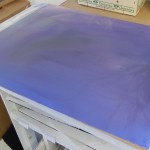
Surface after one coat of primer
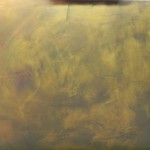
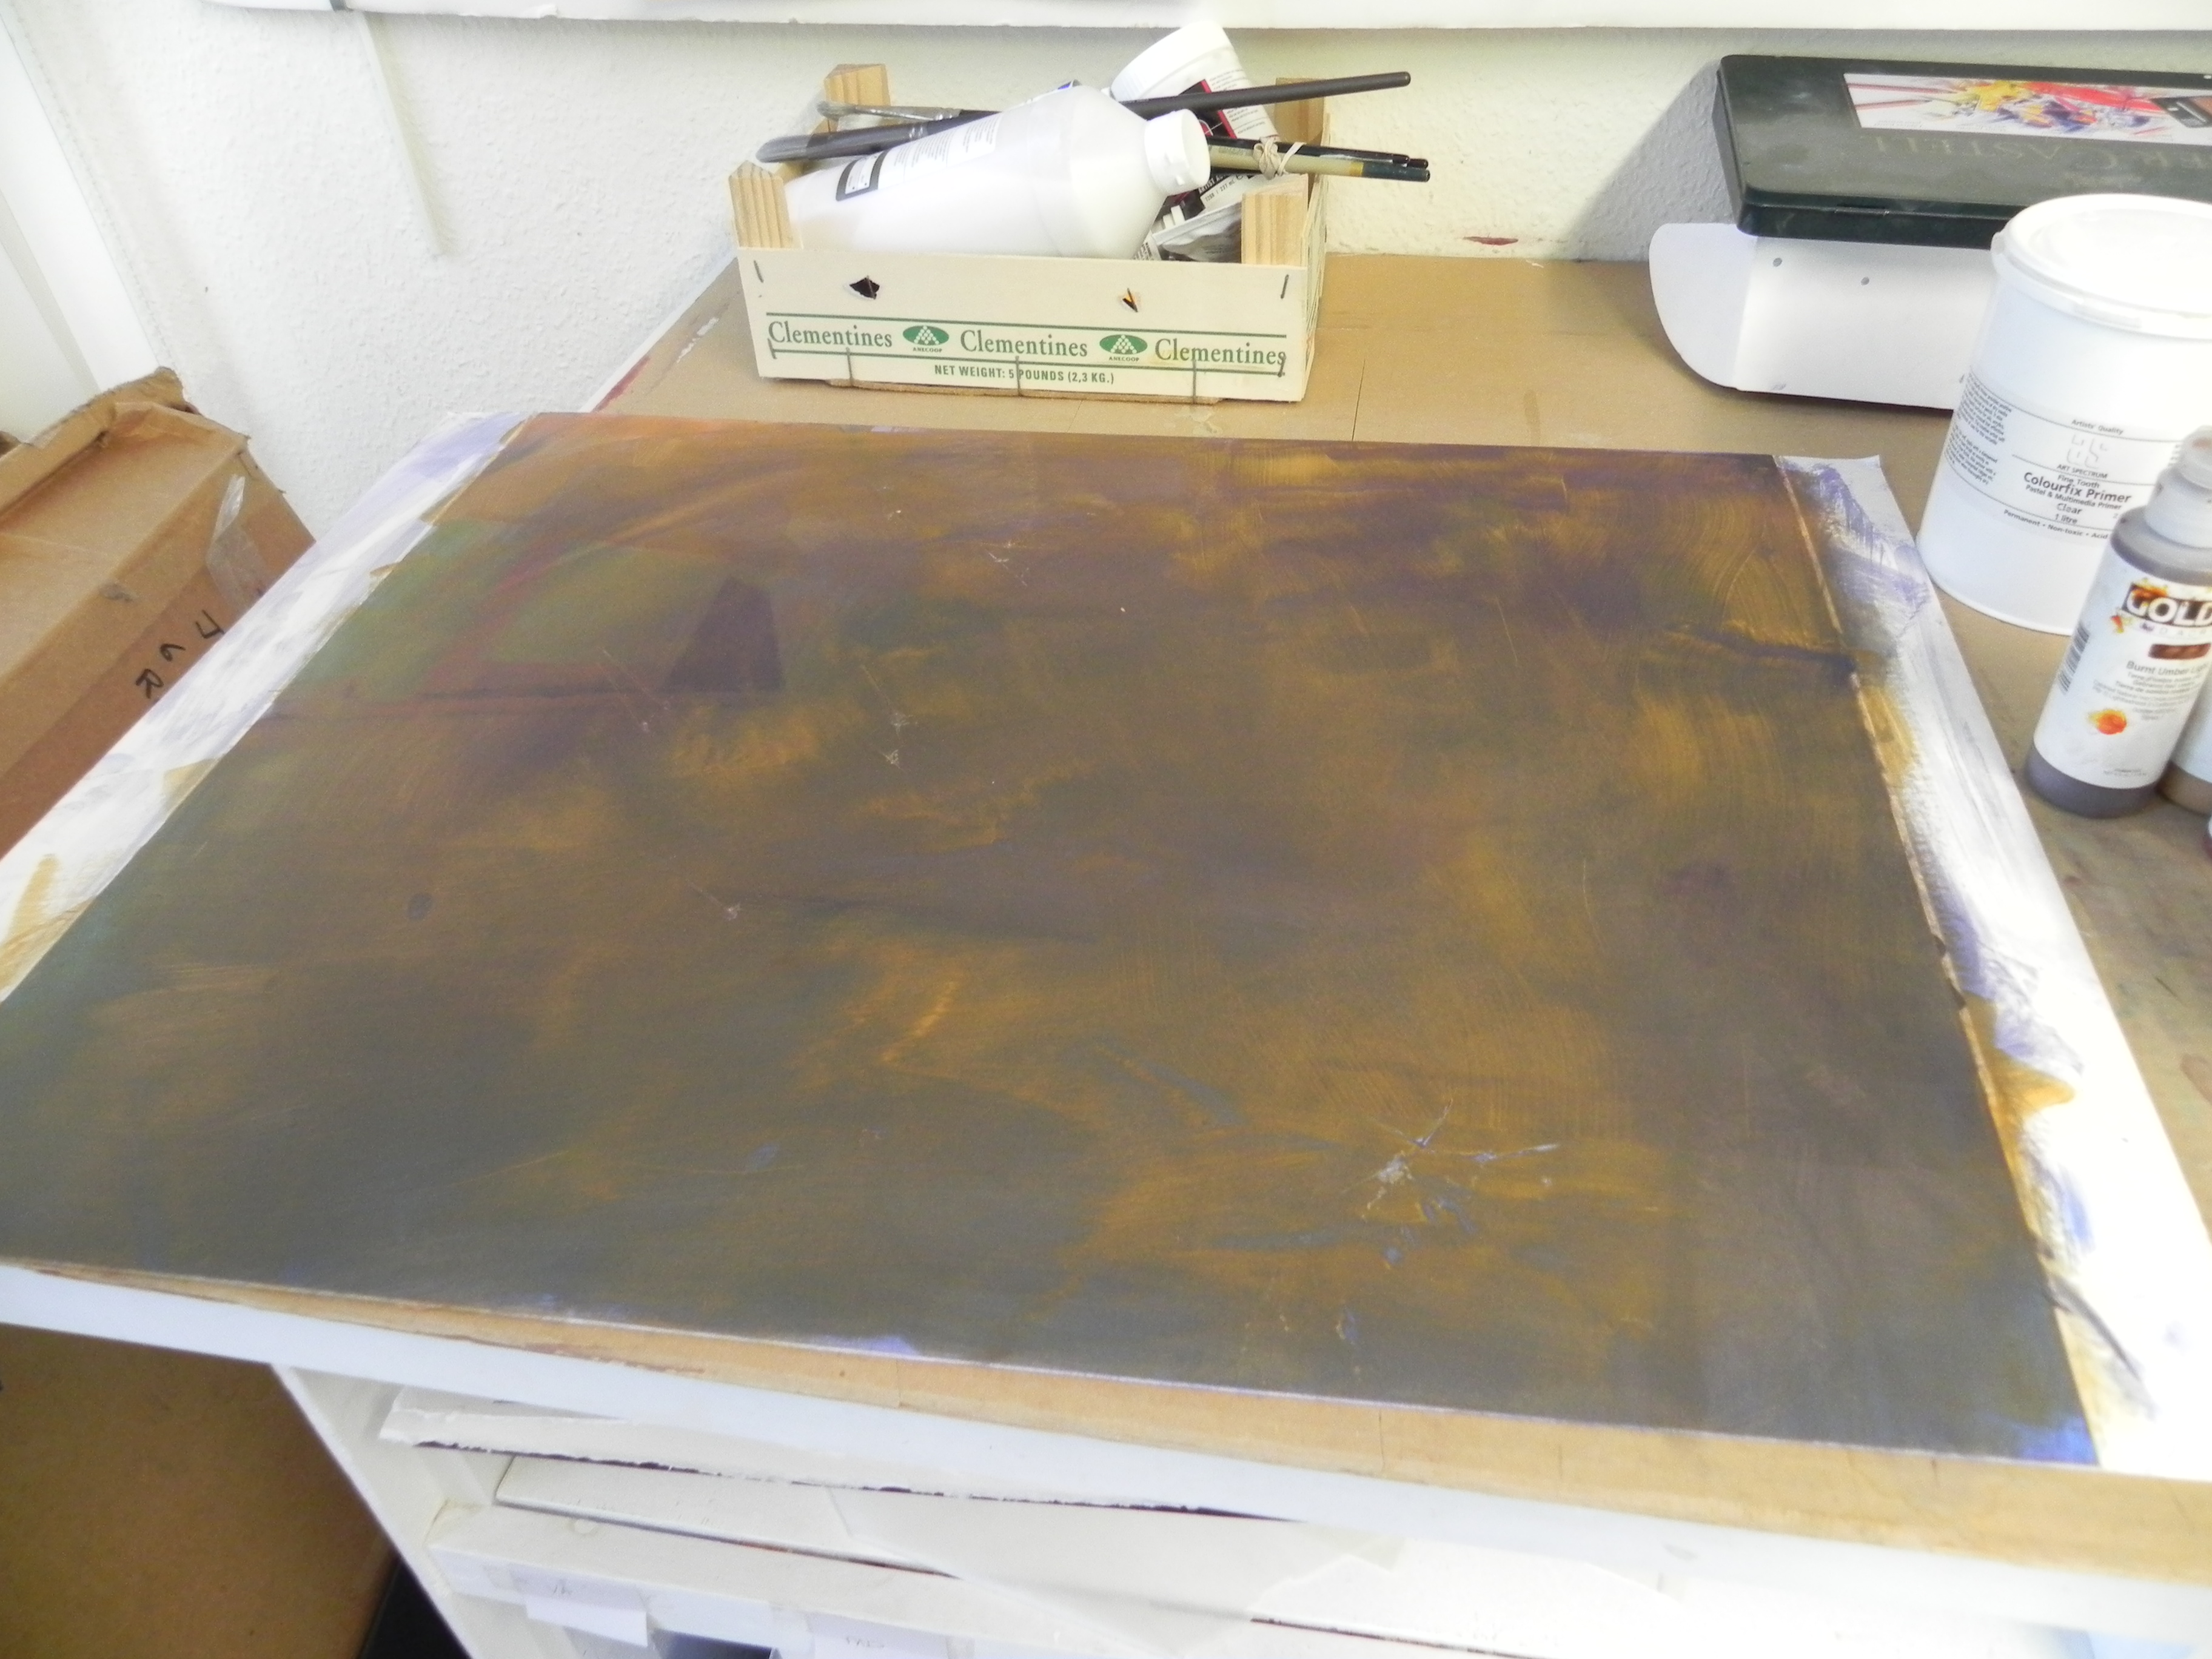
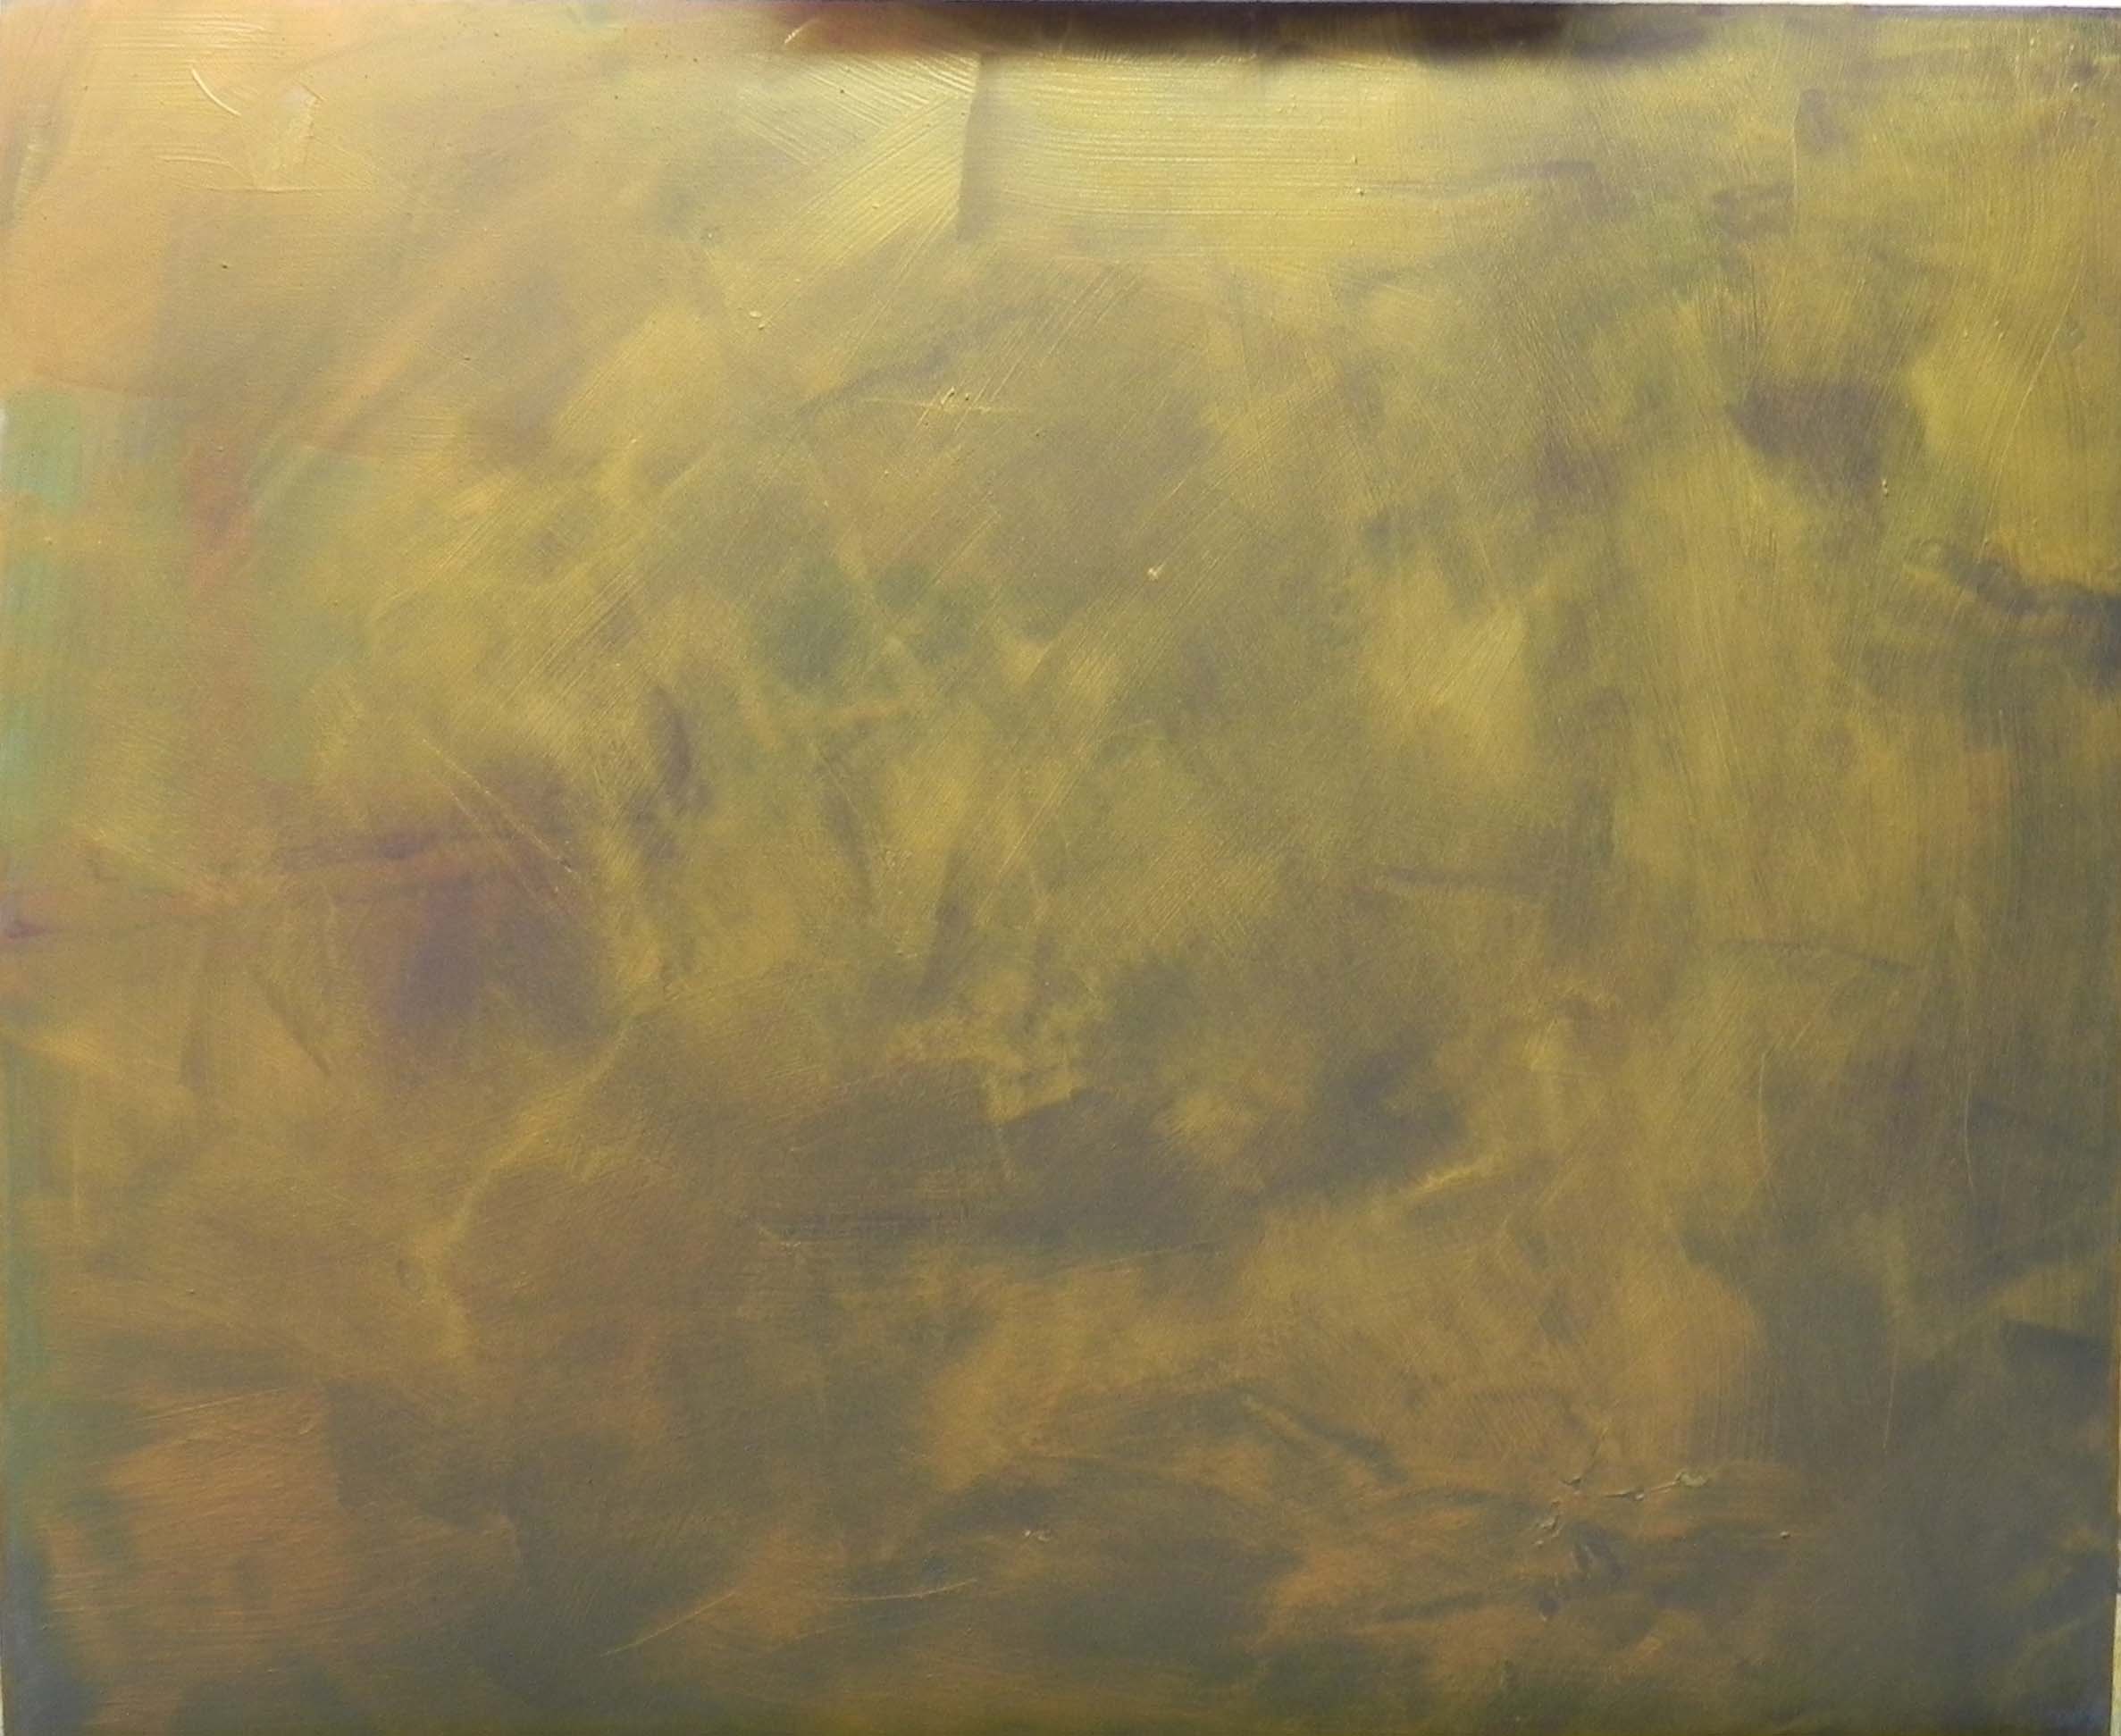
Final surface
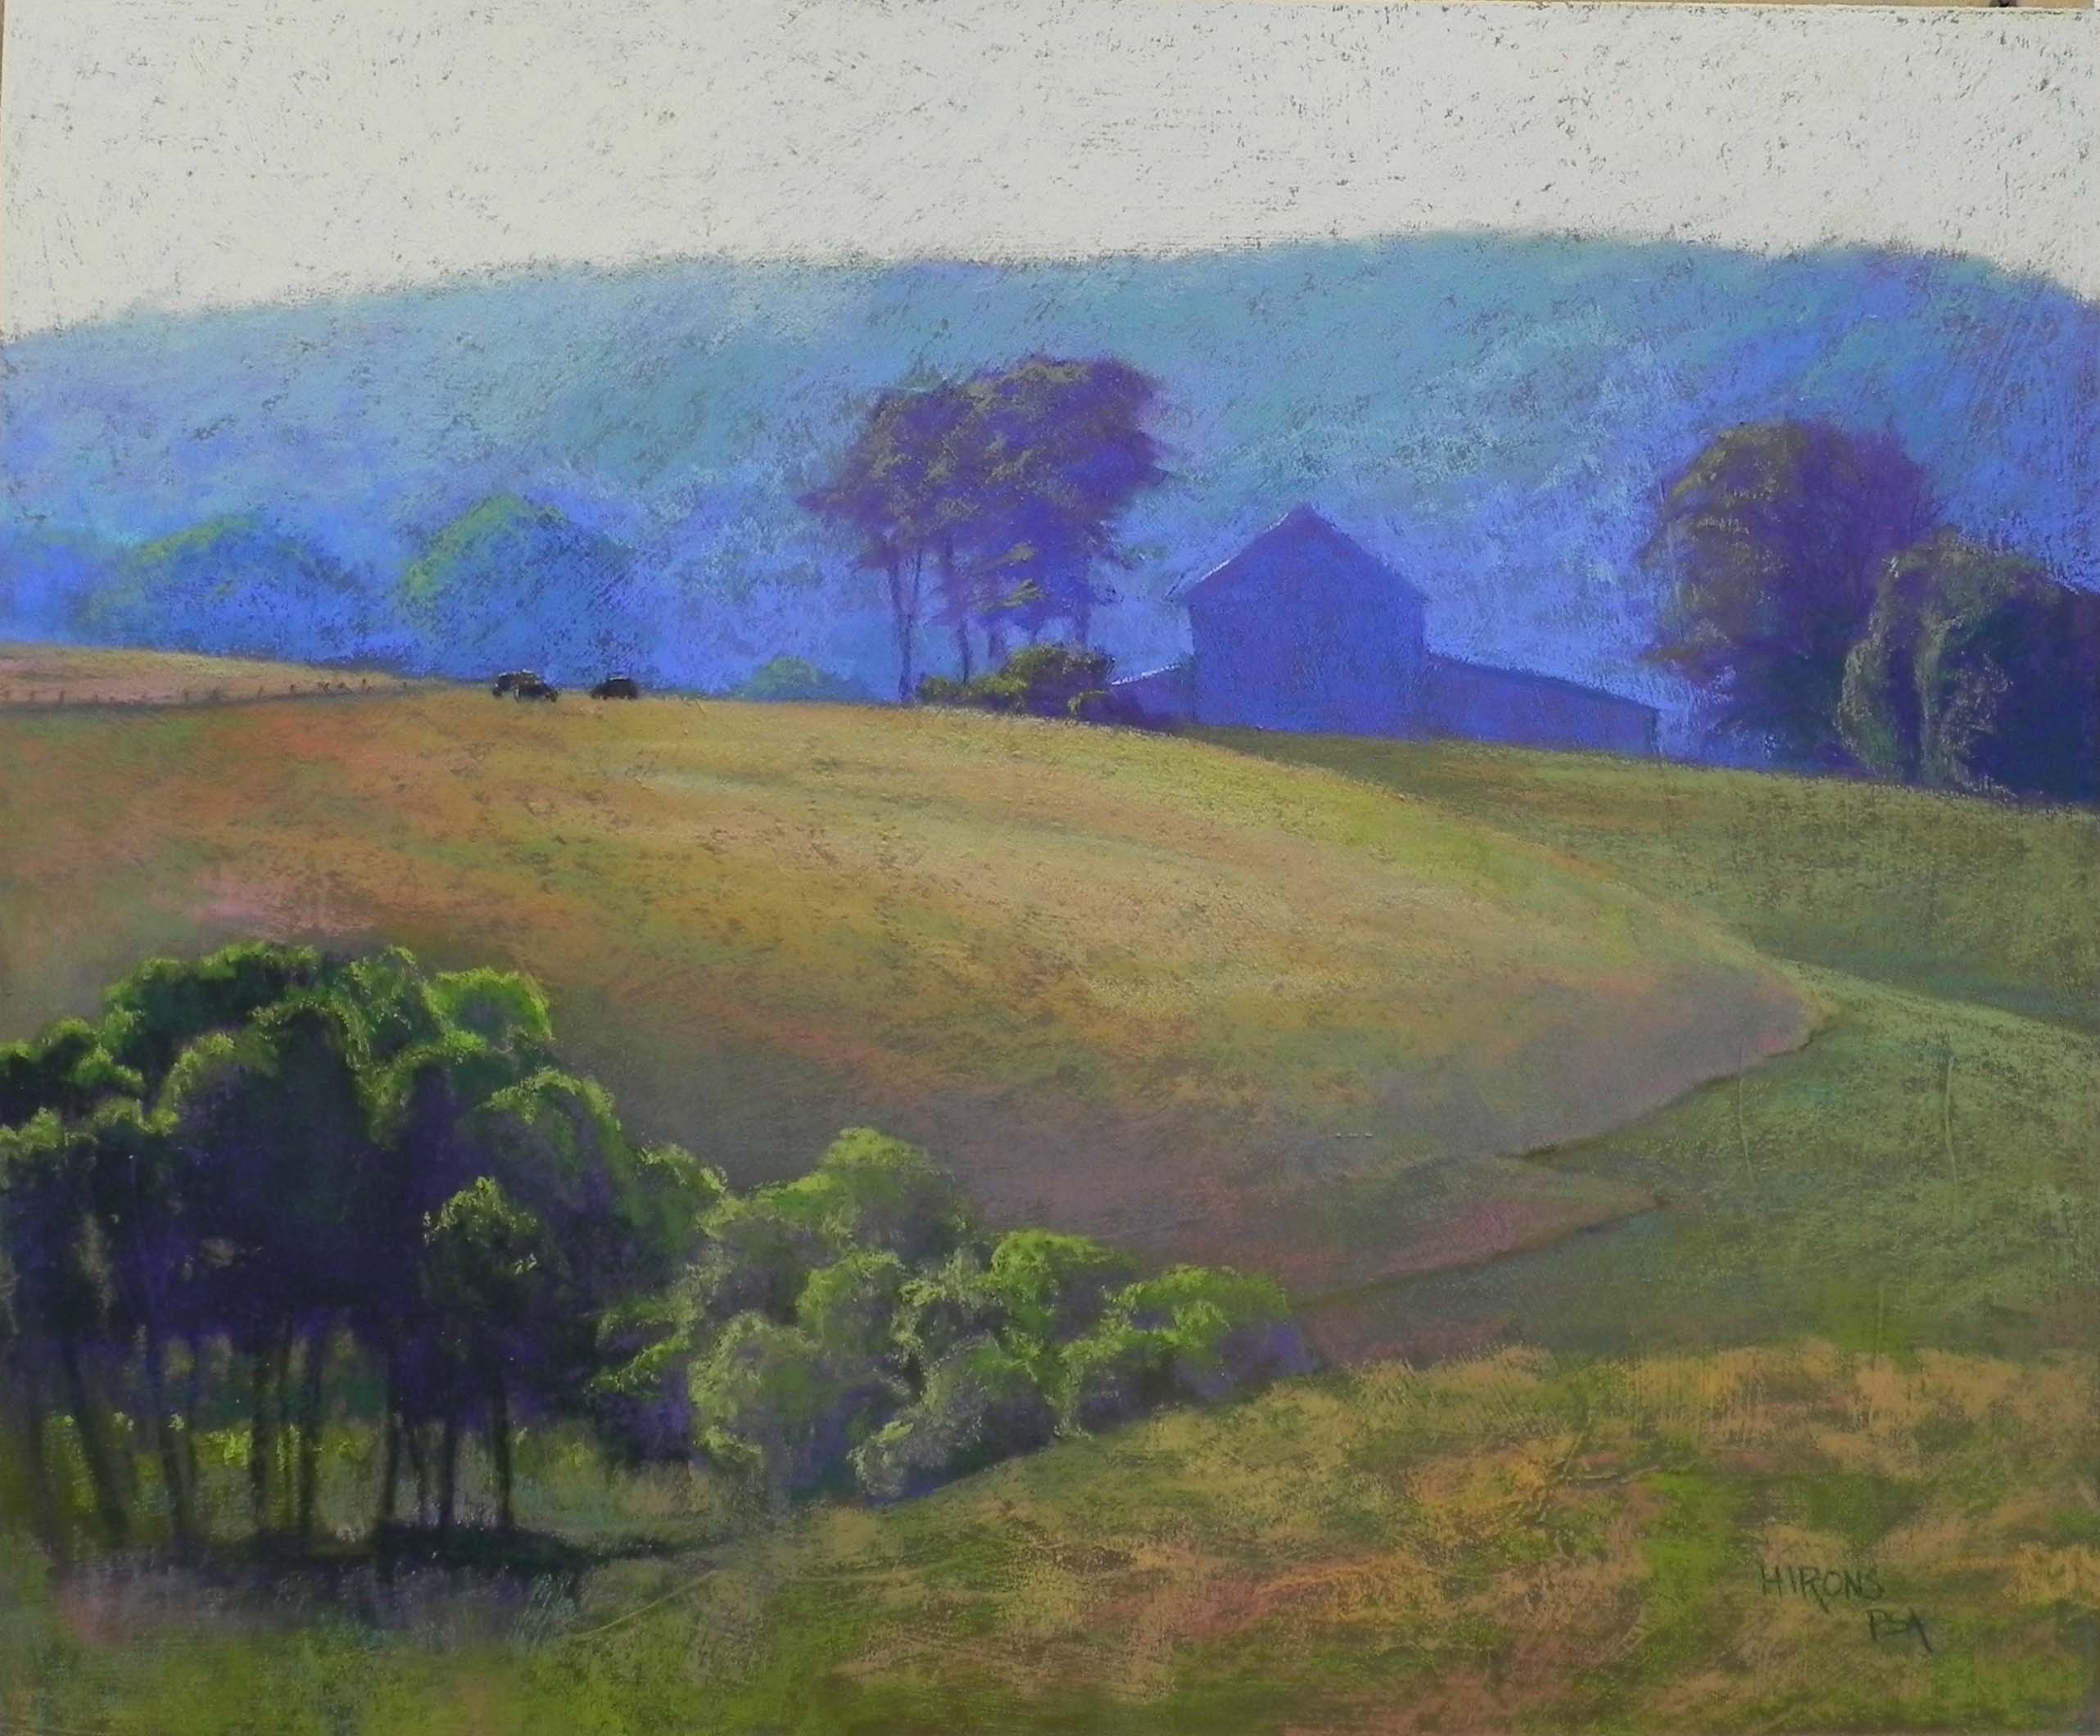
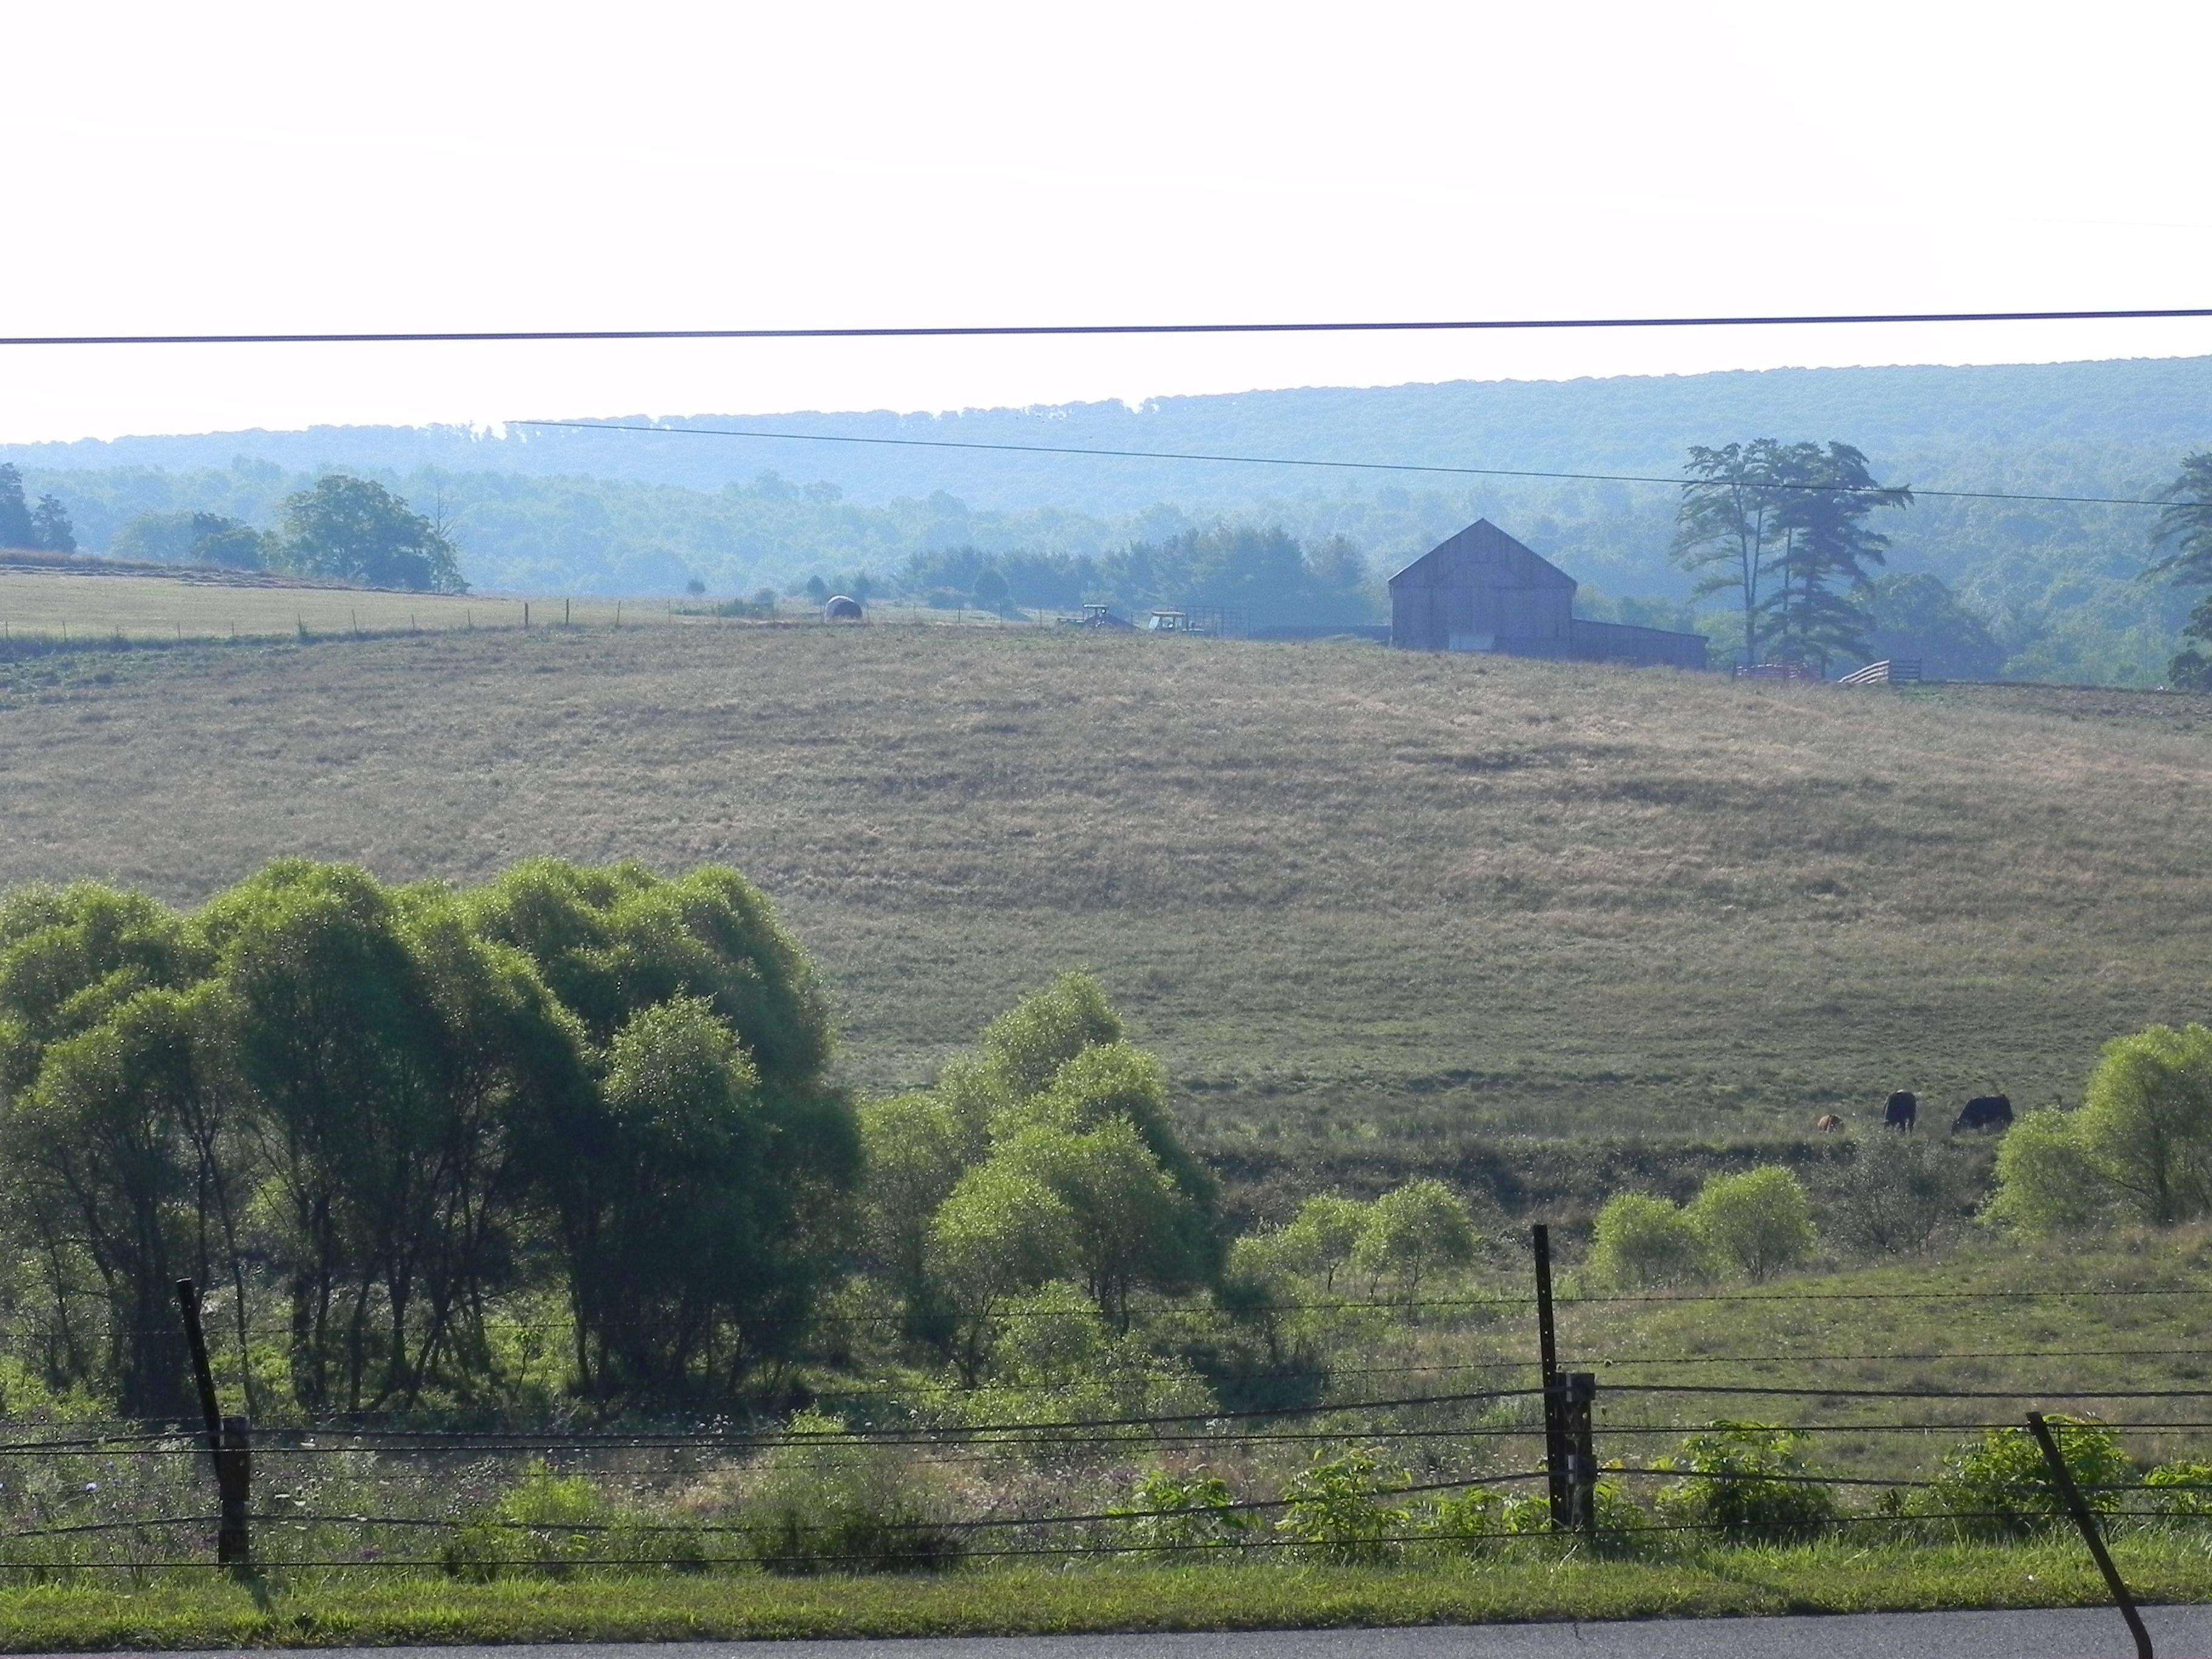
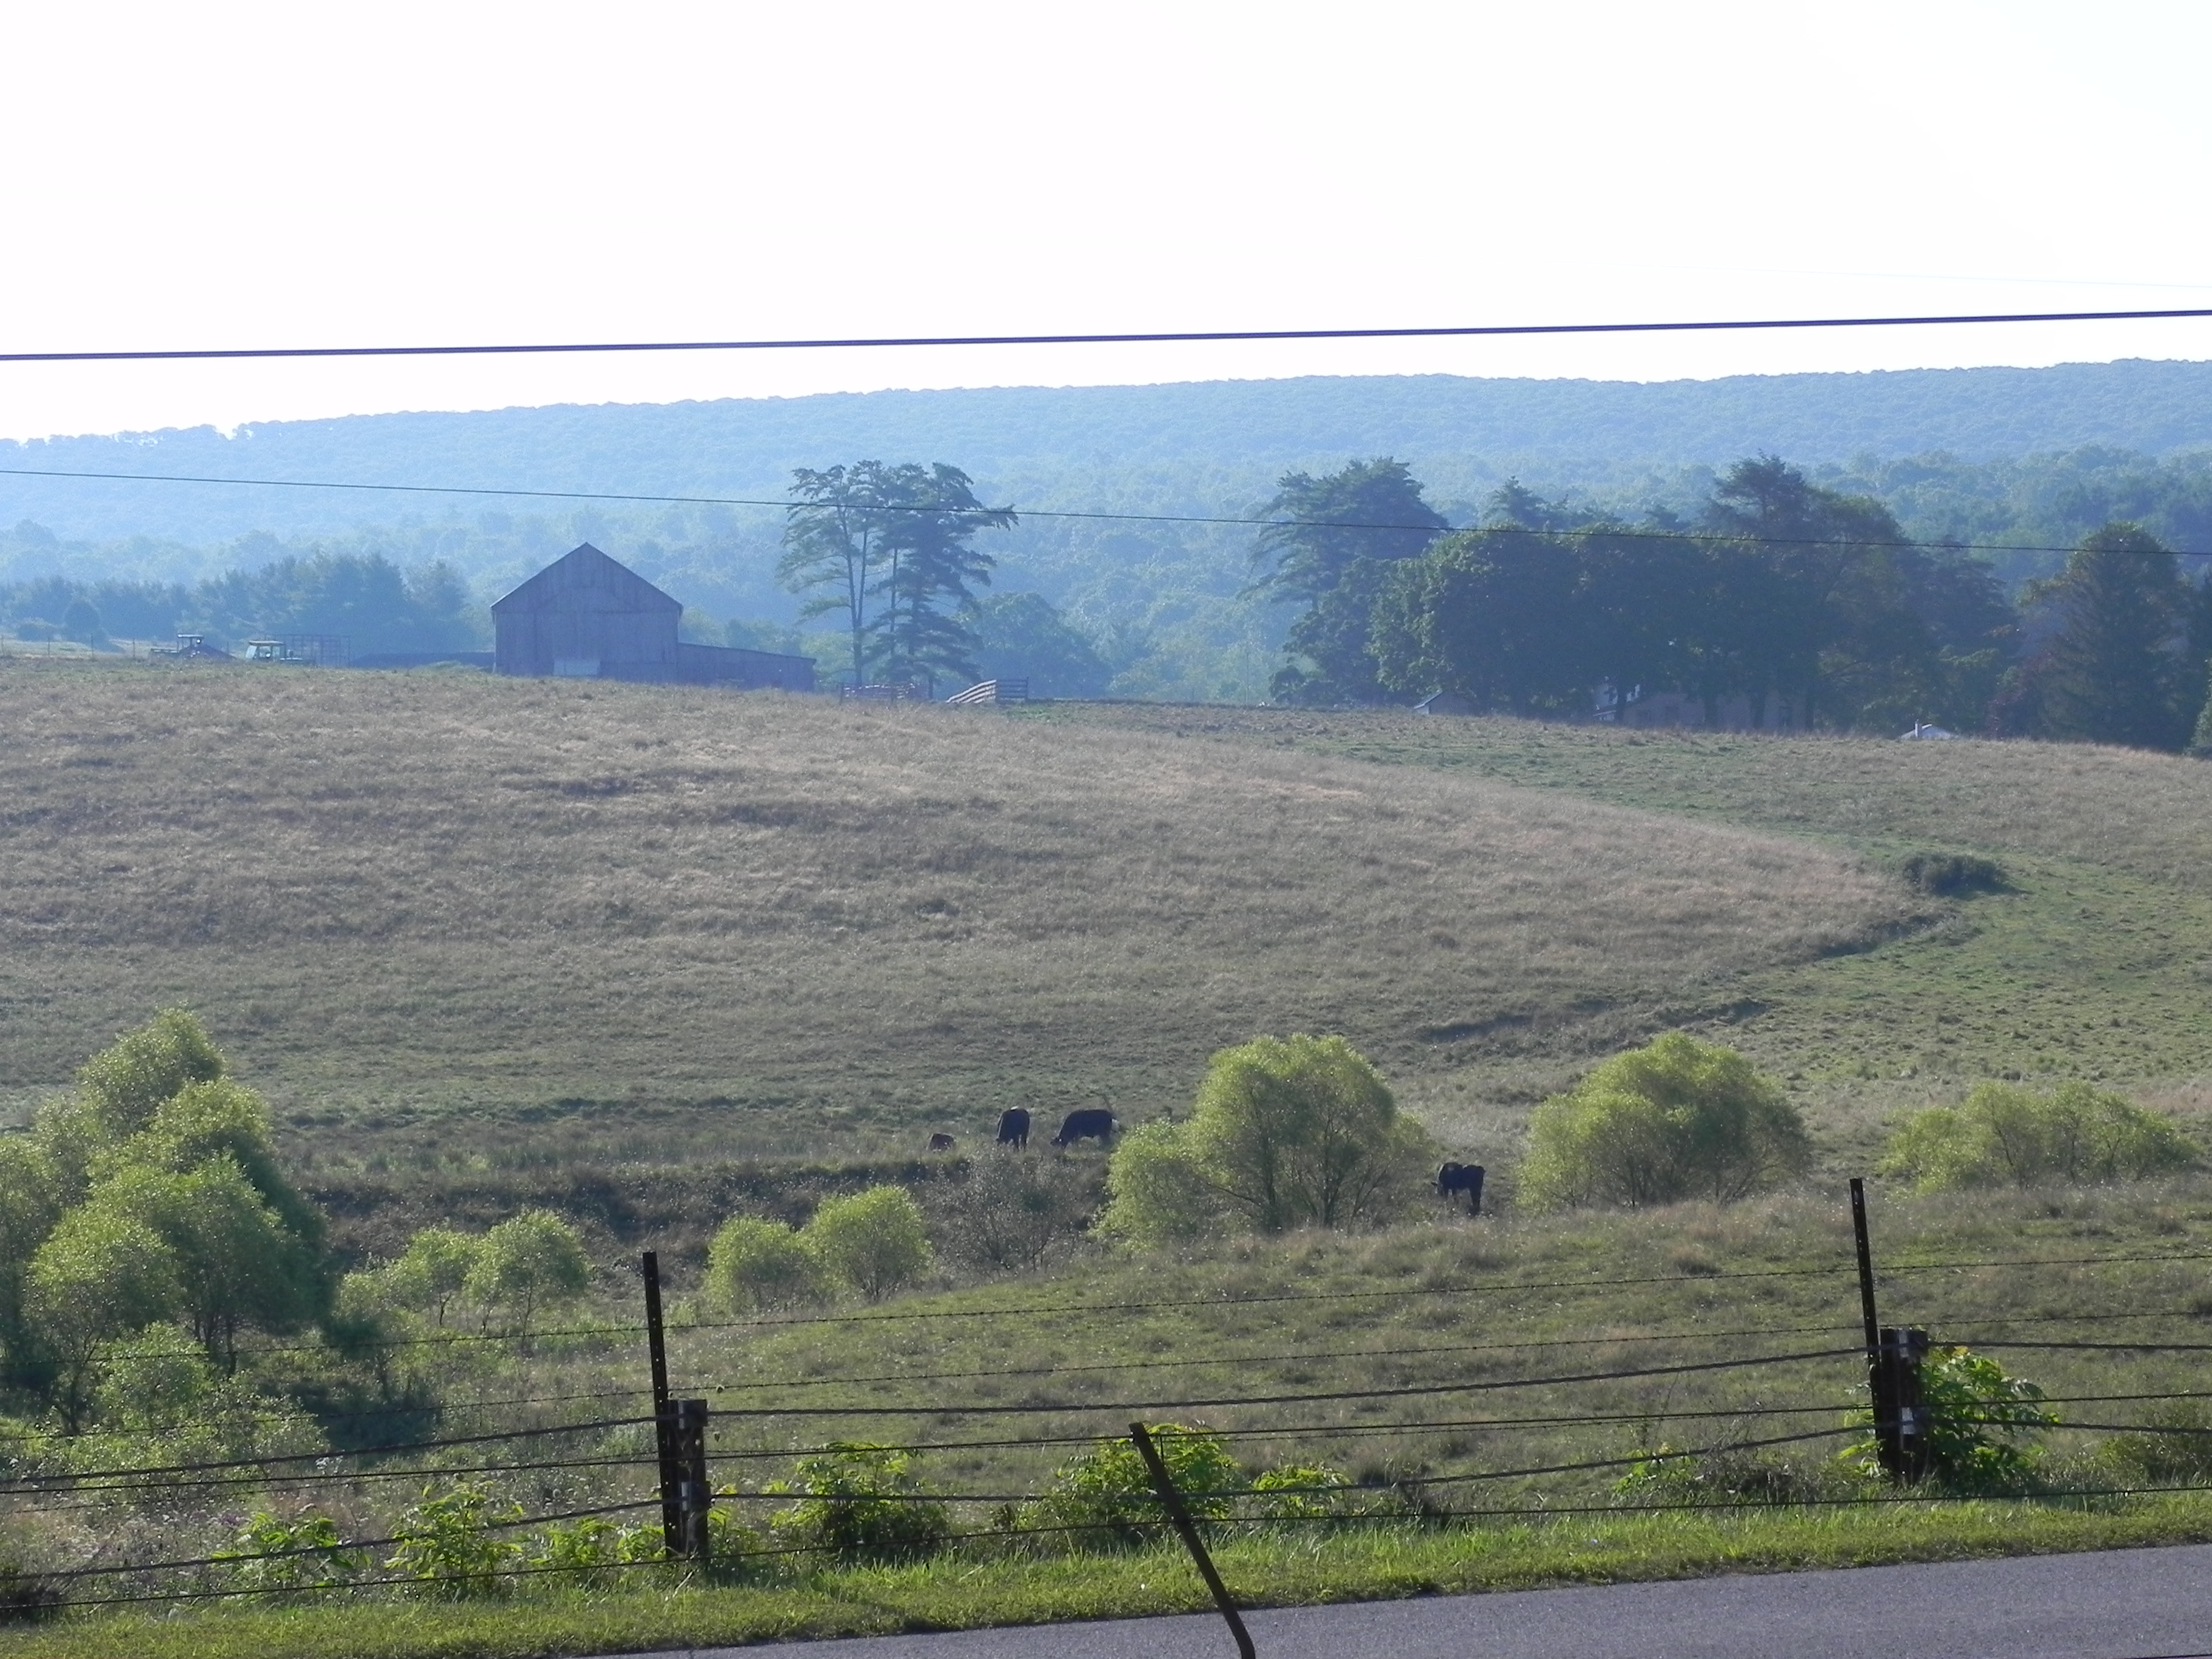
I recently promised to explain my process of preparing my own surfaces. I often use the same process when a painting fails and I want to save the surface. I had a 20 x 24 painting that I really disliked on a mounted sheet of UART. The mounting alone cost $18! So I didn’t want to throw this out. Working in my home studio, I took the painting outside (it’s a gorgeous day!) and using an old bristle brush, I removed as much of the pastel as I could. Then I took a sponge and a bowl of water, and washed off as much as possible. By doing this, the violets and blues mixed together and covered the paper, eliminating the original underpainting, which I definitely didn’t want showing through! I could have tried to get rid of more pastel if I wanted to keep the sanded surface of the UART. But I find that the pastel fills in too much of the tooth and it’s better to apply a new surface. Instead, I prepared some Colourfix Liquid Primer to brush on. I use a separate plastic container (saved from the grocery store) to spoon out enough primer that will be toned. The primer is clear–this is critical! The already toned primers cannot be further colored. To this, I add liquid acrylic, usually raw sienna, burnt umber, and some quinacrydone gold. Using a plastic spoon, I mix the primer well until I have a good blend and shade. (Note, if it’s too light it won’t look like much.) I use Loew-Cornell acrylic brushes to brush on the primer. I wash out the brushes thoroughly using my hand soap so that none of the primer stays in the brush (which will ruin it for future use). (Note: I’ve been using these brushes for many years. They come in packages of 3: 1″, 2″ and 3″ which I use according to the size of the paper or board. I have always liked them because they didn’t leave large ridges in the surface. However, lately, their quality has gone down and they continually leave bristles on the surface that have to be removed. This is a pain and can destroy the surface as well. Not sure what to do about this! If you click on the final surface you’ll see some of the problem areas that resulted from removing bristles.)
I apply one layer, brushing in different directions, trying to get the surface as smooth as possible. Then I dry it well with a hair dryer. Test with fingers very lightly! If too sticky dry some more or wait. Then apply a second coat and dry again. The resulting surface will be very different from the original, but can be used to create wonderful paintings! This is a great way of reusing Pastelbord particularly, since it’s so hard and can take the liquid primer applications. When preparing a surface such as Rives that might buckle, I make sure it is completely dry, put a clean sheet of paper or glassine over it, then weight it down with magazines. This helps it lay as flat as possible.
To be clear, I create my own surfaces using various substrates, such as BFK Rives printmaking paper, heavy smooth mat board, museum board or gatorfoam (I used this in the past). I also use this method for reused surfaces that are either very sturdy (e.g., Pastelbord) or have been premounted (UART, Wallis, etc.)
Here is a list of supplies that you need:
A pastel gel. I use Colourfix Liquid Primer clear, bought in a tub from Dakota Pastels. You can also use Golden acrylic gel for pastels. Or make your own (there are many recipes but I don’t do this).
A plastic disposable container or other such container. One with a lid is handy to retain unused gel. Save containers from the grocery store!
Plastic spoons (I buy a bag of 100)
Brushes of various sizes. I use Loew-Cornell acrylic white brushes. Try to get something that won’t shed.
Soap to clean the brushes. Note: I have a sink in my home studio. Be careful to clean the sink. The primer will harden and make a mess of your kitchen sink!!!
A clean new substrate or brushed off painting: printmaking paper, mat board, museum or illustration board, etc. Note: the texture of the substrate will determine the final look of your painting. You might want to try several different substrates to see what you like best.
To those in the Rockville area, I will be including this in the upcoming Exploring Pastel class at Washington Art Works, beginning at the end of Sept. AND: all of this is included in Appendix D of Finding Your Style in Pastel! I hope this has been useful. Feel free to ask questions or let me know what needs clarification.