Two Boats, Orkney

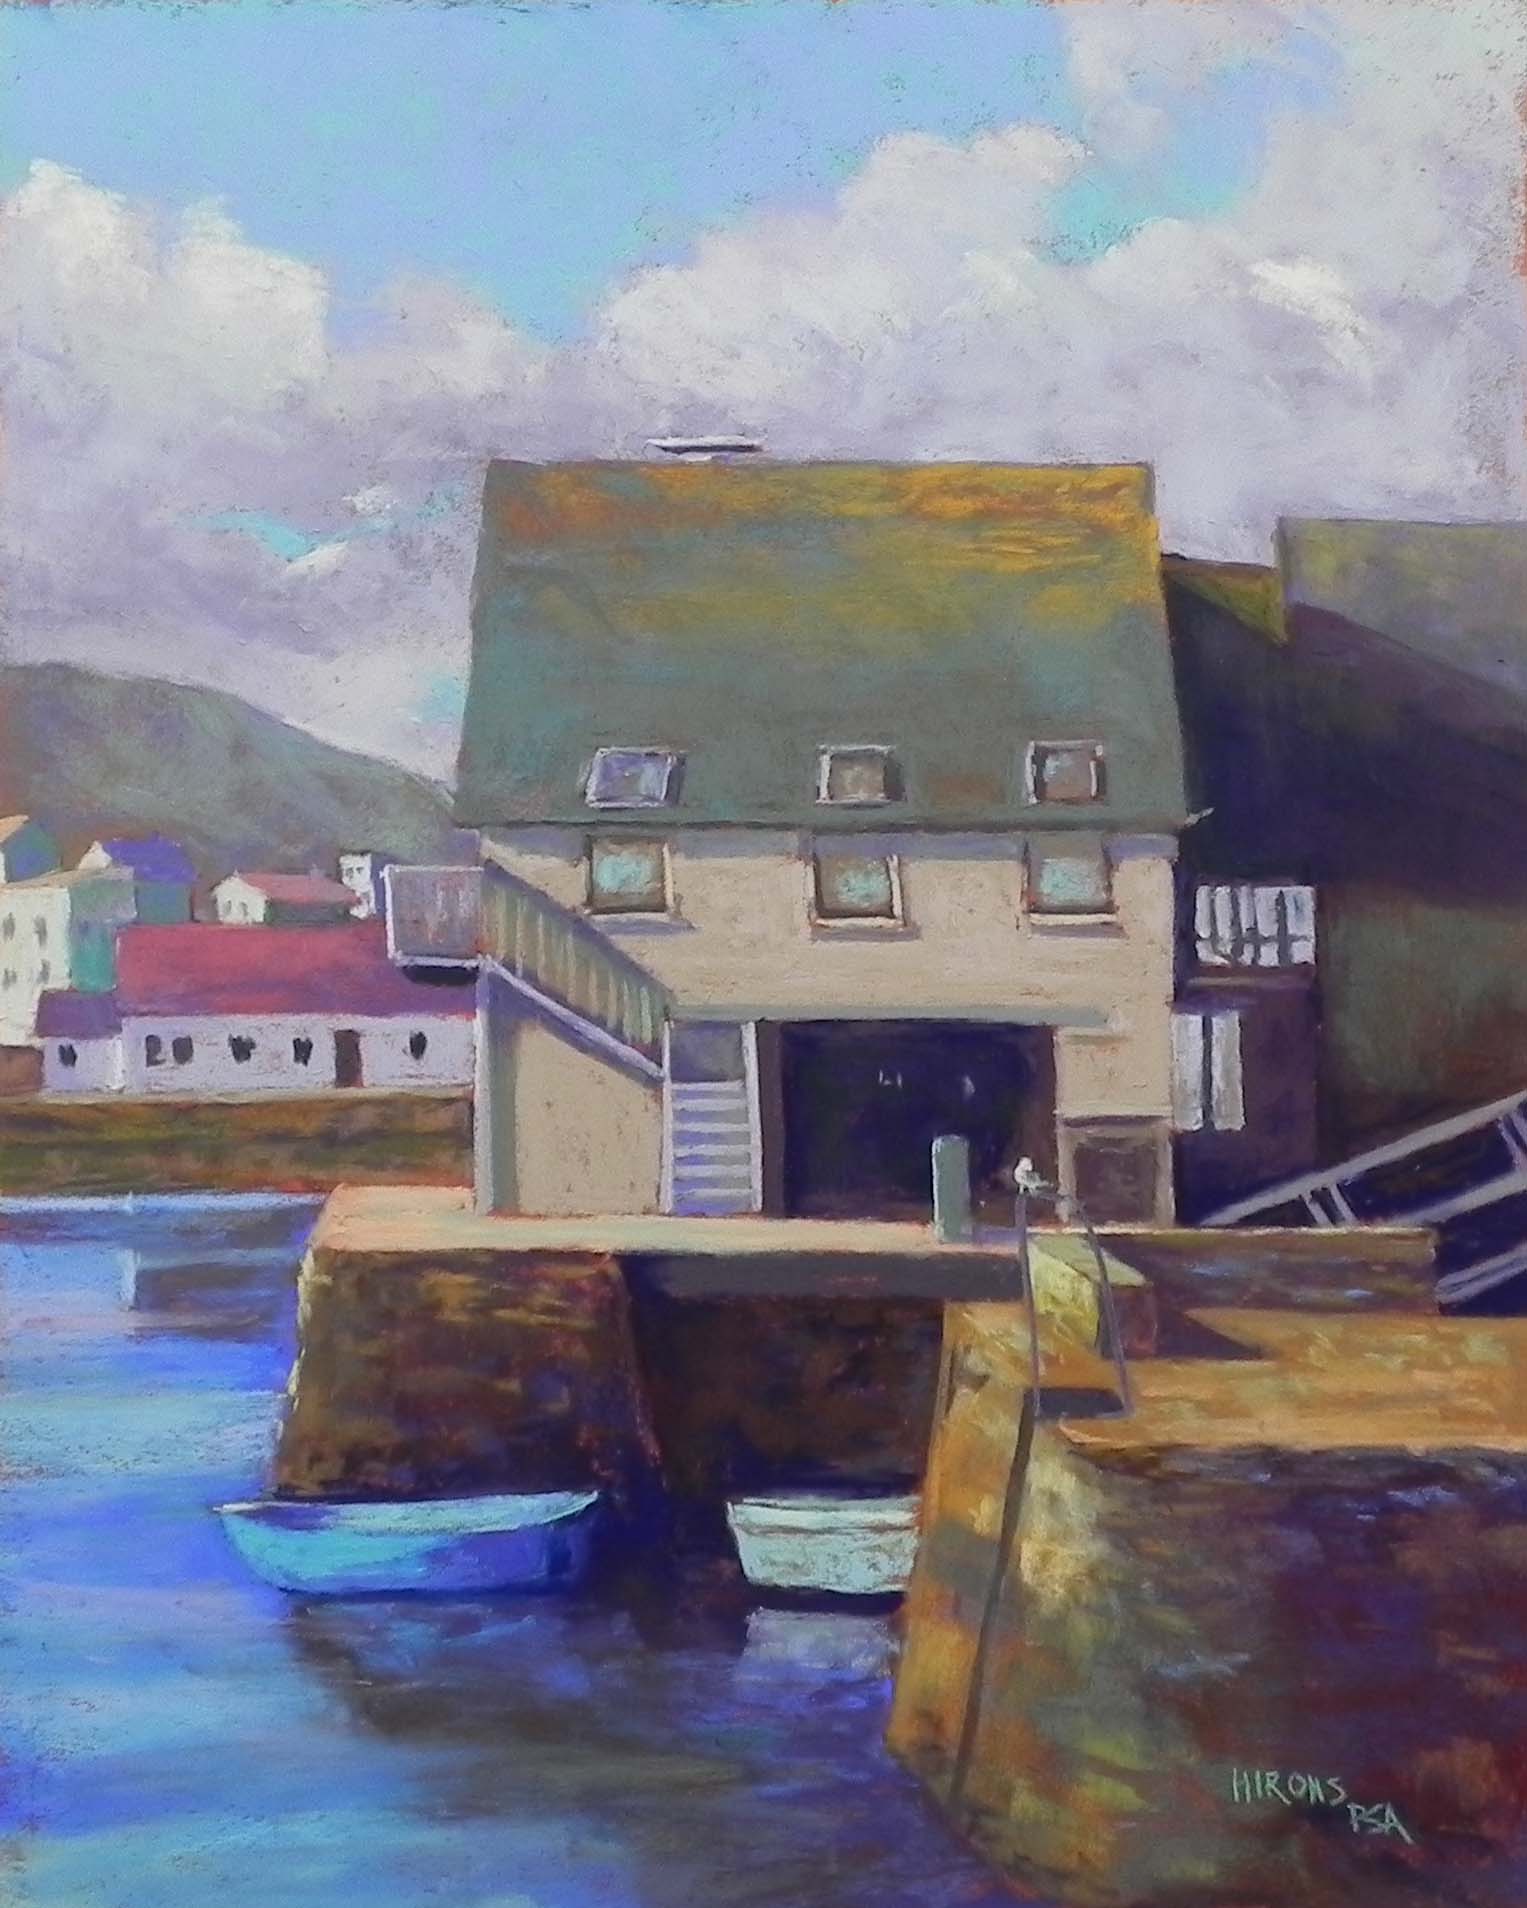
Two Boats, Orkney, 20″ x 16″, Lux Archival with ink tint

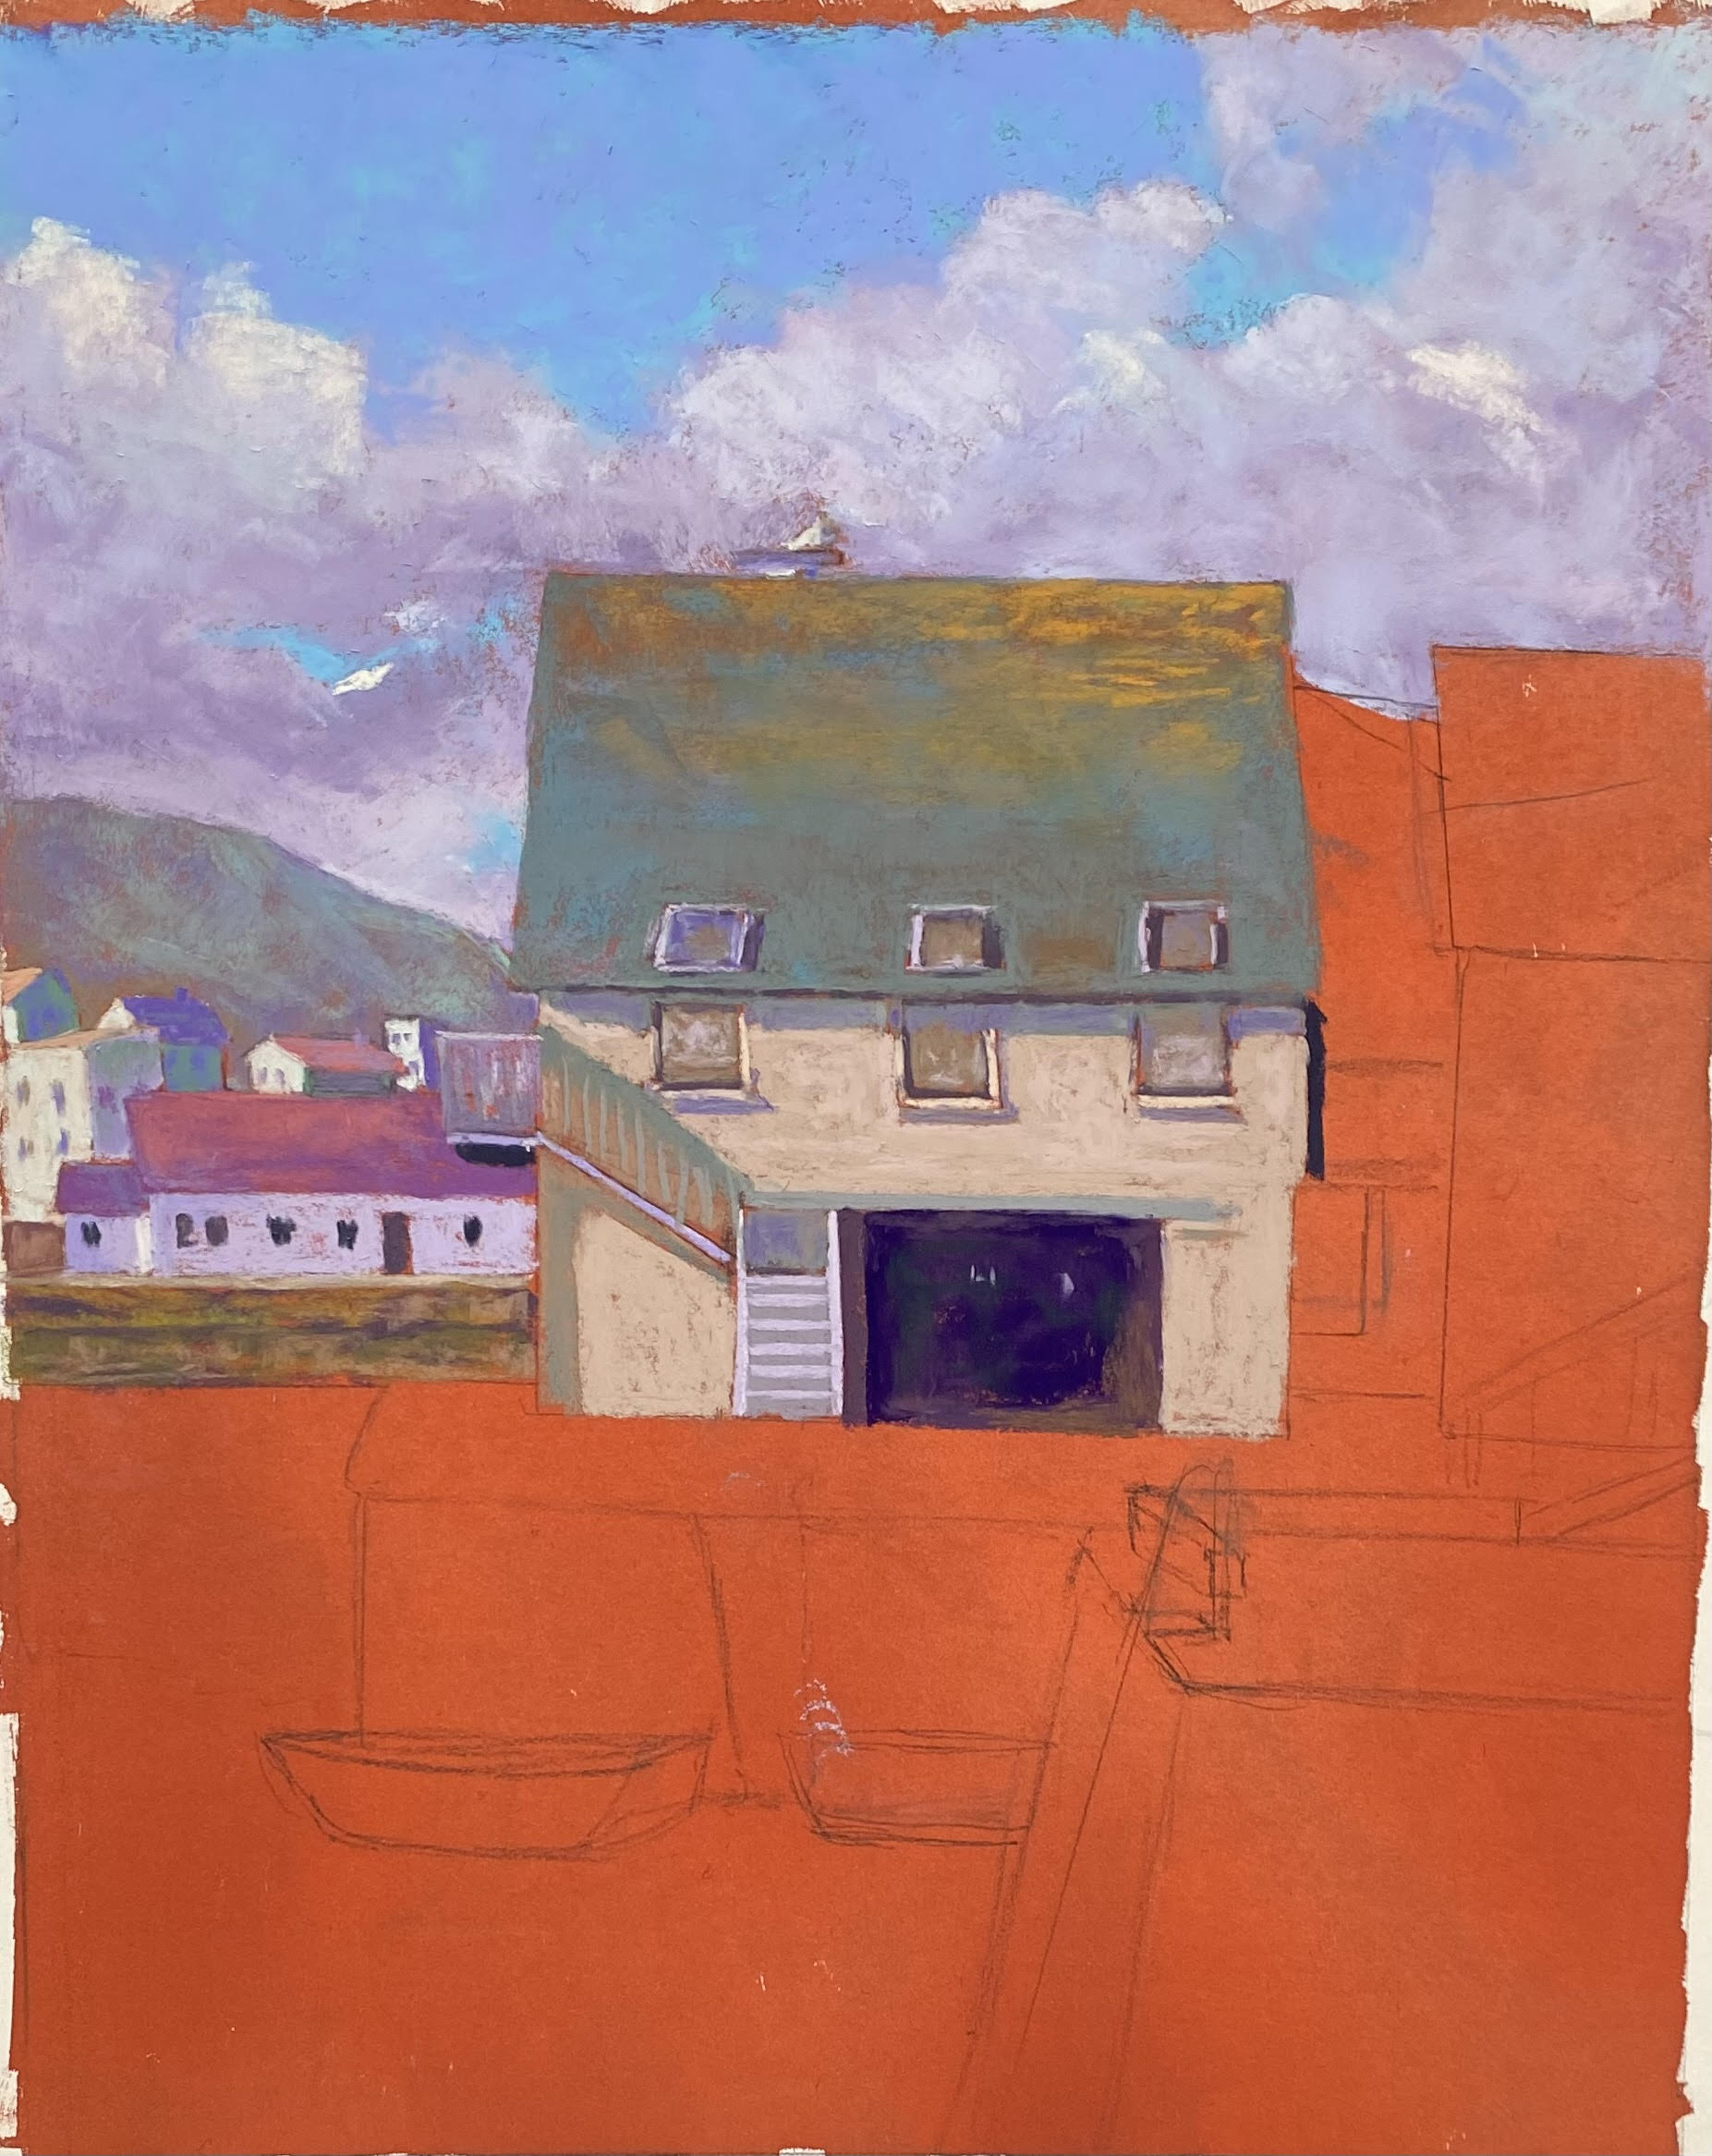
Painting in process showing color of tint

I spent four days in the last two weeks working on this painting from our August trip.  I used three different photos and moved things around until I was happy with the composition.  A main challenge was that the large stone pier in the foreground was more in the center and took up and enormous amount of space!  And it was really dark.  So I had to move it over.

I decided to do the painting on Lux Archival to see whether I want to invest in more paper for my “regular” paintings (I’ve decided that I do).  As I’ve noted, I don’t think there is much tooth as the UART.  So I decided to tint the paper with acrylic ink.  This time (unlike in the past), I used the ink straight out of the bottle with a brush and it created a beautiful terra cotta surface that was perfect for this rather cool painting with lots of neutrals.  The color is darker than what appears in this cell phone image.  But you can see that it was easy to draw on it and see the pencil marks.  I have to say that I loved working on the surface and the color.  Of course, I was doing buildings and boats–no trees or shrubbery.  I made sure to leave lots of little pieces of red showing through (particularly in the whitish boat).

I’ve noted the challenge of the pier in front.  The large dark open space in the building was also a potential problem.  But I used various colors, indicated small lights from a back window, then put a lovely little post in front of it, that has a nice edge of light on the left side.  At the very end, I added the sea gull in front of it as well, thus making it a good backdrop for details of interest.

A major problem intially was that the turquoise boat was too much like the water around it.  I added the violet from the clouds in lighter places and some of the green from the roof and darkened the blue around it.  Now, I’m happy with it.

This was a challenging painting but it was also a happy picture to work on.  Our visit to Orkney was probably the highlight of the trip as it was so beautifully sunny with lovely clouds.  If only Shetland could have been this way!

PS.  I took the sea gull from a painting I have up in the studio of Port Clyde, Maine.  That one was much larger.  For this guy, I used NuPastels finishing him with the pointed edge of a while (completely unused) stick!

Montivideo Bridge

Montivideo Bridge, 16 x 20, UART 320 board

Underpainting, stage 1

Underpainting, stage 2

Painting in later stage

Hello Friends, I haven’t been very good at posting lately.  I spent two weeks painting scenes from Scotland, then started teaching three classes on Mondays and Wednesdays.  This last Monday, I did a demo for the class, which included very expericed to beginner artists!  I chose a photo I took in 2017 and always wanted to paint.  The one problem with it was that the entire photo was in a mid-value range, except for the area under the bridge, which was amost black.  So very unbalanced and I knew I had to change that.  Other than that, the changes were some simplification of the trees, bushes, etc.

The first problem of doing an underpainting, of course was the bridge. I had carefully drawn it in, with all the nice details.  Then I realized that the background and bridge were the same in value so I lost most of the detail.  But I got it back, thankfully–with the help of my students.  Another issue was the background trees. I had planned to keep them very simple and initially brought the sky holes and trees down to the top of the bridge.  After the demo, working on my own, I realized that this didn’t work at all!  First, I added some yellow ochre just above the road level of the bridge, to indicate the top of the grasses that appear below.  Then, I added in the line of a distant hill and background trees and made sure the sky didn’t come below them.  Initially that hill line was almost parallel to the top of the bridge and this wasn’t good at all!  (Everything going downhill!) So I tried making it opposite, with it lower on the left and higher on the right. Finally I got rid of it and very lightly indicated a horizontal line that is less noticeable but works OK.  I couldn’t call it finished until I did that!

I faced the major problem of the dark underside of the bridge, by making the tree at left darker, using the same violets and browns that are in the bridge. And I connected the two with dark in the water.  The area at left, while it looks complicated, was quite easy.  I started with a dark underpainting, then added more dark pastels on over (mainly violet), then used various soft ochres and rusts for the leaves. (I kept them fairly dull so as not to compete with the leaves on the right.) This area really looked good when I added “water holes” in the area at bottom middle, to break up the hump and show the river behind the leaves.  The “hump” was important to my composition as I didn’t want a strong diagonal in this corner.

The river has two distinct areas: the reflections in calm water in the back and the moving, darker passages of blues in the foreground, along with a lot of rocks!  I used a variety of blues, violets, and blue greens, trying to indicate areas of reflection, shadow, and white water.  In the back, I was careful to try to indicate trees above and reflections below.

The last addition was the small tree in the foreground with its lovely red orange leaves.  In the photo, they were fairly light and when I tried a piece of color that matched, it didn’t look like anything.  So I went to a darker and brighter red orange Schmincke and put in the leaves with small saturated strokes.  I first put a lighter orange on top, and realized this was dull (it had white in it).  I then went to an orange that had more yellow and this worked beautifully.  Remember the power of yellow in saying “LIGHT”!

While this wasn’t an easy painting, it was something that was in my comfort zone. I knew I had a good composition and that I could fix the values and improve on the color.  After working all summer on the prepared boards with or without photos, it was kind of a relief to me!  But I’m not done. I plan to continue with the prepared surface and looser paintings.  And I have five mounted boards left and am thinking of trying some fall trees on them that won’t be so realistic.

I’m also thinking of playing more with the Lux Archival. I recently did an imagined garden scene, based on a new garden here at Fox Hill.  I started with watercolor and came up with a basic composition. Then added sedum, butterfly bush and zinnias (from another garden) to it.  Here it is.  You can see the difference between these picture pretty easily I think!  I really had to make up almost everything in the one of the garden and I have no idea whether it’s any good or not.  Would love to hear what you have to say.

Fall Garden, 18 x 18, Lux Archival